Shift the image roughly to create binding space
Introduction
If you want to create space for staples or punch holes, for example, you can use the [Align]
function. The preview in the right-hand pane of the control panel displays the consequences of
your changes.
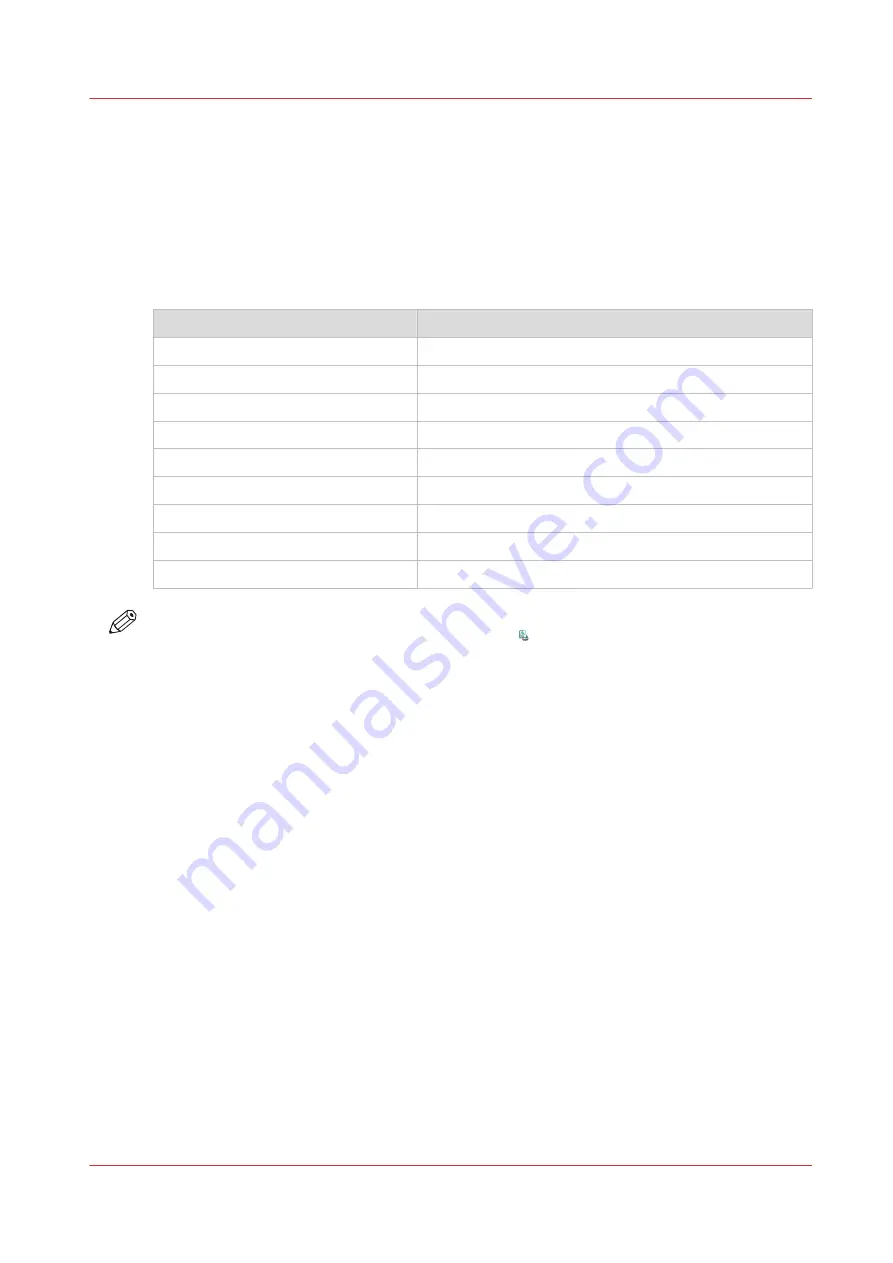
The [Align] function allows a rough image shift. You can select one of the following settings:
[Align] values
When you select:
Then the image is moved to:
[Top left]
The upper left corner of the sheet.
[Top center]
The upper center of the sheet.
[Top right]
The upper right corner of the sheet.
[Center left]
The left-hand side of the sheet, over the center line.
[Center]
The middle of the sheet.
[Center right]
The right-hand side of the sheet, over the center line.
[Bottom left]
The lower left corner of the sheet.
[Bottom center]
The lower center of the sheet.
[Bottom right]
The lower right corner of the sheet.
NOTE
You cannot change this setting for the active print job .
Procedure
1.
On the control panel, touch [Jobs] -> [Queues] -> [Scheduled jobs] or [Waiting jobs], or select a
DocBox.
2.
Touch the job you want to change.
3.
Touch [Edit], or double-tap the job to open the [Edit] window.
4.
Touch the [Align] button.
5.
Make the required changes.
6.
Touch [OK].
Shift the image roughly to create binding space
Chapter 9 - Carry out print jobs
185
VarioPrint 6000 line
Содержание VarioPrint 6000 Series
Страница 1: ...VarioPrint 6000 line Operation guide VarioPrint 6180 6220 6270 6330 2020 Canon Production Printing ...
Страница 8: ...Contents 8 VarioPrint 6000 line ...
Страница 9: ...Chapter 1 Introduction ...
Страница 14: ...Information in this operation guide 14 Chapter 1 Introduction VarioPrint 6000 line ...
Страница 15: ...Chapter 2 Explore the print system ...
Страница 31: ...Chapter 3 Explore the ease of operation ...
Страница 46: ...Transaction printing workflow 46 Chapter 3 Explore the ease of operation VarioPrint 6000 line ...
Страница 47: ...Chapter 4 Start the print system ...
Страница 56: ...Log in to the printer 56 Chapter 4 Start the print system VarioPrint 6000 line ...
Страница 63: ...Chapter 5 Prepare the print system ...
Страница 101: ...Chapter 6 Prepare the print jobs ...
Страница 110: ...Print a page number via PRISMAsync 110 Chapter 6 Prepare the print jobs VarioPrint 6000 line ...
Страница 111: ...Chapter 7 Plan the workload remotely ...
Страница 114: ...Use the Remote Control app to monitor printing 114 Chapter 7 Plan the workload remotely VarioPrint 6000 line ...
Страница 115: ...Chapter 8 Plan the jobs ...
Страница 127: ...6 Touch OK Move jobs to another destination Chapter 8 Plan the jobs 127 VarioPrint 6000 line ...
Страница 139: ...5 Touch OK Create a note for the operator Chapter 8 Plan the jobs 139 VarioPrint 6000 line ...
Страница 165: ...Chapter 9 Carry out print jobs ...
Страница 232: ...Make an intermediate check print 232 Chapter 9 Carry out print jobs VarioPrint 6000 line ...
Страница 233: ...Chapter 10 Keep the system printing ...
Страница 246: ...Status indicators 246 Chapter 10 Keep the system printing VarioPrint 6000 line ...
Страница 247: ...Chapter 11 Media handling ...
Страница 289: ...Chapter 12 Maintain the print system ...
Страница 316: ...Close the doors and covers 316 Chapter 12 Maintain the print system VarioPrint 6000 line ...
Страница 317: ...Chapter 13 PRISMAlytics Dashboard ...
Страница 319: ...Chapter 14 Troubleshooting ...
Страница 334: ...Create and download a log file 334 Chapter 14 Troubleshooting VarioPrint 6000 line ...
Страница 335: ...Chapter 15 Specifications ...
Страница 353: ......


