Super Glider
This model is a glider with a simple design.
A glider is an airplane without an engine. It
must skillfully use uprising air currents to
keep it flying.
You can adjust this glider so that it flies very
well.
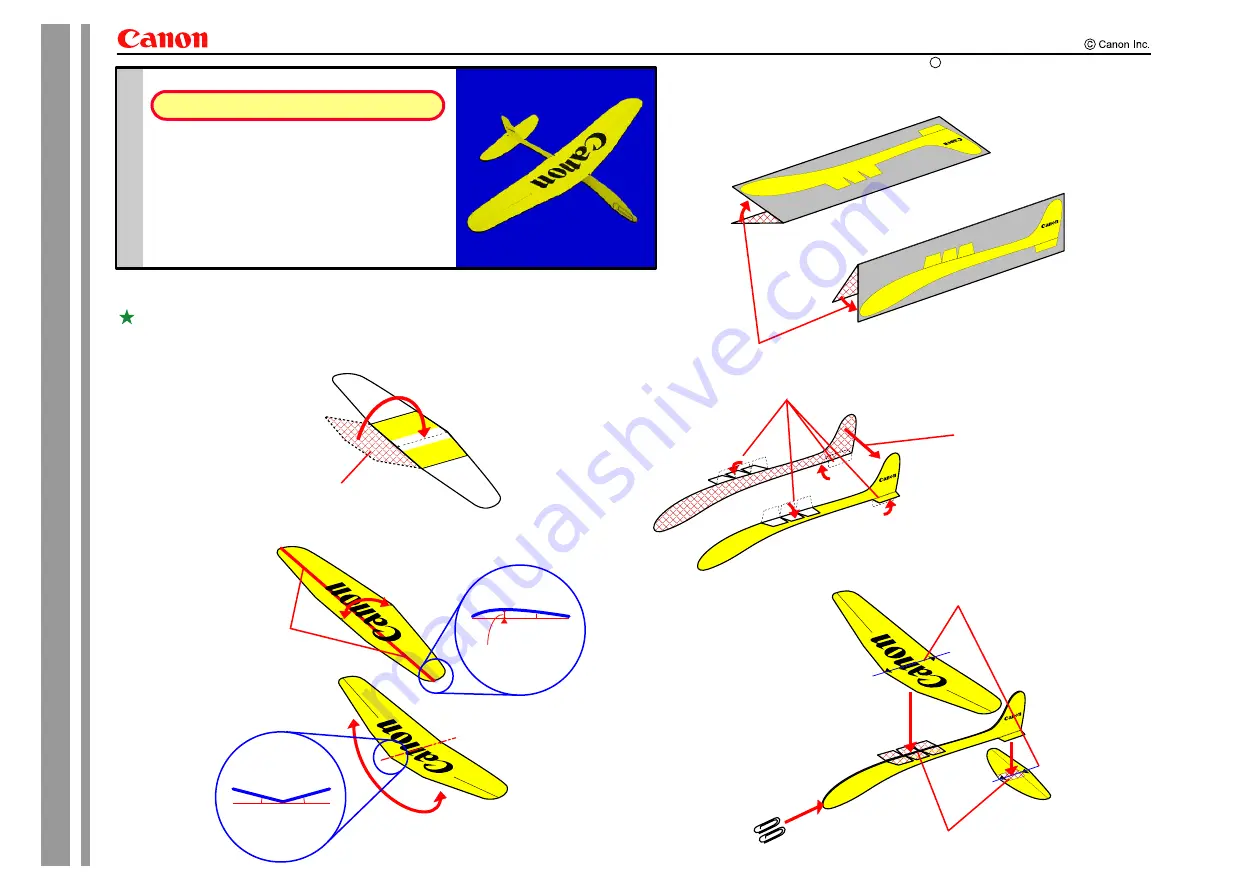
1. Build the WINGS
3. Put it together
Glue together.
Cut away the gray areas around
the FUSELAGE and bend the tabs outward.
Apply glue to the inside surfaces
of the FUSELAGE and glue the two
pieces together,
starting at the tail and working
your way forward to the nose.
Curve the WING, so that the highest spot on the WING
is a point one-third of the way from the front edge
of the WING, when viewed from the side.
Bend the left and right sides
of the WING upward
from the center line, about 15%.
The black lines indicate
one-third of the way
from the front edge of the WING.
Curve the WING so the
center is raised about
1 mm (1/25 inch).
15˚
15˚
WING (Underside)
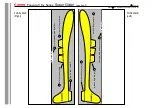
FUSELAGE (Right)
FUSELAGE (Left)
1/3
Front
edge
Back edge
Left
Right
WING, viewed
from the side.
WING, viewed
from the front.
2. Build the FUSELAGE
Glue the WINGS and TAIL in place.
Attach two paper clips.
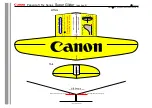
WING
TAIL
FUSELAGE
Paper clips
Using the triangles on the
WINGS as guides, align the center
of the WING with the FUSELAGE
and glue it down.
fro
nt
rea
r
glu
e to
fus
ela
ge.
glu
e to
fus
ela
ge.
Apply glue and
fasten together.
(If you want to fly the glider outside, print these patterns
on white construction paper for inkjet.)
Directions
*Cut out the card above and save it. You can collect the cards from each of the Papercraft
projects to make your own mini-book!
Canon Papercraft Mini-book
Toy Series
Papercraft Toy Series
Super Glider
(section 1)
Canon is a registered trademark of Canon Inc.
R


