34
Printing from a Camera
By connecting a PictBridge-compatible camera, you can choose images
with the camera and print.
Here, printing instructions are given using a Canon compact digital camera
as an example. If your camera is operated differently, refer to the camera
user manual.
1
Prepare SELPHY.
z
z
Confirm that no memory cards are
inserted in SELPHY.
2
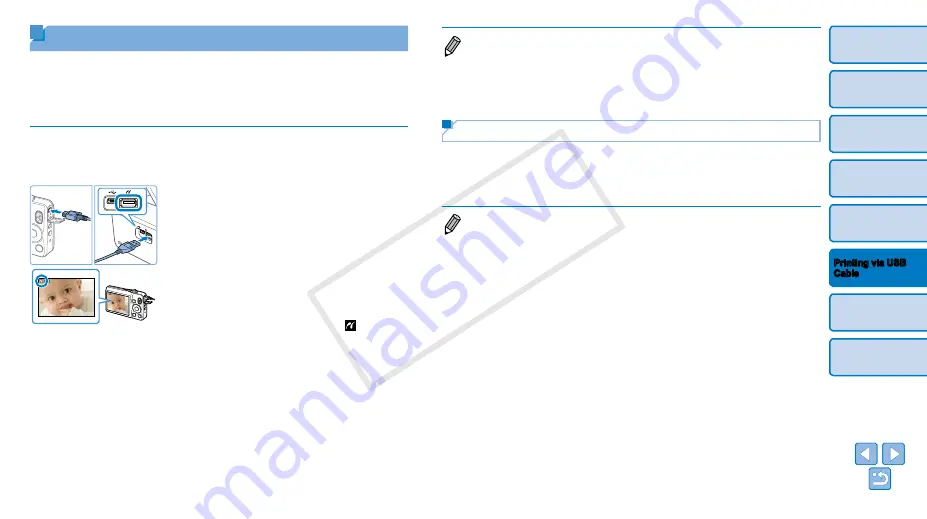
Connect SELPHY to the camera
using the USB cable (
3
Turn on SELPHY and then the
camera, and enter Playback
mode.
z
z
Some cameras will display a
icon.
4
On the camera, choose images
and prepare to print.
z
z
Use the camera to start printing.
z
z
After printing, turn off SELPHY and the
camera and disconnect the cable.
•
Printing in progress cannot be canceled from SELPHY by using the <
v
>
button. Use the camera to stop printing.
•
This product uses PictBridge technology to print via USB.
PictBridge technical standards facilitate direct connection of cameras, printers,
and other devices for easy printing. This product is compliant with the DPS
over IP standard that allows the use of PictBridge in network environments.
Printing Using Camera Settings (DPOF Print)
Inserting a memory card with DPOF information configured on a camera
will display [DPOF images remain / Print images?]. To review the printing
information set on the camera, press the <
o
> button, and to print all
designated images at once, press the <
p
> button.
•
For instructions on configuring DPOF information, refer to the camera user
manual.
•
Dates and file numbers are DPOF information set on the camera that cannot
be changed on SELPHY.
•
Images prepared with a [Print Type] of [Standard] on Canon cameras are
printed according to the settings in “Adjusting Settings” (
–
•
You can also review the printing information set on the camera by pressing the
<
k
> button, selecting [DPOF Print], and pressing the <
o
> button.
However, [DPOF Print] is only displayed when a camera-configured memory
card is inserted.
COP
Y


