48
The camera is added in the list of cameras on the
[Cameras] tab.
Images from a video camera connected to a multi-
terminal VB-EX50 cannot be displayed or recorded by this
software.
Assign Camera Tags
You can assign keywords, such as the installation
location, called camera tags, to the camera.
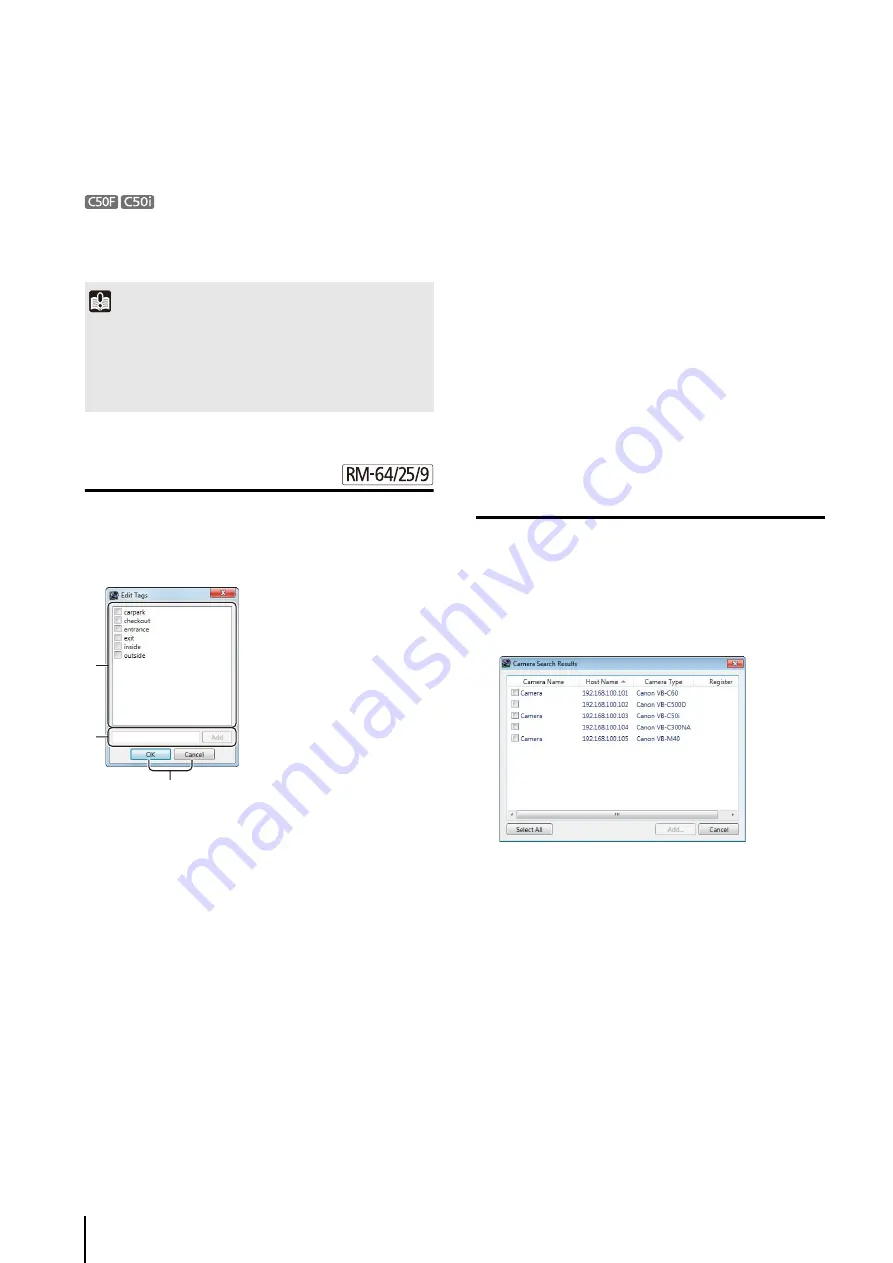
Click [Edit] in the [Add Camera] dialog box when you are
adding the camera to display the [Edit Tags] dialog box.
➀
List of camera tags
Displays a list of assigned camera tags. Select the
check box of the tag to assign it to the camera. You
can assign more than one camera tag.
➁
Add camera tag area
Add a new camera tag.
[Add]
Enter a tag name in the text box and click this button to
add the tag to the list.
➂
[OK] and [Cancel]
Close the dialog box.
Using Camera Tags
Camera tags help you organize cameras more easily.
Selectively Displaying Cameras
You can use camera tags to selectively display cameras
in the following windows and dialog boxes:
• Camera Selector (p. 59)
• [Recording Schedule] window (p. 73)
• [System Information] window (p. 109)
Specifying a Camera
You can specify a camera using camera tags when doing
the following operations:
• Specifying a camera with access permissions for user
group operation (p. 53)
• Specifying a camera to be automatically displayed in
the dynamic layout (p. 67)
Search For and Add Cameras
You can search for cameras that are on the same network
as the Storage Server.
The cameras on the subnet are displayed in the
[Camera Search Results] dialog box.
You can add more than one camera by selecting
multiple check boxes.
The [Add Camera] dialog boxes for the cameras
selected in step 2 are displayed in the order of the
[Camera Search Results] list (from top to bottom).
3
Click [OK] to close the dialog box.
Important
• Enter the camera’s user name and password in [User Name]
and [Password].
• If the host name or IP address of the camera is changed after
registration, you must also change the Storage Server
setting. For details, see “Edit Camera Information” (p. 49).
➀
➁
➂
1
Click [Find].
2
S
elect the check box of a camera you want to add. To
select all the cameras, click [
S
elect All].
3
Click [Add].
4
Enter the information required to add the camera,
referring to step 2 in “Add Cameras One at a Time”
(p. 47).
5
Click [OK] to close the dialog box.
Содержание RM-25
Страница 12: ...12 ...
Страница 30: ...30 ...
Страница 31: ...Chapter 2 Setup How to install the software Settings after installation ...
Страница 36: ...36 ...
Страница 37: ...Chapter 3 Storage Server Settings Adding cameras Configuring the Storage Server Group Adding users ...
Страница 54: ...54 ...
Страница 55: ...Chapter 4 Viewer Settings Configuring the Viewer Configuring a camera Creating a layout ...
Страница 70: ...70 ...
Страница 92: ...92 ...
Страница 106: ...106 ...
Страница 112: ...112 ...
Страница 113: ...Chapter 8 Backup Types of backup target files and their destinations Restoring a recording file ...
Страница 116: ...116 ...
Страница 137: ...Index 137 Appendix ...


