Before Use
Basic Guide
Advanced Guide
Camera Basics
Using GPS
Functions
Auto Mode
Other Shooting
Modes
P Mode
Playback Mode
Setting Menu
Accessories
Appendix
Index
33
Before Use
Basic Guide
Advanced Guide
Camera Basics
Using GPS
Functions
Auto Mode
Other Shooting
Modes
P Mode
Playback Mode
Setting Menu
Accessories
Appendix
Index
3
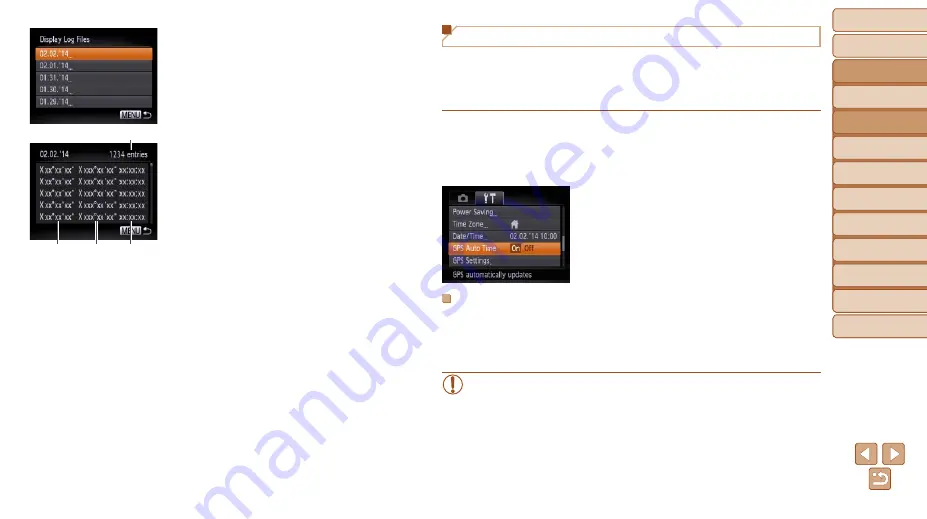
Choose the log file to examine.
z
z
To the right of today’s date, the time
elapsed from the last time location
information was recorded is displayed.
z
z
Choose the desired date and press the
<
m
> button. The recorded latitude,
longitude, time, and number of logs
acquired that day are displayed.
z
z
Press the <
n
> button twice to return
to the [GPS Settings] screen. When
you press the <
n
> button again,
a message about GPS and logging is
displayed. Press the <
m
> button after
reading the message.
Number of Logs Acquired
Latitude Longitude
Time
Automatically Updating the Date and Time
You can have the date and time for the configured time zone (
automatically updated when the camera receives GPS signals.
Your shots will be tagged with the shooting date/time as updated (
,
in UTC format), along with location information (
).
1
Set [GPS] to [On].
z
z
Follow steps 1 – 2 in “Using GPS
Functions” (
) to configure the
setting.
2
Configure the setting.
z
z
Press the <
n
> button, choose
[GPS Auto Time] on the [
3
] tab, and then
choose [On] (
).
z
z
To set daylight saving time, follow the steps
in “Setting the Date and Time” (
Confirming Automatic Time Updating
After the date and time are automatically updated, [Update completed] is
shown on the [Date/Time] screen, accessed as described in “Changing the
Date and Time” (
). [GPS Auto Time: On] is shown if a GPS signal
has not been received yet.
•
When [GPS Auto Time] is set to [On], you cannot change the date
and time by accessing the [Date/Time] screen as described in
“Changing the Date and Time” (
will be updated automatically.


