MP250
User Guide
CANON KOREA BUSINESS SOLUTIONS INC.
MP250
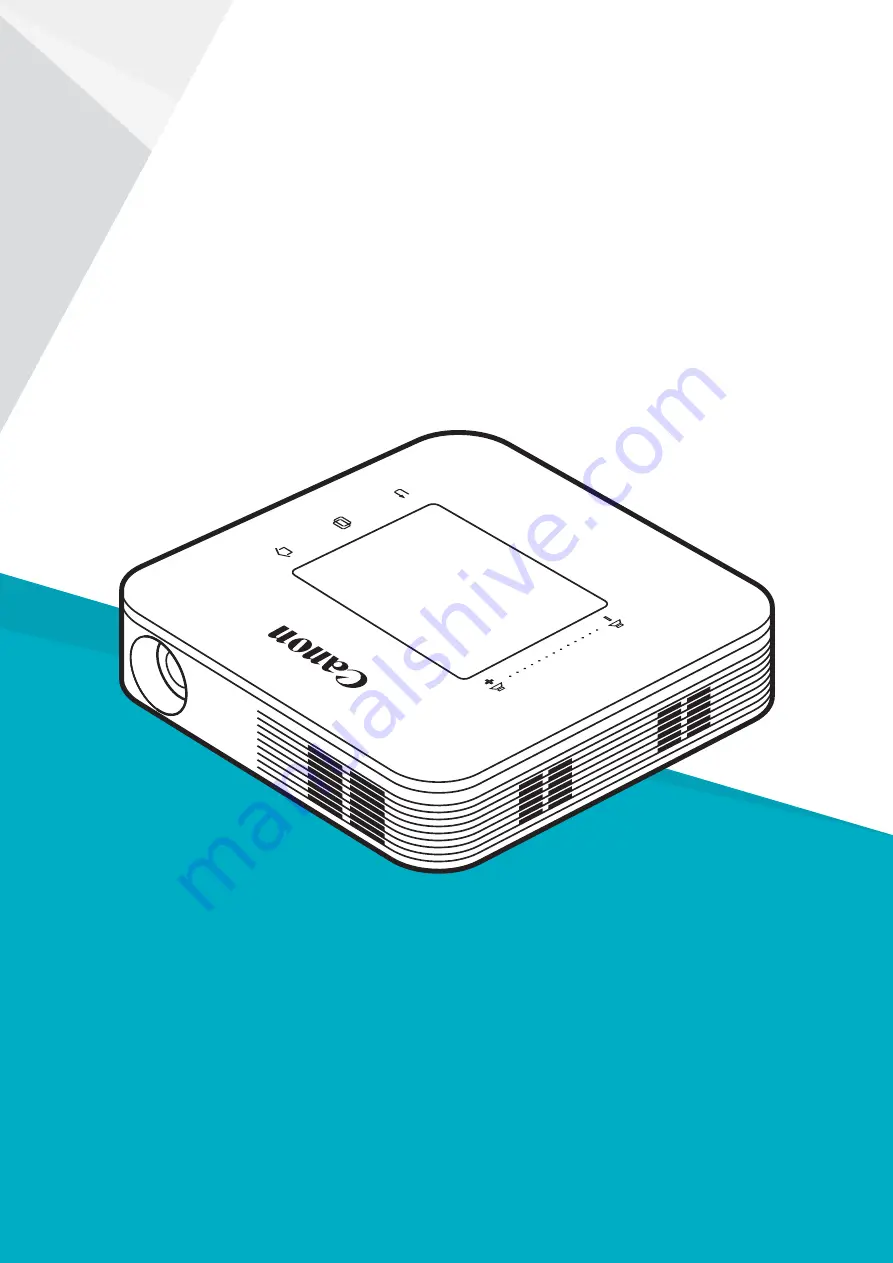
Mini LED Projector
This User Guide describes how to use Mini LED Projector MP250.
Be sure to read this User Guide before using.
Particularly, be sure to read "For Safe Use" and use properly.
After reading, take good care of the User Guide.


