1
在
Mac OS
以無線方式安裝及連接
PIXMA E560
打印機
(以
Mac OS 12.4
作示範)
Installing PIXMA E560 on Mac OS via WiFi connection (Use Mac OS 12.4 as example)
**
注意
:
安裝驅動程式前請勿接駁
USB
線,以免系統發生錯誤
**
** Please don’t plug the USB cable until the driver asked to do so**
下載及安裝步驟
Driver download and Installation procedure
1.
到以下佳能網站並下載印表機的驅動程式
https://ij.manual.canon/ij/webmanual/WebPortal/PTL/ptl-
setup.html?lng=tc&type=gscard&mdl=E560&area=as_grp&os=m
Go to below Canon webpage and download the printer driver
https://ij.manual.canon/ij/webmanual/WebPortal/PTL/ptl-
setup.html?lng=en&type=gscard&mdl=E560&area=as_grp&os=m
2.
根據作業系統版本,按下載鍵,完成後開啟該檔案安裝
Refer to OS version, press the Download button, and then execute the file after download was completed
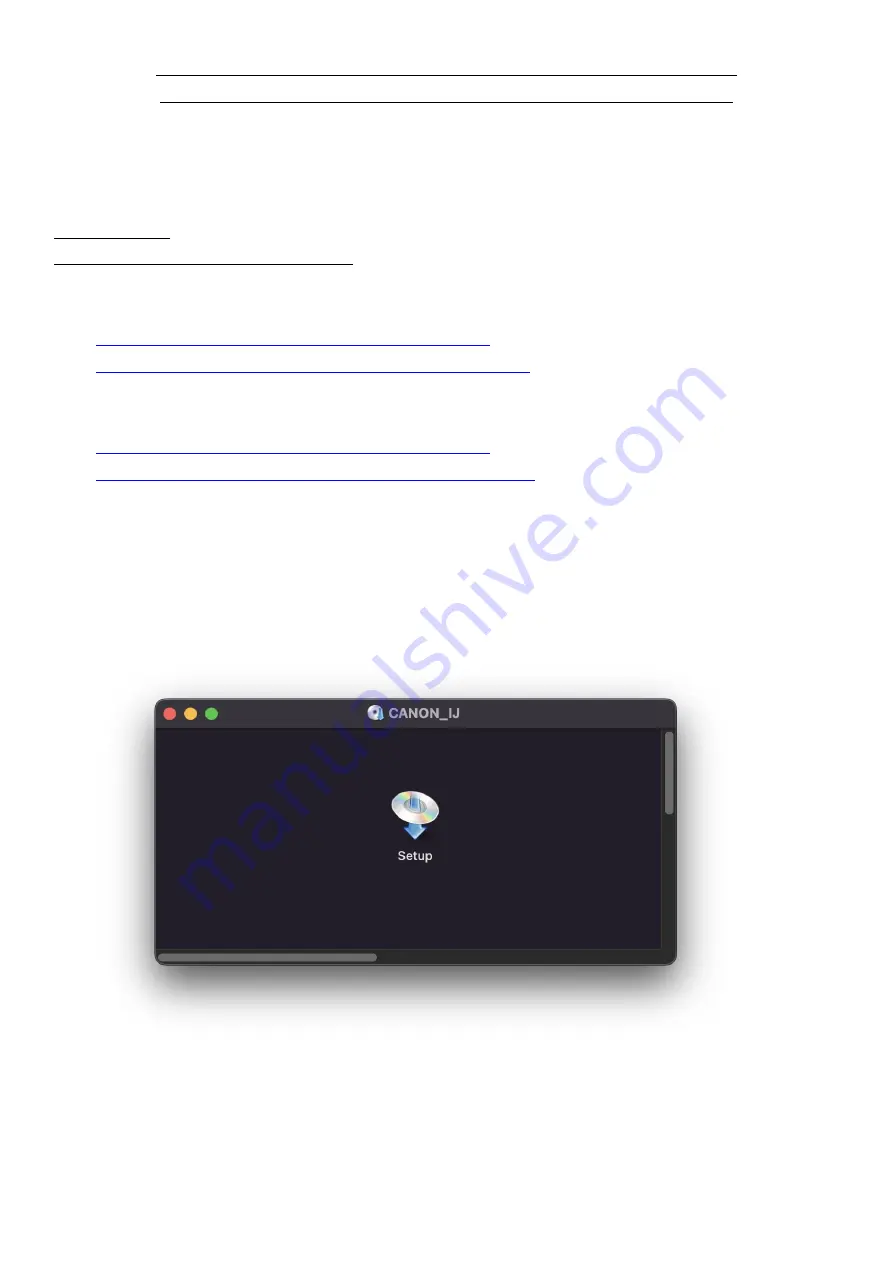
3.
按[
Setup
]
Click [Setup]
Содержание PIXMA E560
Страница 2: ...2 4 按 開啟 Click Open 5 按 Next Press Next ...
Страница 4: ...4 8 請等候 Please wait 9 如有以下提示 按 開啟 Click Open if below message pop up ...
Страница 5: ...5 10 按 Wireless Connection Click Wireless Connection 11 按 Next Click Next ...
Страница 6: ...6 12 請等候 Please wait 13 按 開啟 Click Open ...
Страница 7: ...7 14 按 Connect to the network Click Connect to the network 15 按 Other setup Click Other setup ...
Страница 10: ...10 20 按 Yes Click Yes 21 請等候 Please wait ...
Страница 11: ...11 22 請等候 Please wait 23 選擇 透過 USB 設定網路連接 然後按 下一步 Choose Set up the network connection via USB then click Next ...
Страница 13: ...13 25 請等候 Please wait 26 選擇路由器名額 輸入網路密碼 然後按 連接 Choose the SSID type in network password then click Connect ...
Страница 14: ...14 27 請等候 Please wait 28 按 Add Printer Click Add Printer ...
Страница 16: ...16 31 按 Next Click Next 32 閱後按 Agree 或 Do not agree Click Agree or Do not agree after reading ...
Страница 17: ...17 33 安裝完成 按 Exit Driver installation was completed click Exit 完 End ...


