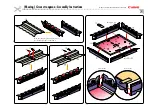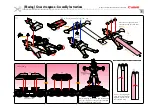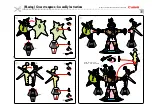
(Moving) Circus strongman : Assembly Instructions
©
Canon Inc.
©
Hideharu Naitoh & unity design
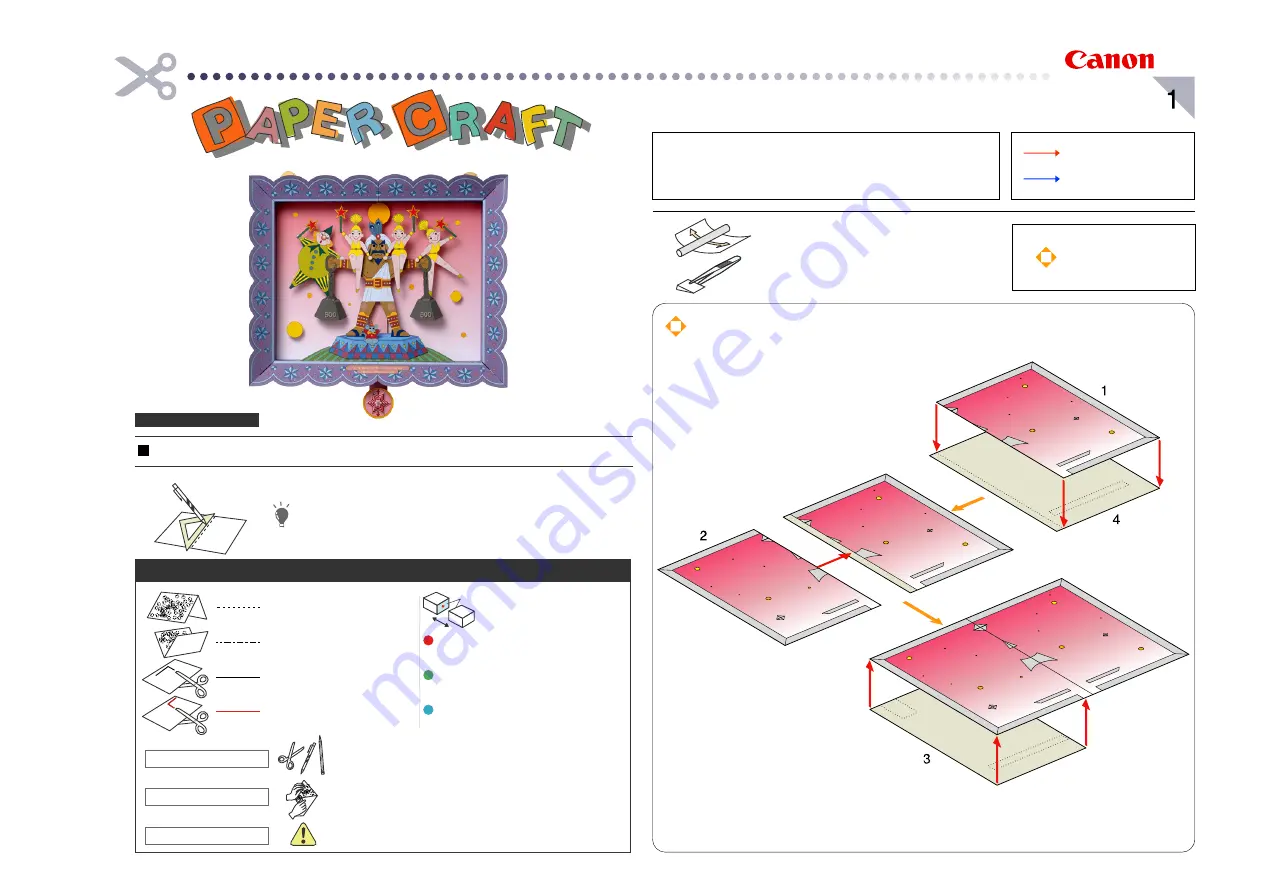
Assembly Instructions
Mountain fold(dotted line)
Make a mountain fold.
Valley fold(dashed and dotted line)
Make a valley fold.
Scissors line(solid line)
Cut along the line.
Cut in line(solid line)
Cut along the line.
Glue spot(Red dot)
Glue parts with the same number together.
Glue spot(Green dot)
Glue within the same part.
Glue spot(Blue dot)
Glue to the rear of the other part.
Glue
The glue spot(colored dot)
shows where to apply the glue.
Tools and materials
Assembly tip
Caution
Scissors, set square, glue(We recommend stick glue), pencil, used
ballpoint pen, toothpicks, tweezers, (useful for handling small parts)
Before gluing, crease the paper along mountain fold and valley
fold lines and make sure rounded sections are nice and stiff.
Glue, scissors and other tools may be dangerous to young children
so be sure to keep them out of the reach of young children.
View of completed model
Assembly Instructions : Five A4 sheets (No. 1 to No. 5)
* The circus strongman
puts on an entertaining
performance,
raising and lowering
his arms when you move
the lever beneath the
frame up and down.
*Hint: Trace along the folds with a ruler
and an exhausted pen (no ink) to get a sharper, easier fold.
* Build the model by carefully reading the Assembly Instructions , in the parts sheet page order.
http://www.canon.com/c-park/en/
Before starting assembly : Writing the number of each section on its back side
before cutting out the sections is highly recommended.
(* This way, you can be sure which section is which even after cutting out
the sections.)
Indicates where sections should
be glued together.
Indicates where to insert sections.
Do not glue the sections together.
Round bar : Use to give parts a curved surface.
Tweezers : Useful in working with fine parts.
Be sure to build this model
carefully.
Glue the entire reverse sides of part 1 and
part 4 to each other, as shown in this illustration.
Take care in positioning and direction of
the parts when gluing them.
Caution :
Spread the glue in a thin layer,
to prevent these parts from
warping after you glue them
together.
Glue part 2 to the remaining
uncovered area of part 4.
Glue the rear sides of part 2
and part 3 to each other,
lining these parts up.


