background image

Canon

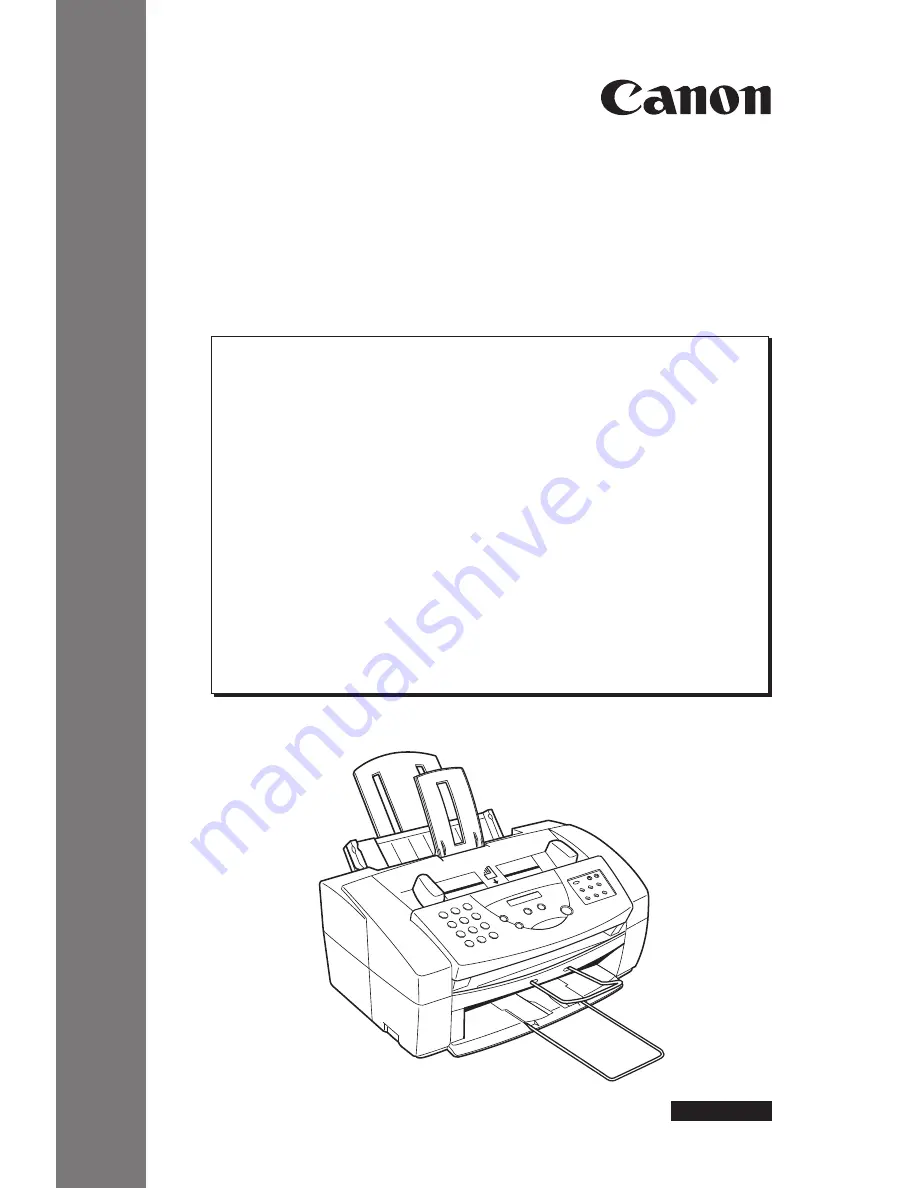
MultiPASS C50 Getting Started

ENGLISH

1

MultiPASS

TM

C50

GETTING STARTED

ENGLISH

I. Installation Guide

The following pages have been copied from the MultiPASS C50 User

Documentation to get you started. Please use these manuals for full

details.

Unpacking and Assembling the MultiPASS C50 ......................................... I-2

Connecting the MultiPASS C50 to your PC ................................................. I-6

Connecting the Telephone Line ..................................................................... I-6

Connecting the Power Cord ........................................................................... I-7

Installing the BJ Cartridge .............................................................................. I-7

Loading Print Media for Automatic Feed .................................................... I-8

Loading Print Media for Manual Feed ......................................................... I-9

Entering Your Identification Information .................................................. I-10

Installing the Desktop Manager Software .................................................. I-11

Setting Up C50 Options in the Desktop Manager .................................... I-12

ZZK-HM50A610-V1.0

f

Canon Europa N.V. 1998

Printed in The Netherlands
8375AX4

F

ACSIMILES

Содержание MultiPASS C50

Страница 1: ...cting the MultiPASS C50 to your PC I 6 Connecting the Telephone Line I 6 Connecting the Power Cord I 7 Installing the BJ Cartridge I 7 Loading Print Media for Automatic Feed I 8 Loading Print Media for Manual Feed I 9 Entering Your Identification Information I 10 Installing the Desktop Manager Software I 11 Setting Up C50 Options in the Desktop Manager I 12 ZZK HM50A610 V1 0 f Canon Europa N V 199...

Страница 2: ...C50 and its protective packaging out of the carton TELEPHONE LINE POWER CORD BC 20 BLACK BJ CARTRIDGE DOCUMENT SUPPORT FOR SCANNED DOCUMENTS OUTPUT TRAY EXTENSION SENDING DOCUMENT SUPPORT MultiPASS C50 UNIT PARALLEL CABLE FERRITE CORE MultiPASS C50 USER S GUIDE MULTIPASS DESKTOP MANAGER FOR WINDOWSH PACKAGE BC 21 21e COLOUR BJ CARTRIDGE SB 21 BJ CARTRIDGE CONTAINER The numbers in parentheses indic...

Страница 3: ... the sheet feeder 3 Open the operation panel by grasping it with both hands and gently pulling it toward you 4 Remove the soft styrofoam sheet from the unit s Automatic Document Feeder ADF then gently push the operation panel shut until it clicks The numbers in parentheses indicate the pages in the MultiPASS C50 User s Guide on which you can find detailed information ...

Страница 4: ...pport fit into the slots on the front of the MultiPASS C50 as shown below To install it slightly squeeze the ends of the support toward each other insert them in the slots and gently release them Then slide the support into the unit until it clicks in position When the support is installed you can pull it out or push it in to suit the size of the document The numbers in parentheses indicate the pa...

Страница 5: ...release them Attaching the Local Language Labels 1 2 3 4 5 6 PRINTER RESET TONE D T R CARTRIDGE FUNCTION RESUME PAUSE RECEIVE MODE RESOLUTION ALARM CODED DIAL Fit the faceplate in the right position Peel the protective sheet from the self adhesive label carefully align it and attach it in the right position The numbers in parentheses indicate the pages in the MultiPASS C50 User s Guide on which yo...

Страница 6: ...end closest to the MultiPASS C50 unit 4 Connect the other end of the cable to the parallel interface port on your computer Connecting the Telephone Line 2 16 1 Connect one end of the supplied telephone line to the jack marked on the side of the MultiPASS C50 2 Connect the other end of the line to your wall telephone jack The numbers in parentheses indicate the pages in the MultiPASS C50 User s Gui...

Страница 7: ...ess CARTRIDGE CARTRIDGE J The cartridge holder moves toward the centre of the unit 3 Open the printer cover by grasping the document guides and lifting 4 Raise the green cartridge lock lever on the cartridge holder by gently pulling up on it DO NOT TOUCH THE GUIDE RAIL DO NOT TOUCH THE RIBBON CABLE DO NOT TOUCH THE ROUND SHAFT The numbers in parentheses indicate the pages in the MultiPASS C50 User...

Страница 8: ...black centre BC 21 21e Colour BJ Cartridge colour centre BC 20 Black BJ Cartridge left 10 Close the printer cover 11 Press CARTRIDGE CARTRIDGE Loading Print Media for Automatic Feed 2 45 1 Pull the paper rest up until it stops 2 Pick up a stack of sheets and fan the edge that will feed into the MultiPASS C50 first then tap the stack on a flat surface to even its edges 3 Insert the stack into the s...

Страница 9: ...ected 1 Hold the sheet with its print side facing upward and align the sheet with the left edge of the manual feeder located at the back of the unit 2 Insert the sheet until it stops and continue to hold the sheet until the MultiPASS C50 grabs the sheet and pulls it in to the proper position 3 After the sheet is loaded open the printer cover and make sure the sheet is set straight If necessary pul...

Страница 10: ... type in the correct date and time 5 Press START COPY to save the date and time UNIT TELEPHONE 6 Press START COPY again and enter your fax telephone number using the numeric buttons 7 Press START COPY to save the fax telephone number UNIT NAME 8 Press START COPY again then use the numeric buttons to enter your name or your business name 9 Press START COPY to save the name then press or to select T...

Страница 11: ...provides instructions for installing the C50 printer driver and Desktop Manager in Windows 95 98 The system connects the printer driver to the appropriate printer port during installation for example LPT1 or LPT2 You can later change the connection if necessary To install the Desktop Manager 1 Insert the installation disk into your disk drive 2 Follow the on screen installation instructions The nu...

Страница 12: ... settings are not reflected in the Desktop Manager Setup Later you make speed dial assignments in the Desktop Manager The speed dial assignments made in the Desktop Manager override your speed dial assignments in the C50 To change setup options in the Desktop Manager 1 On the Setup menu click the group of setup options you want to change 2 In the Setup Options dialog box to display another group o...

Страница 13: ...I 13 Notes ...

Страница 14: ...I 14 Notes ...

Страница 15: ...I 15 Notes ...

Страница 16: ...I 16 Notes ...

Страница 17: ...I 17 Notes ...

Страница 18: ...ve Mode II 7 Making Copies II 8 Selecting Automatic Manual Document Feed II 8 Storing Numbers for One Touch Speed Dialling II 9 Storing Numbers for Coded Speed Dialling II 10 Creating Groups for Group Dialling II 11 Sending a Fax from Your Computer PC Faxing II 13 Receiving a Fax II 14 Printing a Document II 15 Scanning with the Desktop Manager II 16 Scanning from a Windows Application II 17 Setti...

Страница 19: ...tion Panel 2 23 1 2 ABC 3 DEF 4 5 JKL GHI 6 MNO 7 8 TUV PQRS 9 WXYZ 0 PAUSE RECEIVE MODE RESOLUTION ALARM CODED DIAL 1 2 3 4 5 6 PRINTER RESET TONE D T R CARTRIDGE FUNCTION RESUME A Document Feed Lever B Receive Mode C LCD Display D Resolution E One Touch Speed Dial Special Function Buttons F Numeric Buttons G Redial Pause H Coded Dial I Start Copy J Alarm K Stop The numbers in parentheses indicat...

Страница 20: ...tons for one touch speed dialling entering user information and to perform special operations See pages 2 25 and 2 26 for details on the special function buttons F Numeric buttons Use these buttons to type numbers and names when entering information and to dial fax telephone numbers that are not registered for automatic dialling G REDIAL PAUSE button Press this button to redial the last number tha...

Страница 21: ...inting J Arrow buttons 1 and 2 Use these buttons to scroll through menu selections or to move the cursor when registering data J PRINTER RESET button 3 Press this button to reset the MultiPASS C50 if your PC crashes This will maintain all the faxes currently in memory Do not unplug the MultiPASS C50 to reset the unit or the faxes in memory will be lost J TONE button 4 Press this button to switch t...

Страница 22: ...PY button to begin sending See page 4 8 for more details on manual sending via the handset Dialling Methods 4 7 There are several ways of dialling the number of the party you want to send to J Regular dialling Use the numeric buttons to dial the recipient s fax number J One touch speed dialling Press the one touch speed dialling button 1 to 6 under which you have registered the number you want to ...

Страница 23: ...ttons to enter the two digit code assigned to the fax number 1 2 ABC 3 DEF 4 5 JKL GHI 6 MNO 7 8 TUV PQRS 9 WXYZ 0 4 Press START COPY Using Group Dialling 3 21 1 Prepare the document and load it face down into the Automatic Document Feeder ADF 2 Use the one touch speed dialling buttons and or the CODED DIAL button along with the two digit codes to select the groups registered under those buttons a...

Страница 24: ...o have phone and fax service without the expense of an additional phone line J MANUAL MODE Use this mode if you will frequently use the MultiPASS C50 as a telephone and want to answer every call yourself including fax calls The MultiPASS C50 then rings for every call whether phone or fax and you must press the START COPY button to begin receiving a fax J ANS MACHINE MODE Use this mode if you plan ...

Страница 25: ...opies up to 99 6 Press START COPY to begin copying COPY Selecting Automatic Manual Document Feed 6 5 The document feed lever allows you to select whether the Automatic Document Feeder ADF feeds documents automatically If set to automatic document feed a multipage document will automatically feed page by page through the Automatic Document Feeder ADF The icons below the document feed lever show you...

Страница 26: ... then use or to display CODED SPEED DIAL 1 2 CODED SPEED DIAL 4 Press START COPY 5 Use or to select a two digit code 00 49 in the display 1 2 6 Press START COPY twice TELEPHONE NUMBER 7 Use the numeric buttons to enter the telephone fax number you want to store 8 Press START COPY 9 Press START COPY again then use the numeric buttons to store the name that goes with the number 10 Press START COPY 1...

Страница 27: ...ct a one touch speed dialling button between 01 and 06 1 2 04 5 Press START COPY TELEPHONE NUMBER 6 Press START COPY again then use the numeric buttons to enter the telephone fax number you want to store Ex 1 2 ABC 3 DEF 4 5 JKL GHI 6 MNO 7 8 TUV PQRS 9 WXYZ 0 TEL 516 488 6700 7 Press START COPY NAME 8 Press START COPY again then use the numeric buttons to store the name that goes with the number ...

Страница 28: ...2 To store a group under a coded speed dialling code 5 Press CODED DIAL then use the numeric buttons to enter an unused two digit code 00 to 49 CODED DIAL 6 Press START COPY twice TELEPHONE NUMBER 7 Enter the speed dialling numbers you want to store in the group J To enter a number stored under a one touch speed dialling button press FUNCTION press the desired one touch speed dialling button s the...

Страница 29: ...T COPY twice then use the numeric buttons to enter a name for the group 9 Press START COPY 10 To enter additional group repeat steps 5 to 9 or If you have finished registering groups press STOP to return to standby mode ...

Страница 30: ... your printer and then click OK 3 In the Send Fax dialog box enter the recipient of your fax 4 Optionally define any of the other send fax options 5 When you have finished your entries for the fax process the fax I To process the fax for immediate sending click Send Now I To schedule the fax for a later time that you specify click Send Later I To hold the fax indefinitely preserving your fax optio...

Страница 31: ...Computer Is Off If your computer is turned off when the C50 receives a fax the C50 handles the fax by one of the following methods based on how you defined the setup options J Print the fax directly from the C50 If your computer is going to be off for a while or you are expecting many incoming faxes we recommended that you set the C50 to automatically print incoming faxes This recommended setting ...

Страница 32: ...dows application Therefore for detailed instructions refer to the user documentation for the specific application The following instructions summarise the procedures for printing a document To print a document 1 Within your Windows application with your document open click the print command 2 In the print dialog box make sure Canon MultiPASS C50 Printer is selected as your printer Canon MultiPASS ...

Страница 33: ...rise the procedures for scanning an image To scan an image with the Desktop Manager 1 Place the image you want to scan face down in the ADF automatic document feeder of the C50 2 In the Desktop Manager click Monochrome Scan on the Tools menu or toolbar 3 In the ScanGear window specify the following preview scan options for your document as needed Scan Mode Scan Resolution Preferences Page Size and...

Страница 34: ... the image you want to scan face down in the ADF automatic document feeder of the C50 2 In your Windows application choose the command to scan a document In some applications the appropriate command is listed on the menu as Acquire or Acquire Image 3 In the ScanGear window specify the following preview scan options for your document as needed Scan Mode Scan Resolution Preferences Page Size and Bla...

Страница 35: ... for the recipient and then click Add For detailed instructions on completing the New Individual entry dialog box refer to Chapter 5 PC Faxing Defining a Group Speed Dial Code This section provides instructions for assigning two or more recipients to a speed dial code 1 On the Speed Dial tab make sure the desired recipients for your group are set up as individual speed dial assignments 2 Select th...

Страница 36: ...oint to Programmes On the Programmes menu point to Canon MultiPASS C50 Then click MultiPASS Diagnostics The MultiPASS Diagnostics displays a message indicating if all tests were performed successfully Messages appear suggesting solutions for any problems detected 2 When prompted in a dialog box click Yes to view the log file 3 In the MultiPASS Diagnostics window to save the log file choose Save As...

Страница 37: ...icks 5 Press STOP to clear the error message Jams in the Sheet Feeder 8 8 1 Gently pull any jammed paper out of the unit as shown 2 Remove the paper stack from the sheet feeder and reload it following the instructions in Loading Print Media for Automatic Feed on page 2 45 3 Press STOP to clear the error message The numbers in parentheses indicate the pages in the MultiPASS C50 User s Guide on whic...

Страница 38: ...ave them send or receive the document using a G3 machine The telephone line type setting on your MultiPASS C50 is incorrect Set your MultiPASS C50 for your telephone line tone or pulse The receiving fax machine did not answer within 55 seconds Contact the other party and have them check their fax machine You can also try to send the document manually For an overseas call add pauses to the register...

Страница 39: ... to automatic document feed CHECK PAPER SIZE The size of the paper in the sheet feeder differs from that specified in the Paper Size option in the Receive Fax tab Set the correct paper size in the Paper Size option in the Receive Fax tab CHECK PRINTER The BJ cartridge in the MultiPASS C50 is defective 1 Press the STOP button 2 Reinstall the cartridge 3 Unplug the MultiPASS C50 wait 5 seconds then ...

Страница 40: ...or if you know your local telephone lines are in good condition ECM TX The MultiPASS C50 is sending a fax using ECM Faxes can take longer to send when using ECM Try turning ECM off if you need to send quickly or if you know your local telephone lines are in good condition HANG UP PHONE The handset is off its hook Place the handset properly onto its hook INSTALL BC 21 The BC 20 BC 22 22e or BC 29F ...

Страница 41: ... the MultiPASS C50 s memory is in use If you need more memory print or send any documents stored in memory NO ANSWER 005 The receiving fax machine does not answer Make sure you dialled the correct number Try again later NO TEL 022 The one touch or coded speed dialling number has not been registered Register the number NOT AVAILABLE In manual sending via the handset you tried to use a one touch spe...

Страница 42: ...f and a document was received in the MultiPASS C50 memory Print the file from the PC START AGAIN An error occurred in the phone line or in the system Start the procedure again from the beginning TX RX CANCELLED You pressed the STOP button to cancel the transmission TX RX NO nnnn When the MultiPASS C50 sends or receives a fax it assigns a unique identification number to it Write the number down if ...

Страница 43: ...II 26 Notes ...

Страница 44: ...II 27 Notes ...

Страница 45: ...II 28 Notes ...

Страница 46: ...II 29 Notes ...

Страница 47: ...II 30 Notes ...

Страница 48: ...II 31 Notes ...

Отзывы: