


Scanning with the MF Toolbox
3-8
S
c
ann
ing
3
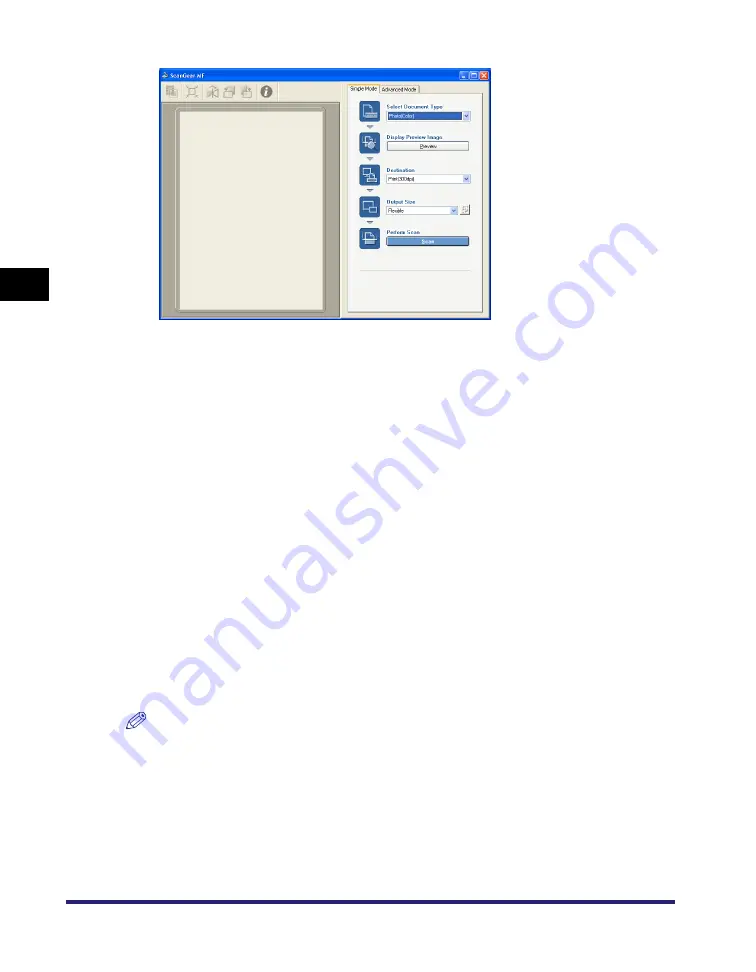
Adjust the settings, then click [Scan].
For details, see "Setting Preferences and Scanning with ScanGear MF," on p. 3-18.
Scanning starts.
If you clicked [Mail], [Save] or [PDF] in step 3, a folder with the scanning date will be
created in the [My Pictures] folder in the [My Documents] folder, and your document
will be saved in this folder. If there is no [My Pictures] folder, the folder with the
scanning date will be created in the [My Documents] folder and your document saved
in this folder.
If you clicked [Mail], [OCR], [PDF], [Scan-1], or [Scan-2] in step 3, the scanned image
will be displayed in the application after scanning. Send the e-mail message or
perform OCR conversion. (The scanned image will not be displayed if you have not
installed the applications on the MF3110 Setup CD-ROM or if you have not set the
[Link Scanned Images to] setting.)
When the applications in the MF3110 Setup CD-ROM are installed, they will be
registered in the MF Toolbox buttons.
[OCR]ScanSoft OmniPage
[PDF]Presto! PageManager
NOTE
If white lines appear on one edge of the scanned image, check that the document is
correctly placed on the platen glass. A document should be placed approximately
1
/
8
" (3
mm) from the front edge (i.e., the edge closest to the control panel) of the platen glass.
[ScanGear MF] dialog box
Содержание MF3110 - ImageCLASS Laser Multifunction
Страница 1: ...MF3110 Software Guide ...
Страница 10: ...x ...
Страница 22: ...Uninstalling and Reinstalling the Software 1 12 Installation 1 ...
Страница 88: ...Using the Machine on Your Network 2 66 Printing 2 ...


