50
Display
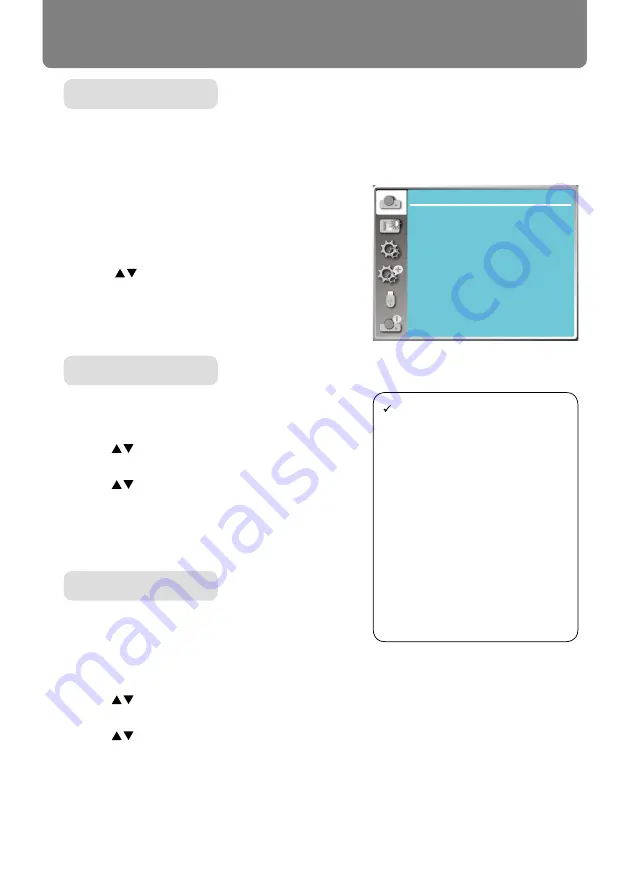
Select Auto PC Adj. function can adjusts Fine sync, H position, V position , H size to be compati-
ble with the computer automatically.
Menu operation
AUTO PC adj.
Press < MENU > button on the remote controller or
on the top control panel to display the OSD menu.
Press
button to select the Display menu ,then
press <OK> or
button
.
1) Press
button to select [
Auto PC
adj.] menu.
2) Press <OK> button.
Auto PC adj.
(Only for PC signal input)
Adujust image to the best state When the image
jitters, or the image outline dims.
1) Press
button to select [
Fine sync
] menu.
2) Press <OK> button.
3) Press
button to adjust Fine sync
.
Adjustment range is from 0 to +31. Please adjust to
the least interference state.
Fine sync
(Only for PC signal input)
On the premise that the relative position of both pro-
jector and the screen is set up right,you can move
the image horizontal position,if the position of the
projected image on the screen is deviated.
1) Press
button to select [
H P
osition] menu.
2) Press <OK> button.
3) Press
button to adjust image H position.
Adjustment range is from -5 to +5.
H Position
----
Display
Auto PC adj.
Fine sync
0
0
0
0
H position
V position
H.Size
Aspect
Auto
None
Upper left
Blue
Image Flip H/V
Menu position
Background display
Signal Format
AUTO PC adj. menu
Note:
●
The projector will perform Auto
PC Adjustment function auto-
matically,when its signal is input
for the first time.
● Auto PC Adjustment function
may fail to work if computer
models is not compatible with
the input signal .
● Auto PC adjustment function
does not work when HDMI input.
● Auto PC Adjustment function
may fail to work if you select the
following system signal format
:
720 x 480i, 720 x 576i, 720 x
480p, 720 x 576p, 1280 x 720p,
1920 x 1080i, 1920 x 1080p.


