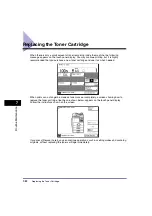


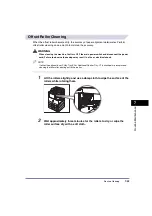
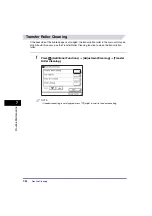
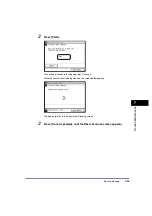
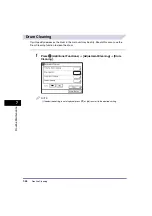

Routine Cleaning
7-35
7
Ro
utin
e M
a
in
ten
anc
e
Routine Cleaning
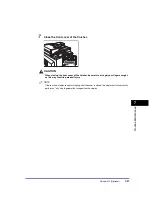
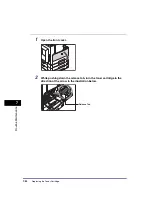
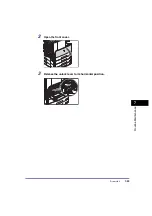
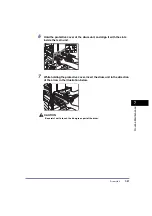
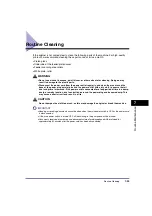
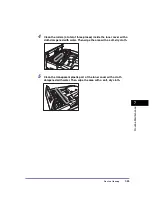
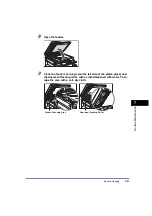
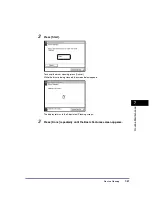
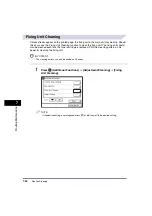
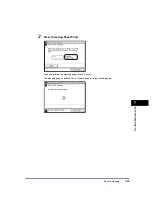
If the original is not copied clearly, clean the following parts of the machine. For high-quality
printouts, we recommend cleaning these parts once or twice a month.
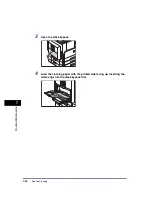
•
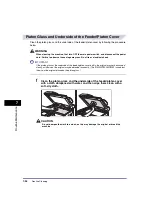
Platen glass
•
Underside of the feeder/platen cover
•
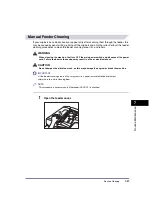
Feeder scanning area rollers
•
White plate, roller
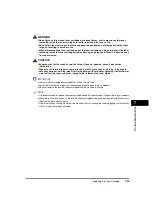
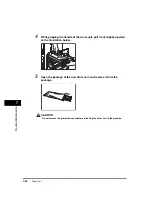
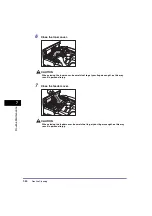
WARNING
•
Do not use alcohol, benzene, paint thinner, or other solvents for cleaning. Doing so may
result in damage to the plastic parts.
•
Disconnect the power cord from the power outlet regularly, and clean the area around the
base of the power plug’s metal pins and the power outlet with a dry cloth to ensure that all
dust and grime is removed. If the power cord is connected for a long period of time in a damp,
dusty, or smoky location, dust can build up around the power plug and become damp. This
may cause a short circuit and result in a fire.
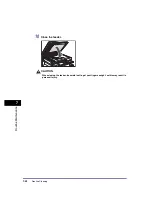
CAUTION
Do not dampen the cloth too much, as this may damage the original or break the machine.
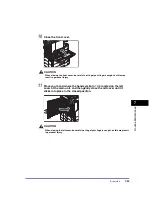
IMPORTANT
•
Sending or receiving documents cannot be done when the main power switch is OFF or the power cord
is disconnected.
•
If the main power switch is turned OFF, all jobs waiting in the print queue will be erased.
•
Documents received into memory and documents stored for delayed send will be retained for
approximately 60 minutes after the power cord has been disconnected.
Содержание iR2018i
Страница 2: ...iR2030 iR2025 iR2022i iR2018i Reference Guide 0 Ot ...
Страница 115: ...Available Paper Stock 2 58 2 Basic Operations ...
Страница 144: ...Card Reader E1 3 29 3 Optional Equipment 11 Press OK ...
Страница 151: ...Card Reader E1 3 36 3 Optional Equipment 4 Press Done 5 Press OK ...
Страница 154: ...Card Reader E1 3 39 3 Optional Equipment 5 Press Done 6 Press OK ...
Страница 215: ...Timer Settings 4 60 4 Customizing Settings 1 Press Additional Functions Timer Settings 2 Press Date Time Settings ...
Страница 241: ...Cleaning and Adjusting the Machine 4 86 4 Customizing Settings ...
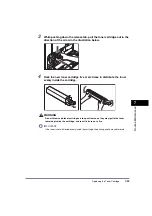
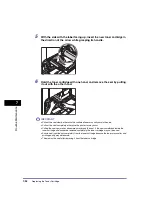
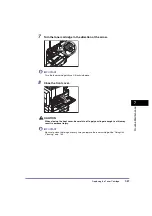
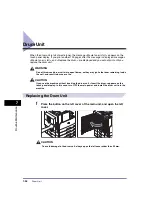
Страница 346: ...Drum Unit 7 29 7 Routine Maintenance 2 Open the front cover 3 Release the unlock lever to its horizontal position ...
Страница 443: ...Index 9 16 9 Appendix ...