


73
Si no puede en
viar/r
een
viar fax
es / Si no puede r
ecibir fax
es
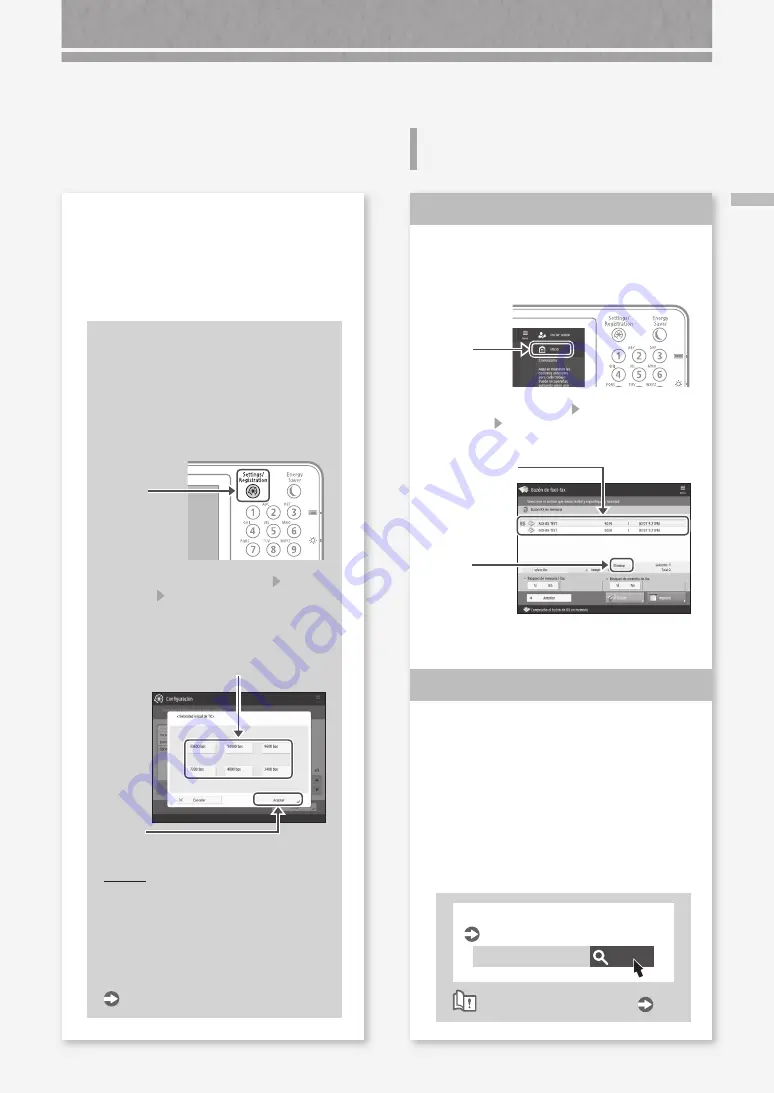
Si no puede recibir faxes
Elimine los documentos innecesarios
de la memoria para aumentar el
espacio libre.
1.
Pulse
2.
Pulse [Buzón de fax/I-fax] [Buzón RX en
memoria] [Buzón RX en memoria] en la
pantalla táctil.
3.
Seleccione los
documentos
innecesarios.
4.
Pulse
5.
Pulse [Sí].
Encuentre la solución usando de
referencia el número que sigue al
símbolo "#".
Si falla la recepción o la transmisión de un
fax, aparece un número (código de error)
precedido de "#" en la pantalla táctil o en
un informe de gestión de comunicaciones.
El código de error le servirá para encontrar
la solución.
Buscar
0YAS-0K2
Soluciones para los códigos de error
Guía de usuario
Cómo utilizar el número de búsqueda
Solución
1
Solución
2
Si utiliza una línea de fibra óptica o de
telefonía a través de IP
Pueden producirse errores de comunicación en
función de la calidad de la línea.
Para obtener más información, póngase en
contacto con su compañía telefónica.
Reduzca la velocidad de
transmisión del fax.
Reducir la velocidad de
transmisión de fax puede
ayudar a disminuir los errores de
comunicación.
1.
Pulse
2.
Pulse [Opciones de funciones]
[Enviar] [Opciones de fax] en la
pantalla táctil.
3.
Pulse [Velocidad inicial de TX].
4.
Seleccione una velocidad inferior a la
actual.
5.
Pulse
PUNTO
También puede establecer, para cada
destino, la velocidad de transmisión
desde las preferencias de la libreta de
direcciones o desde los botones de
acceso directo.
Para obtener más información
Guía de usuario
Содержание imageRUNNER C475iF III
Страница 1: ...What is Your Question FAQ Guide English P 3 Español P 49 ...
Страница 2: ......
Страница 46: ......
Страница 48: ......
Страница 90: ......


