


Placing Originals
1-60
1
Bef
ore
Y
ou Star
t Using
This Machine
•
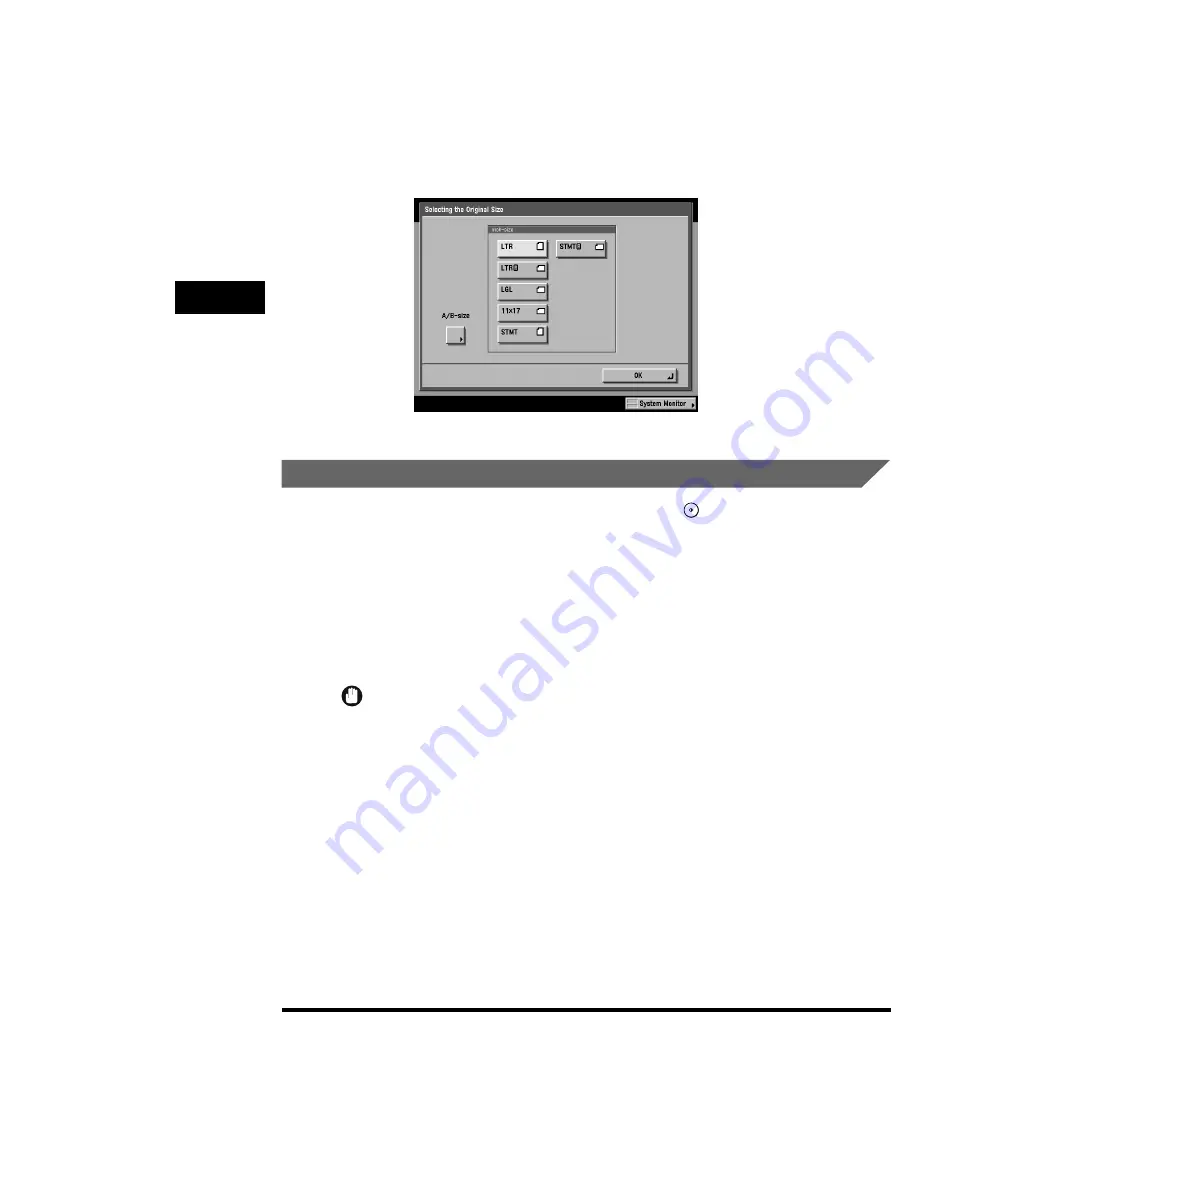
STMT and postcard size paper cannot be detected. Follow the instructions on the
touch panel display, and specify the original size or manually select the paper size.
Placing Originals in the Feeder
Place a stack of originals into the feeder, and press
(Start). The machine
automatically feeds the originals onto the platen glass and scans them. Two-sided
originals can also be automatically scanned as two-sided documents.
You can place the following originals into the feeder’s original supply tray:
•
Weight: One-sided scanning: 10 to 32 Ib bond (38 to 128 g/m
2
)
Two-sided scanning: 13 to 32 Ib bond (50 to 128 g/m
2
)
•
Size: 11" x 17", LGL, LTR, LTRR, STMT
•
Tray capacity: 100 sheets (20 Ib bond (80 g/m
2
))
IMPORTANT
•
Do not place the following types of originals in the feeder:
- Originals with tears or large binding holes
- Severely curled originals or originals with sharp folds
- Clipped or stapled originals
- Carbon backed paper or other originals which might not feed smoothly
- Transparencies and other highly transparent originals
•
Check the condition of originals which have been fed through the feeder 30 times. (This
frequency differs depending upon the quality of the paper.) Originals which have been
fed through the feeder 30 times can become folded or wrinkled and might not feed
smoothly.
•
If the feeder rollers are dirty from scanning originals written in pencil, perform the feeder
cleaning procedure. (See “While Using the Feeder (Feeder Cleaning),” on p. 5-25.)
•
When placing folded originals, smooth out the folds first, then place them into the feeder.
Содержание imageRUNNER 6020 Series
Страница 2: ......
Страница 3: ...imageRUNNER 6020i 5020i 6020 5020 Reference Guide ...
Страница 140: ...Priority Printing 2 32 2 Checking Job and Device Status 4 Press Done The display returns to the Basic Features screen ...
Страница 224: ...Report Settings 3 80 3 Customizing Settings ...
Страница 236: ...Setting Department ID Management Dept ID Management 4 12 System Manager Settings 4 7 Press OK 8 Press Limit Functions ...
Страница 340: ...LDAP Server Settings 4 116 System Manager Settings 4 ...
Страница 484: ...Card Reader C1 7 62 Optional Equipment 7 ...
Страница 512: ...Index 8 28 8 Appendix ...
Страница 520: ... viii ...
Страница 522: ... x ...
Страница 523: ......