Address Book
4-27
Sp
ecifying
De
st
ina
tions Easily an
d Qu
ic
kl
y
4
●
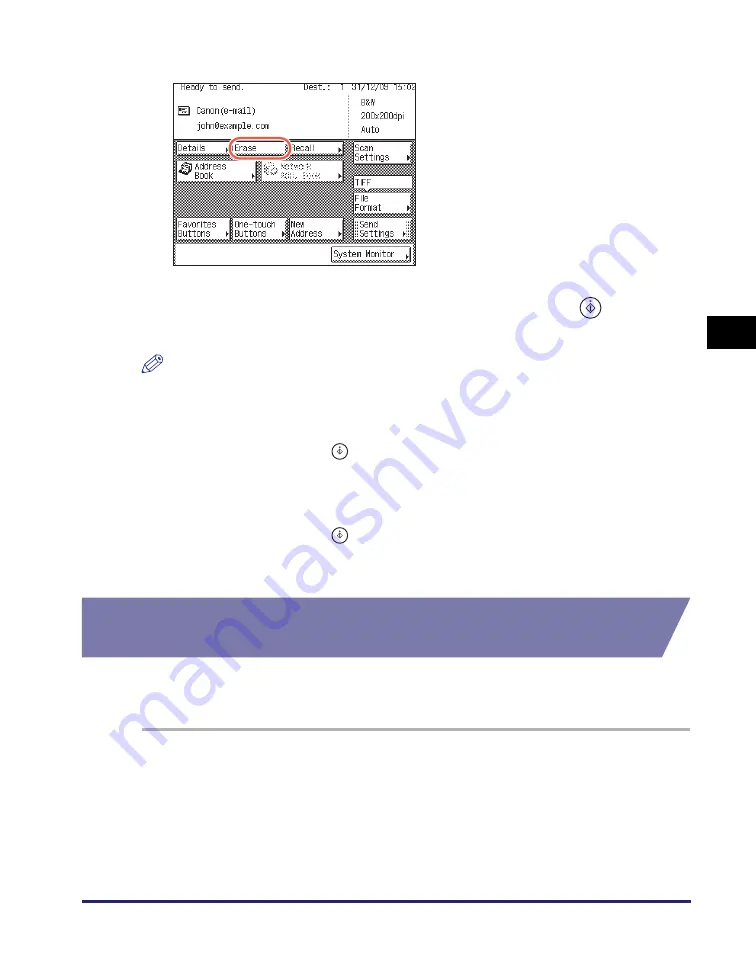
If you want to delete the
s
elected de
s
tination:
4
S
pecify the
s
can
s
ettin
gs
,
s
end
s
ettin
gs
, and pre
ss
(
S
tart) to
s
end document
s
.
NOTE
•
For the basic procedures for sending documents, see “Basic Sending Methods,” on
p. 2-2.
•
If the settings under <Authentication Method> in <SMTP Authentication Settings> are
configured to display an authentication screen, the Enter Network Password screen
appears when you press
(Start) to send e-mails or I-faxes. (See Chapter 4,
“Customizing Settings,” in the
Remote UI Guide
.) Specify the user name and
password
➞
press [OK].
•
If the settings under <When Sending File to Address Registered in Address Book> are
configured to display an authentication screen, the Enter Network Password screen
appears when you press
(Start) to send documents to a file server. (See Chapter
4, “Customizing Settings,” in the
Remote UI Guide
.) Specify the user name and
password
➞
press [OK].
Editing/Deleting the Registered Information in the Address
Book
Follow this procedure to edit or delete the registered information in the Address
Book.
1
Di
s
play the Re
g
i
s
ter Addre
ss
s
creen.
For help, see step 1 in “E-Mail Addresses,” on p. 4-3.
❑
Press [Erase].
The selected destination is deleted from
the destination list.
Содержание imageRUNNER 2545i
Страница 2: ...imageRUNNER 2545i 2545 2535i 2535 2530i 2530 2525i 2525 2520i 2520 Sending and Facsimile Guide ...
Страница 137: ...Address Book 4 30 Specifying Destinations Easily and Quickly 4 4 Press Reset to return to the top screen ...
Страница 175: ...LDAP Server 4 68 Specifying Destinations Easily and Quickly 4 ...
Страница 257: ...Reception Related Items 7 44 Customizing the Machine s Settings 7 ...
Страница 299: ...Self diagnostic Display 9 24 Troubleshooting 9 ...
Страница 319: ...Index 10 20 Appendix 10 U User s Data List 8 8 ...
Страница 320: ...Index 10 21 10 ...


