Specifying Common Settings
5-22
Customizing Settings
5
Adjusting the Print Density
You can adjust the density scale if differences between the image on the original
and the print occur.
NOTE
The default setting is in the middle '5', on a scale of 1 to 9.
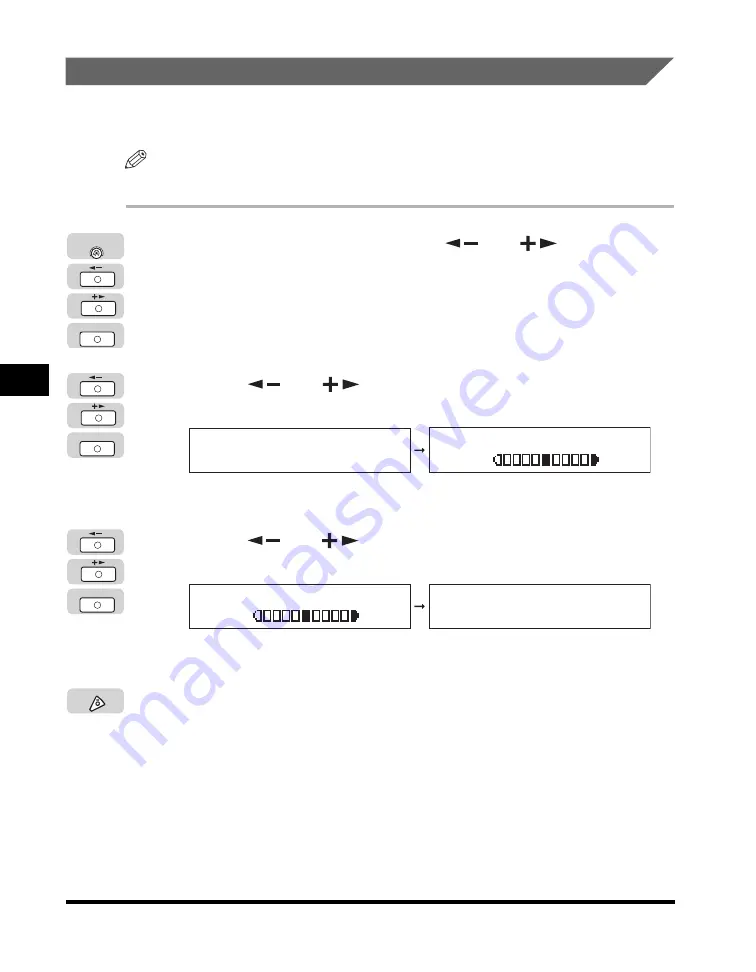
1
Press [Additional Functions]
➞
[
] or [
] until
<COMMON SETTINGS> appears
➞
press [OK].
If necessary, see the screen shots in steps 1 and 2 of "Initial Function at Power
ON," on p. 5-15.
The <COMMON SETTINGS> menu appears.
2
Press [
] or [
] until <PRINTER DENSITY> appears
➞
press [OK].
The <PRINTER DENSITY> menu appears.
3
Press [
] or [
] to adjust the density from light (-LT) to
dark (DK+)
➞
press [OK].
The Printer Density is adjusted.
4
Press [Stop] to return to the Standby display.
OK
Additional
Functions
OK
COMMON SETTINGS
5.PRINTER DENSITY
PRINTER DENSITY
-LT DK+
OK
PRINTER DENSITY
-LT DK+
COMMON SETTINGS
6.AUTO DRAWER SELCT
Stop
Содержание IMAGERUNNER 2016
Страница 2: ...imageRUNNER 2020 2016 Reference Guide ...
Страница 290: ...Report Samples 9 2 Appendix 9 Report Samples User s Data List Department ID List ...
Страница 291: ...Report Samples 9 3 Appendix 9 Activity Report One Touch Speed Dialing List One Touch Speed Dialing List Detailed ...
Страница 292: ...Report Samples 9 4 Appendix 9 Coded Speed Dialing List Coded Speed Dialing List Detailed Group Dial List ...


