


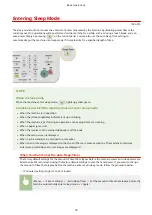


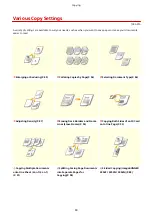

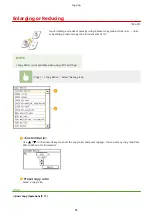

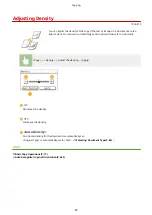
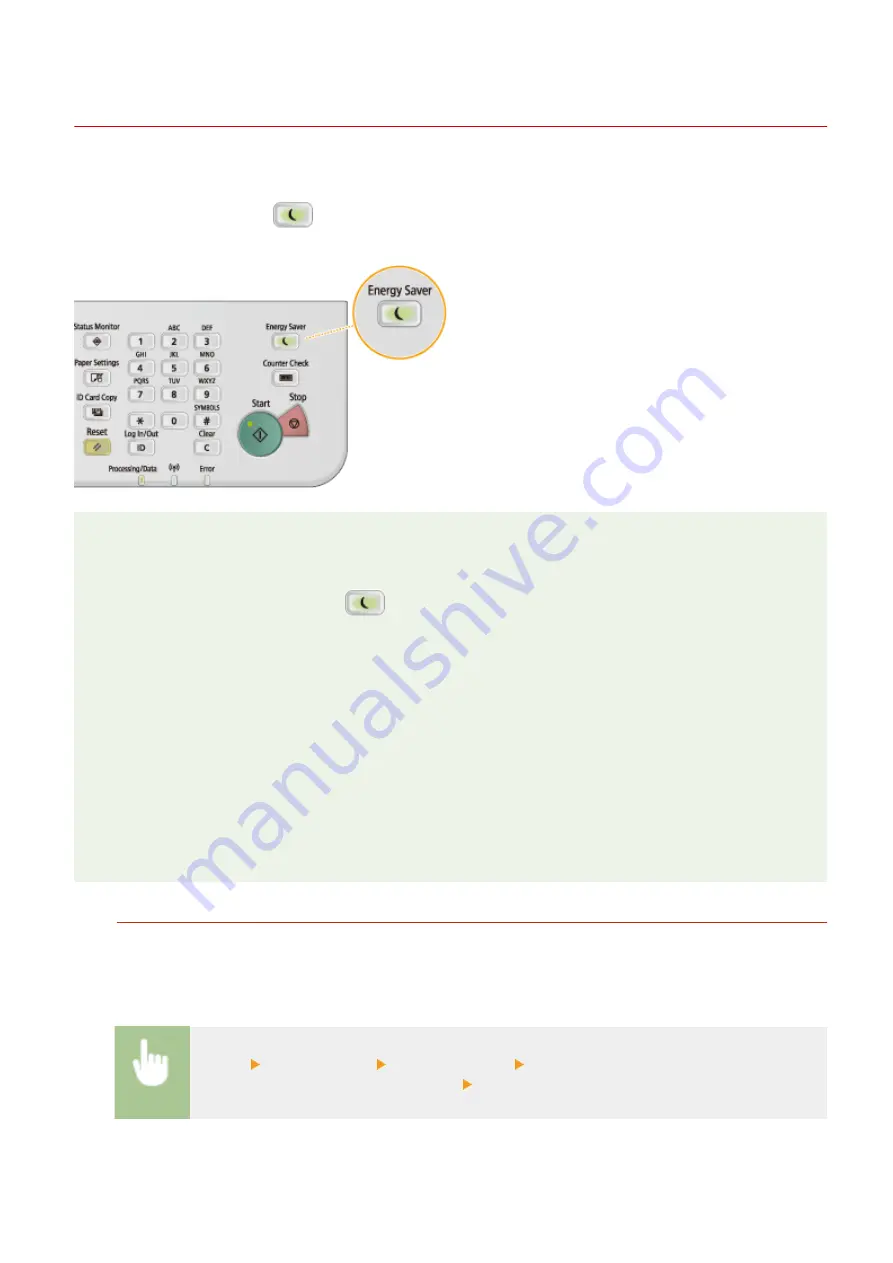
Entering Sleep Mode
1053-015
The sleep mode function reduces the amount of power consumed by the machine by disabling power flow to the
control panel. If no operations will be performed on the machine for a while, such as during a lunch break, you can
save power simply by pressing
on the control panel. You can also use the Auto Sleep Time setting to
automatically put the machine into sleep mode if it remains idle for a specified length of time.
NOTE
When in sleep mode
When the machine enters sleep mode,
lights up yellow green.
Situations in which the machine does not enter sleep mode
●
When the machine is in operation
●
When the [Processing/Data] indicator is lit up or blinking
●
When the machine is performing an operation such as adjustment or cleaning
●
When a paper jam occurs
●
When the receiver of an external telephone is off the hook
●
When the menu screen is displayed
●
When a job is waiting to be scanned to a computer
●
When an error message is displayed on the screen (There are some exceptions. The machine sometimes
enters sleep mode when error messages are displayed.)
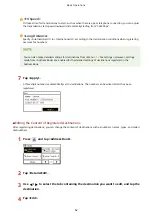
When You Want to Set the Auto Sleep Timer
The factory default settings for the amount of time that elapses before the machine enters auto sleep mode are
listed below. We recommend using the factory default settings to save the most power. If you want to change
the amount of time that elapses before the machine enters auto sleep mode, follow the procedure below.
●
10 minutes (setting range is 3 to 60 minutes)
<Menu> <Timer Settings> <Auto Sleep Time> Set the amount of time that elapses before the
machine automatically enters sleep mode <Apply>
Basic Operations
72
Содержание imageRunner 2004
Страница 1: ...imageRUNNER 2204F 2204N 2004N 2004 User s Guide USRMA 0997 01 2017 03 en Copyright CANON INC 2017 ...
Страница 28: ...Control Panel 1053 00A imageRUNNER 2204F 2204N 2004N Basic Operations 20 ...
Страница 56: ... You can use only the paper printed with this machine Basic Operations 48 ...
Страница 59: ...Basic Operations 51 ...
Страница 100: ...LINKS Basic Copy Operations P 77 2 Sided Copying imageRUNNER 2204F 2204N 2004N P 88 Copying 92 ...
Страница 103: ...Basic Copy Operations P 77 Copying 95 ...
Страница 108: ...Basic Copy Operations P 77 Copying 100 ...
Страница 115: ... Sending Faxes Directly from Your Computer Sending Faxes from Your Computer PC Fax P 150 Faxing imageRUNNER 2204F 107 ...
Страница 204: ...Printing a Document P 174 Printing Borders P 194 Printing Watermarks P 197 Using the Machine as a Printer 196 ...
Страница 213: ...Printing a Document P 174 Using the Machine as a Printer 205 ...
Страница 246: ...LINKS Configuring Scan Settings in ScanGear MF P 239 Using the Machine as a Scanner 238 ...
Страница 279: ...6 Click Print Printing starts Linking with Mobile Devices imageRUNNER 2204F 2204N 2004N 271 ...
Страница 283: ...6 Click Fax Fax sending starts Linking with Mobile Devices imageRUNNER 2204F 2204N 2004N 275 ...
Страница 358: ...4 Click Edit 5 Specify SNMPv1 settings Network imageRUNNER 2204F 2204N 2004N 350 ...
Страница 388: ...LINKS Configuring Printer Ports P 333 Security 380 ...
Страница 394: ...Registering Address Book from Remote UI imageRUNNER 2204F P 416 Security 386 ...
Страница 483: ...Troubleshooting 475 ...
Страница 531: ... Page Setup tab Paper Type Plain L Troubleshooting 523 ...
Страница 533: ...Loading Paper P 40 Check whether mixed sizes and types of paper are loaded together Troubleshooting 525 ...
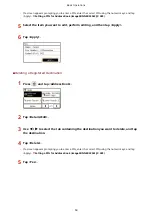
Страница 548: ... After cleaning is completed and the message Finished appears press to return to the Home Screen Maintenance 540 ...
Страница 579: ...For more information about this function see Storing Received Faxes into Memory Memory Reception P 141 Appendix 571 ...
Страница 596: ... Printable Area The shaded areas in the image below indicate the printable area of the document Appendix 588 ...
Страница 608: ...7 Click Next Exit Viewing the e Manual Double click the shortcut icon of the e Manual on the desktop Appendix 600 ...
Страница 611: ...4 Click Next Uninstall begins Wait a moment This process may take some time 5 Click Exit 6 Click Back Exit Appendix 603 ...
Страница 612: ...Appendix 604 ...
Страница 624: ...Appendix 616 ...
Страница 637: ... 10 this software is based in part on the work of the Independent JPEG Group ...
Страница 647: ... 20 including the GNU Public Licence ...