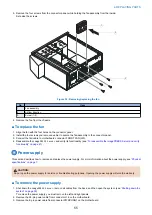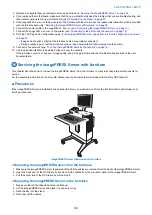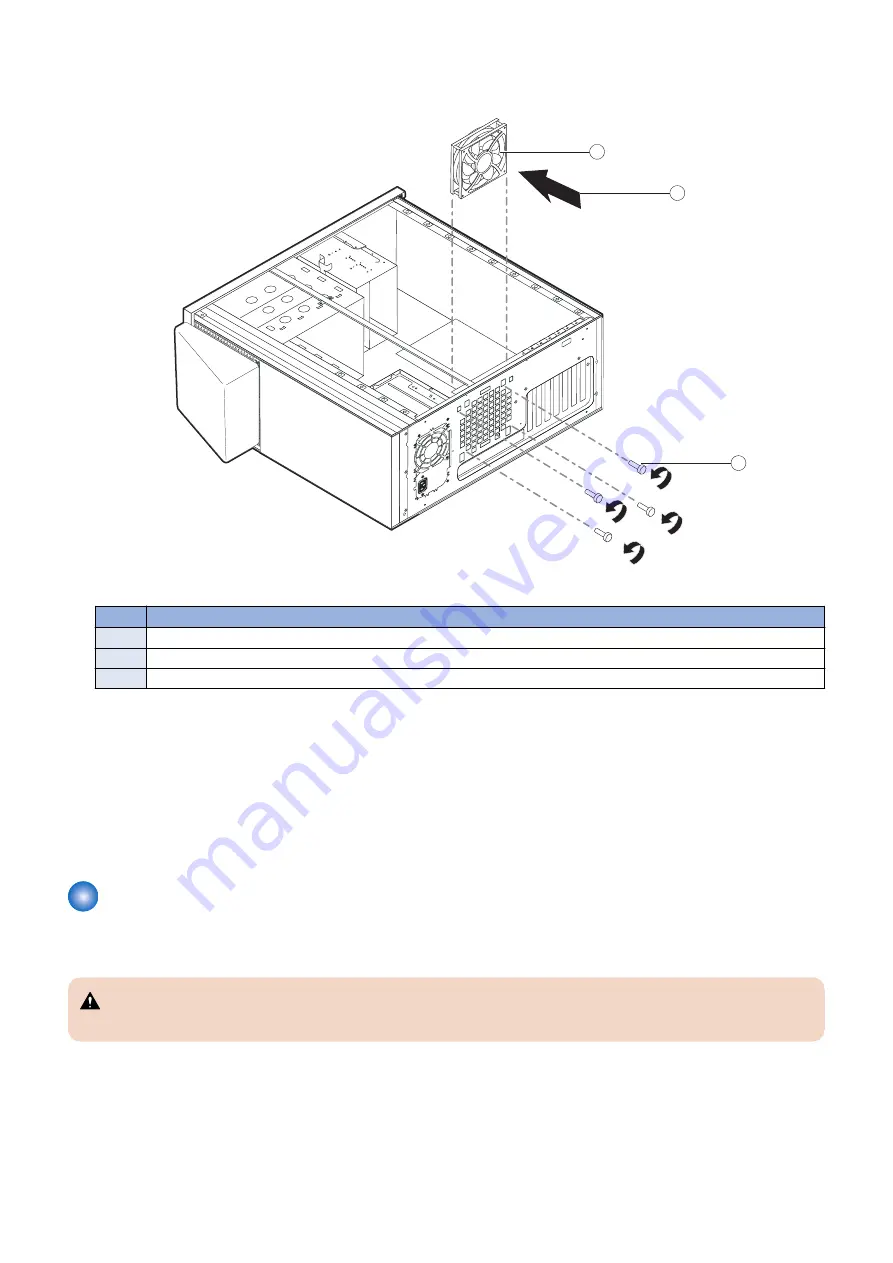
3. Remove the four screws from the connector panel, while holding the fan assembly from the inside.
Set aside the screws.
1
3
2
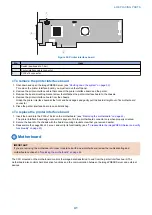
Figure 32: Removing/replacing the fan
No.
Item
1
Fan assembly
2
Airflow direction
3
Screw (1/4)
4. Remove the fan from the chassis.
■ To replace the fan
1. Align the fan with the four holes on the connector panel.
2. Install the four screws you removed earlier to secure the fan assembly to the connector panel.
3. Connect the fan cable to motherboard connector FRONT FAN (J20).
4. Reassemble the
imagePRESS Server
and verify its functionality (see
“To reassemble the imagePRESS Server and verify
)
Power supply
This section describes how to remove and replace the power supply. For more information about the power supply, see
.
CAUTION:
Do not open the power supply for service or troubleshooting purposes. Opening the power supply will void the warranty.
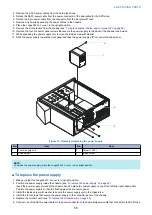
■ To remove the power supply
1. Shut down the
imagePRESS Server
, remove all cables from the back, and then open the system. (see
To remove the power supply, you must remove the left and right panels.
2. Remove the 24-pin power cable from connector J18 on the motherboard.
3. Remove the 8-pin power cable from connector PWRCONN1 on the motherboard.
4. REPLACING PARTS
55
Содержание ImagePRESS Server H350 V2
Страница 8: ...Introduction 1 Introduction 2 Specifications 7 ...
Страница 17: ...INSTALLING HARDWARE 2 Installing Hardware 11 ...
Страница 26: ...USING THE IMAGEPRESS SERVER 3 Using the imagePRESS Server 20 ...
Страница 35: ...REPLACING PARTS 4 Replacing parts 29 ...
Страница 38: ...1 2 Figure 19 Inside the front panel No Item 1 DVD drive 2 DVD eject button 4 REPLACING PARTS 31 ...
Страница 86: ...INSTALLING SYSTEM SOFTWARE 6 Installing System Software 80 ...
Страница 91: ...TROUBLESHOOTI NG 7 Troubleshooting 85 ...
Страница 104: ...INSTALLATION PROCEDURE 8 Installation 98 Removable HDD Kit B5 108 ...

