26
Using the Scanner
Brightness Adjustment
Select [Brightness] on the menu tool
bar and press OK to display the slider
at the bottom of the menu tool bar
(the slider automatically disappears
if no operation is conducted for 3 seconds after the slider is displayed). If the
menu tool bar is not displayed, press the
,
(brightness keys) on the
remote control to display the slider. Adjust the brightness of the image
displayed on the screen by pressing the arrow keys (< >) on the remote control
or moving the slider to the left or right.
Note
• When the brightness adjustment screen is displayed, the current brightness
setting is indicated.
• The slider on the adjustment screen is linked to operation of the keys on the
remote control.
• Move the slider to the right to make the image lighter and to the left to make
the image darker.
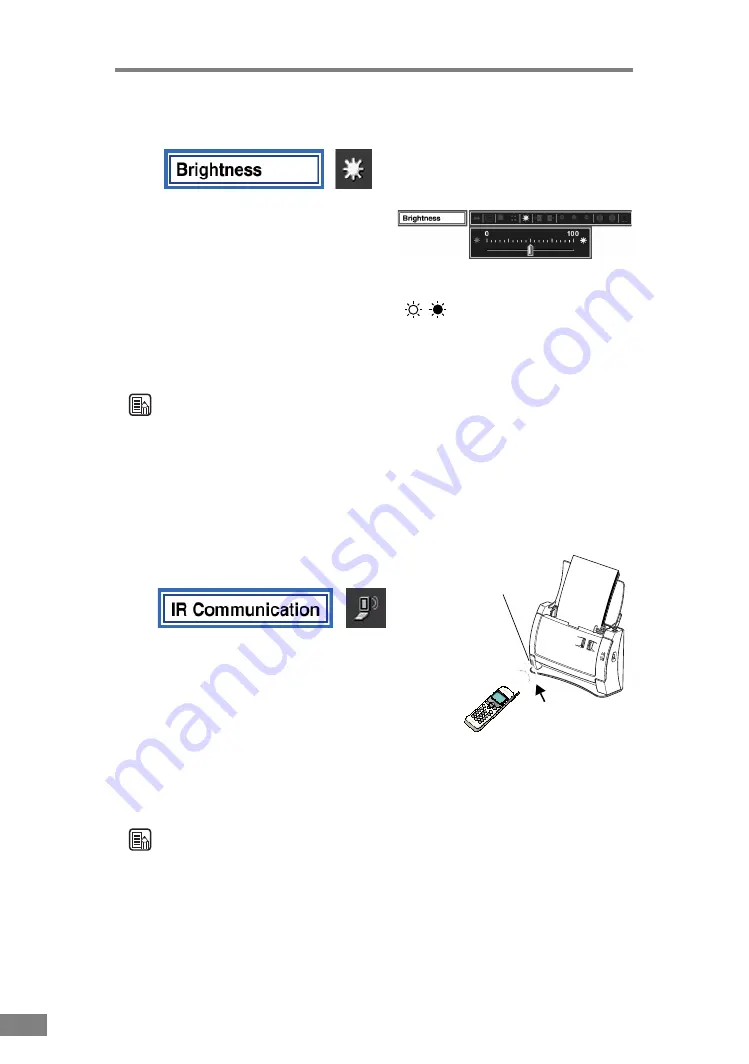
Infrared Communication
Image data can be transferred into the main
memory via infrared communication from a
mobile device. For example, you can display
photo images taken by the built-in digital
camera of a cellular telephone by transmitting
the data to the scanner. A message is displayed
when infrared communication starts. Aim the mobile device toward the
infrared sensor and start to transmit the data. When the data has been
transmitted successfully, a message will appears.
Note
• Your mobile device must support infrared communication. (The scanner is
not guaranteed to be compatible with all mobile devices.)
• Infrared communications can only be used when the scanner is in the Main
Memory mode.
• The scanner supports JPEG files (baseline mode), and file sizes of up to
4MB.
Infrared light
sensor
Approx. 10 cm
Содержание imageFORMULA DR-2050SP
Страница 33: ...30 Using the Scanner ...
Страница 41: ...38 Scanner Settings ...
Страница 42: ...Chapter 5 Troubleshooting Clearing Paper Jams 40 Screen Messages 41 If Nothing is Displayed on the Screen 45 ...
Страница 49: ...46 Troubleshooting ...
Страница 50: ...Chapter 6 Appendix Specifications 48 Scanner 48 Remote Control 49 ...
Страница 53: ......


