


6. Restart this machine, enter service mode, and confirm that the setting information is reflected. This completes the
procedure for importing a setting information file.
7. Enter service mode, and set the following item to "0".
• COPIER > OPRION > USER > SMD-EXPT
CAUTION:
Since the screen of export function can also be accessed by the user, be sure to disable the [SMD-EXPT] setting (setting
value: 0).
Procedure for Exporting/Importing Service Mode Setting Information
Service mode setting information can be backed up and restored by using service mode functions. The backup file can be saved
to a USB flash drive or a storage in the machine.
Backup/restoration to a USB flash drive
COPIER > FUNCTION >SYSTEM > EXPORT
COPIER > FUNCTION >SYSTEM > IMPORT
Backup/restoration to a storage in the machine
COPIER > FUNCTION >SYSTEM > SAVE-SM
COPIER > FUNCTION >SYSTEM > RSTR-SM
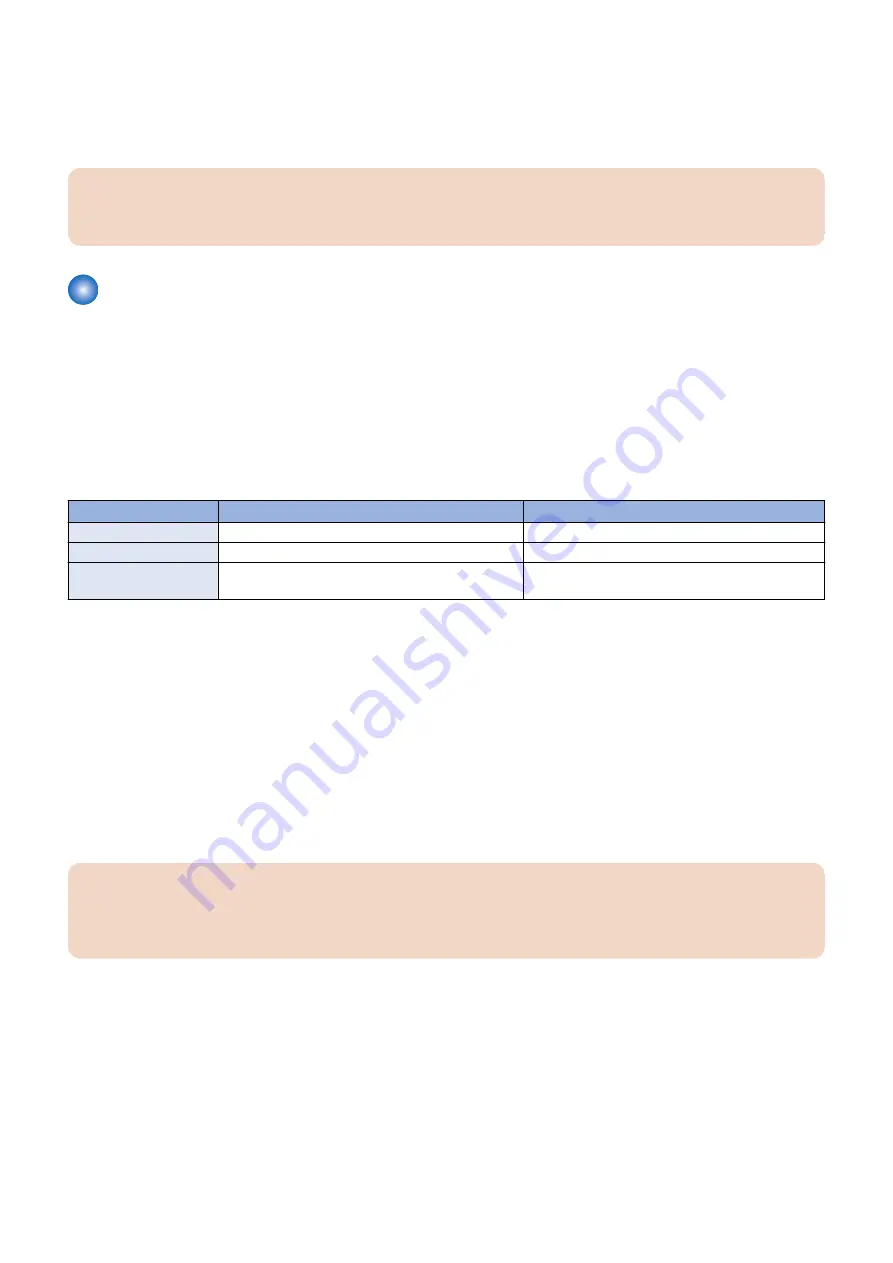
Backup/restoration to a USB flash drive
Backup/restoration to a storage in the machine
Storage destination
USB flash drive
Storage in the machine
Number of files saved
Depends on the capacity of the USB flash drive
One
Duplication of the setting
values for other machines
Possible
Not possible
■ Procedure for Exporting to a USB Flash Drive
Use the service mode function to save the service mode setting information to a USB flash drive.
This operation can be performed both from the Control Panel and remote UI.
The following USB flash drives can be used for export/import.
• USB flash drive in FAT 16 format (storage capacity: 2 GB)
• USB flash drive in FAT 32 format (storage capacity: 32 GB)
Note that the descriptions in parenthesis in the procedure are the descriptions in the case of remote UI.
1. Connect the USB flash drive to the USB Memory Port.
2. Enter service mode, and execute the following service mode.
• COPIER > FUNCTION > SYSTEM > EXPORT
CAUTION:
Even if the service mode is executed without connecting a USB flash drive, an error is not displayed.
It looks as if the process has been completed successfully, but the file has not been exported to anywhere.
For the reason shown above, be sure to check before execution that a USB flash drive is connected.
3. The message displayed during the process will disappear. When the display has returned to the original state,
remove the USB flash drive.
4. Check that a setting information file (service.dcm) exists in the directory directly under the root of the USB flash
drive.
This completes the export of a setting information file.
■ Procedure for Import from USB Flash Drive
1. Save the setting information file (service.dcm) to be imported to directly under the root of the USB flash drive.
2. Connect the USB flash drive to the USB Memory Port.
3. Technical Explanation (System)
56
Содержание imageCLASS X LBP1238
Страница 11: ...Safety Precautions Laser 2 Power Supply Lithium Battery 2 Toner Safety 3 Notes on works 3...
Страница 15: ...Product Overview 1 Product Lineup 6 Features 8 Specifications 9 Parts Name 12...
Страница 17: ...Name Remark MiCARD Attachment Kit B1 IC Card Reader sales company s option is required 1 Product Overview 7...
Страница 78: ...Periodical Service 4 Periodically Replaced Parts 69 Consumable Parts 70 Periodical Services 71...
Страница 79: ...Periodically Replaced Parts This machine does not have any periodically replaced parts 4 Periodical Service 69...
Страница 80: ...Consumable Parts This machine does not have any consumable parts 4 Periodical Service 70...
Страница 81: ...Periodical Services This machine does not require any periodical service 4 Periodical Service 71...
Страница 96: ...1 2 1x 3 100 mm 5 Parts Replacement and Cleaning 86...
Страница 105: ...2 3x 1x 3 3x 4 1x 2x 5 Parts Replacement and Cleaning 95...
Страница 106: ...5 3x 6 7 3x 5 Parts Replacement and Cleaning 96...
Страница 108: ...4 2x Removing the Control Panel Unit Procedure 1 1x 2 1x 1x 5 Parts Replacement and Cleaning 98...
Страница 109: ...3 2x 4 5 2x 1x 5 Parts Replacement and Cleaning 99...
Страница 110: ...6 7 8 2x 1x 2x 5 Parts Replacement and Cleaning 100...
Страница 122: ...Procedure 1 1x 9x 4x 1x 5 Parts Replacement and Cleaning 112...
Страница 134: ...3 4 5 2x 6 5 Parts Replacement and Cleaning 124...
Страница 136: ...Adjustment 6 Actions at Parts Replacement 127...
Страница 140: ...Troubleshooting 7 Test Print 131 Cartridge Log Report 137 Troubleshooting Items 139 Debug Log 141...
Страница 153: ...Error Jam Alarm 8 Overview 144 Error Code 148 Jam Code 154 Alarm Code 156...


