


7-7
U
sing
the
S
can
Func
tions
E-mailing Scanned Documents
Attach scanned documents to e-mails and send them to a
specified destination.
This section describes the basic procedure.
Note
Preparing to Use the E-mail Functions
You can send scanned documents to your e-mail application. You
can convert scanned documents into TIFF files and send them to
the destination (e-mail application) as e-mail attachments.
Please read “Network Settings” in the e-Manual and configure your
e-mail settings before using the e-mail function.
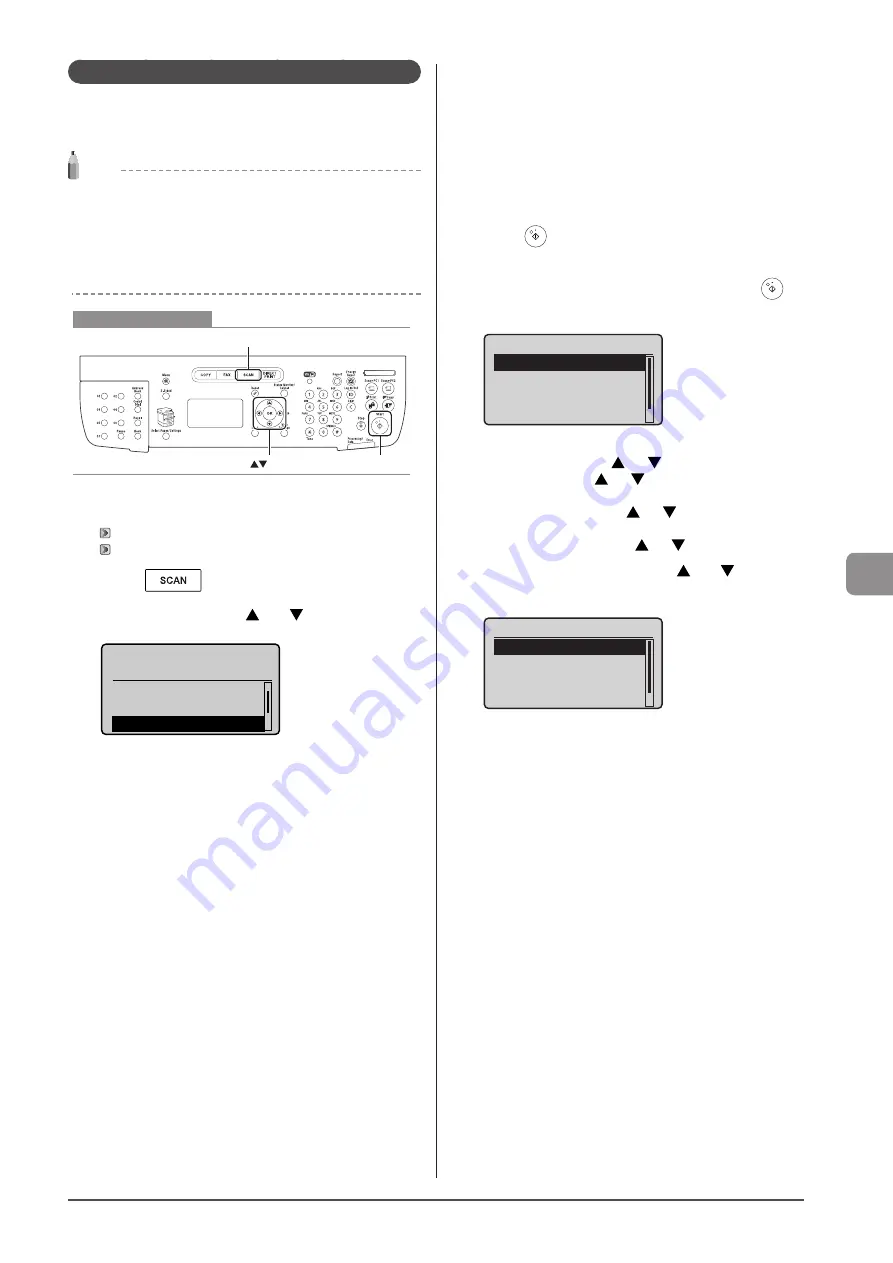
Keys to be used for this operation
OK
Start
SCAN
1
Place your document.
2
Press [
].
3
Select <E-Mail> using [ ] or [ ] and press [OK].
Select the scan type.
Remote Scanner
Memory Media
4
Specify the destination.
Specify destinations in the following ways.
For details on the setting procedure, see “Scanning” in the e-Manual.
• input directly
• by selecting a one-touch key
• by selecting a coded dial code
• from the Address book
• under sequential broadcasting
5
Specify the scan settings based on your purpose
of the scan.
The following settings can be changed.
For details on the setting procedure, see “Scanning” in the e-Manual.
• Scan size
• Color Mode
• File Format
• Density
• Original orientation
• Original Type
• 2-Sided Original
• Sharpness
• Data Size
The settings specified here are effective only for the current task. To
make the settings effective for all e-mail send
operations, see “Scanning” in the e-Manual.
6
Specify the e-mail settings as needed.
The following settings can be changed.
For details on the setting procedure, see “Scanning” in the e-Manual.
• Subject/Body
• Reply-to
• Priority
The settings specified here are effective only for the current task.
To make the settings effective for all e-mail send operations, see
“Scanning” in the e-Manual.
7
Press [
] (Start).
Scanning starts.
8
To continuously scan the document, press [
]
(Start).
Scan Next: Press Start
<Start Sending>
<Cancel>
Destinations: 1
No. of TX Pages: 1
To Cancel the scan
(1) Select <Cancel> using [
] or [
] and press [OK].
(2) Select <Yes> using [
] or [
] and press [OK].
To confirm the destination
Select <Destinations: > using [
] or [
] and press [OK].
To confirm the number of transferred pages
Select <No. of TX Pages> using [
] or [
] and press [OK].
9
Select <Start Sending> using [ ] or [ ] and
press [OK].
Scan Next: Press Start
<Start Sending>
<Cancel>
Destinations: 1
No. of TX Pages: 1
The E-mail is sent.
Содержание imageCLASS MF5950dw
Страница 24: ...xxiv ...
Страница 68: ...3 14 Copying ...
Страница 88: ...5 14 Registering Destinations in the Address Book ...
Страница 140: ...8 16 Maintenance ...
Страница 168: ...10 8 Registering Setting the Various Functions ...


