D
ocumen
ts and P
rin
t M
edia
2-17
Setting Paper Size and Type
Setting Paper Size and Type
This section describes how to specify the paper size and type you are loading in the paper
cassette and the multi-purpose tray. Whenever you change the paper size and type in the
cassette and the tray, follow the procedure in this section to adjust the paper size and type
settings for the cassette and the tray.
For the Paper Cassette
The default settings are as follows:
<PAPER SIZE>: <LTR>
<PAPER TYPE>: <PLAIN PAPER>
1
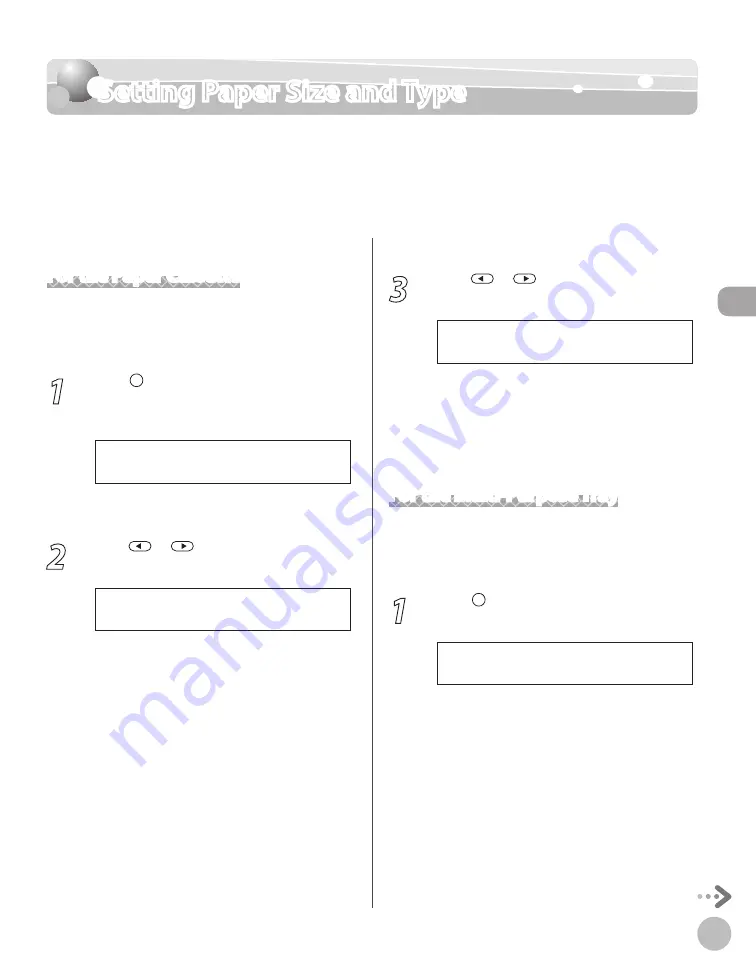
Press [Paper Settings] repeatedly to
select <CASSETTE 1> or <CASSETTE 2>,
then press [OK].
C A S S E T T E 1
<CASSETTE 2> is displayed only if the optional
paper cassette is attached.
2
Press
or
to select the paper size,
then press [OK].
L T R
P A P E R S I Z E ( C A S S )
You can select from the following paper sizes:
<LTR>, <LGL>, <A4>, <B5>, <A5>, <EXECUTIV>,
<OFICIO>, <BRAZIL-OFICIO>, <MEXICO-
OFICIO>, <GOVERNMENT-LETTER>,
<GOVERNMENT-LEGAL>, <FOOLSCAP>, or <A-
FLS>.
–
–
3
Press
or
to select the paper type,
then press [OK].
P L A I N P A P E R
P A P E R T Y P E ( C A S S )
You can select from the following paper types:
<PLAIN PAPER>, <PLAIN PAPER L>*,
<RECYCLED>, <COLOR>, or <HEAVY PAPER 1>.
* If paper curls excessively when printed with
<PLAIN PAPER> selected, select <PLAIN PAPER
L>.
For the Multi-Purpose Tray
You can register a frequently used paper size and
type for the multi-purpose tray. The default setting
is <OFF>.
1
Press [Paper Settings] repeatedly to
select <MP TRAY>, then press [OK].
M P T R A Y
Содержание imageCLASS MF5850dn
Страница 34: ...Before Using the Machine 1 9 Operation Panel Send Operation Panel MF5880dn MF5850dn ...
Страница 68: ...Copying 3 3 Overview of Copy Functions p 3 17 p 3 25 p 3 22 ...
Страница 99: ...Copying 3 34 ...
Страница 102: ...Printing 4 3 Overview of the Print Functions p 4 9 ...
Страница 134: ...Fax 6 3 Overview of Fax Functions p 6 19 p 6 59 p 6 55 ...
Страница 198: ...E Mail MF5880dn only 7 3 Overview of E Mail Functions ...
Страница 203: ...E Mail MF5880dn only 7 8 ...
Страница 206: ...Scanning 8 3 Overview of the Scanner Functions ...
Страница 217: ...Scanning 8 14 ...
Страница 233: ...11 6 Maintenance Cleaning the Machine 7 Close the ADF 8 Reconnect the power cord and turn ON the main power switch ...


