Fax
6-31
2-Sided Documents
2-Sided Documents
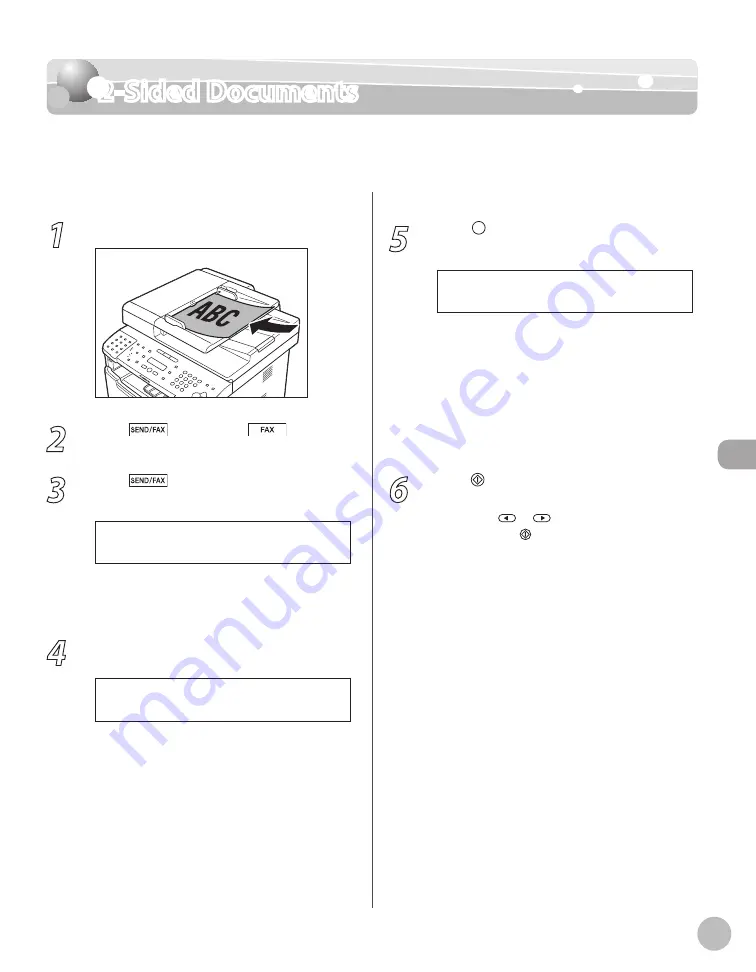
You can set the machine to automatically turn over 2-sided documents that are placed in the
ADF, and scan each side separately.
1
Place documents in the ADF.
2
Press
[SEND/FAX]/
[FAX].
3
Press
[SEND/FAX] repeatedly to
select <FAX>, then press [OK].
S E L E C T : O K
F A X
If the model of your machine is MF5850dn and
no USB memory is inserted in the USB memory
port, skip this step.
4
Specify the destination.
T E L = 0 1 2 X X X X X X X
F A X N U M B E R
Ex.
For details, see “Specifying Destinations,” on p. 6-
5
Press [2-Sided] repeatedly to select the
binding type, then press [OK].
B O O K T Y P E
2 - S I D E D
<BOOK TYPE>: The front and back sides of the
document have the same top-bottom
orientation.
<CALENDAR TYPE>: The front and back sides
of the document have opposite top-bottom
orientations.
<OFF>: The machine does not automatically
scan both sides of the document.
6
Press [Start].
When you place the documents on the platen
glass, press
or
to select the document
size, then press [Start] for each document.
When scanning is complete, press [OK] to start
sending.
–
–
–
Содержание imageCLASS MF5850dn
Страница 34: ...Before Using the Machine 1 9 Operation Panel Send Operation Panel MF5880dn MF5850dn ...
Страница 68: ...Copying 3 3 Overview of Copy Functions p 3 17 p 3 25 p 3 22 ...
Страница 99: ...Copying 3 34 ...
Страница 102: ...Printing 4 3 Overview of the Print Functions p 4 9 ...
Страница 134: ...Fax 6 3 Overview of Fax Functions p 6 19 p 6 59 p 6 55 ...
Страница 198: ...E Mail MF5880dn only 7 3 Overview of E Mail Functions ...
Страница 203: ...E Mail MF5880dn only 7 8 ...
Страница 206: ...Scanning 8 3 Overview of the Scanner Functions ...
Страница 217: ...Scanning 8 14 ...
Страница 233: ...11 6 Maintenance Cleaning the Machine 7 Close the ADF 8 Reconnect the power cord and turn ON the main power switch ...


