1
2
3
4
2-8
4.
Specify the required settings.
For details, see “MF Toolbox Settings,” on p. 2-9.
If you want to keep the same settings for future scans, click
[Apply] before clicking [Start].
NOTE
With [Scan-1] and [Scan-2] buttons, you can set the different
settings for each. If you save the settings by clicking [Apply], the
settings will be effective next time.
5.
Click [Start].
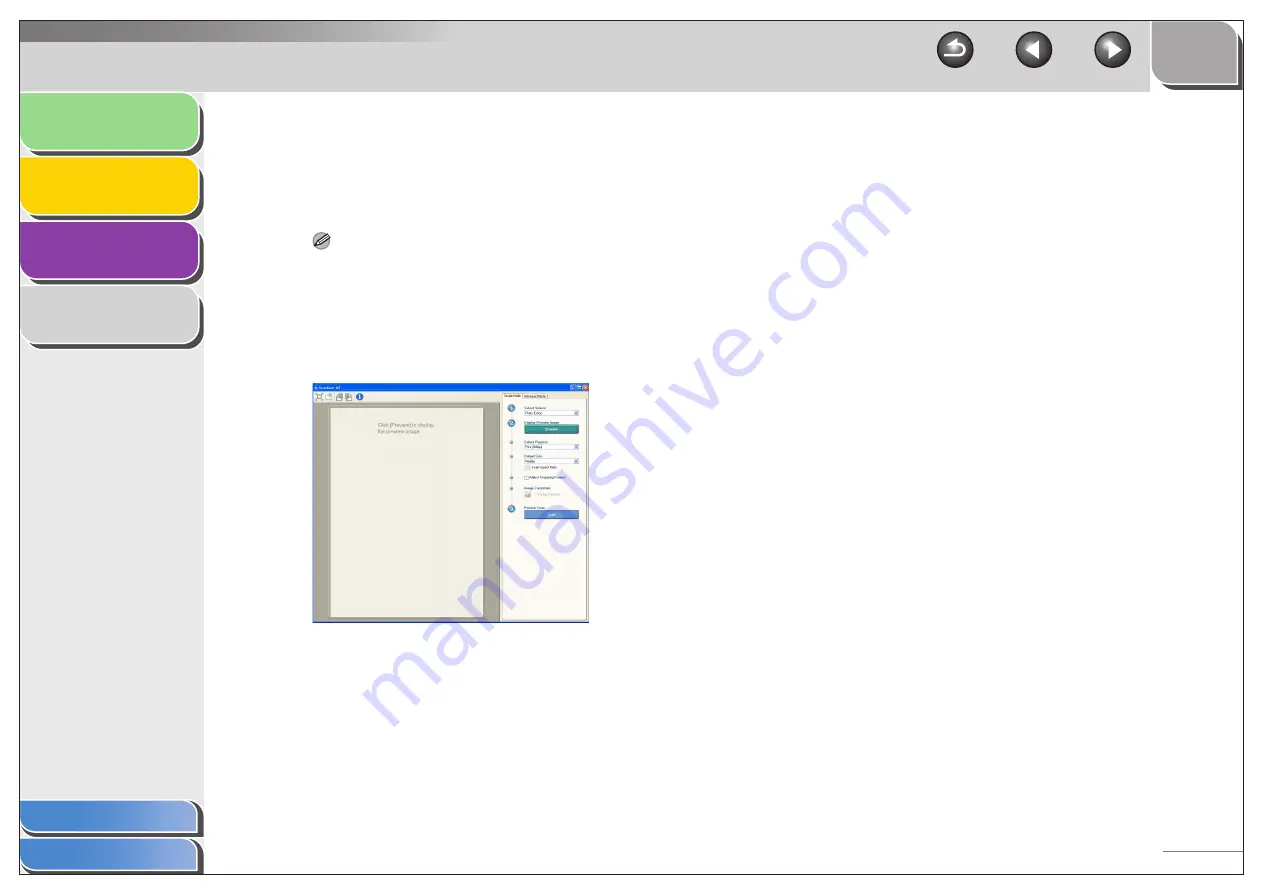
If you select [Display the Scanner Driver] in step 4, the
[ScanGear MF] dialog box will appear.
6.
Specify the required settings.
For details, see “Setting Preferences and Scanning with
ScanGear MF,” on p. 2-18.
7.
Click [Scan].
When scanning is completed, a folder with the scanning date will
be created in the [My Pictures] folder in the [My Documents]
folder, and your document will be saved in this folder.(In VISTA,
the folder will be created in the [Pictures] folder.)
If you have applications registered to the [Mail], [OCR], [PDF],
[Scan-1], or [Scan-2] buttons, the scanned image will be
displayed in the application or attached to an e-mail message
after scanning. For details, see “External Program (Mail
Program),” on p. 2-13.
For some models, the CD-ROM provided with the machine
contains the application Presto! PageManager which can be
used with the MF Toolbox. Presto! PageManager will be
registered in the [OCR] and [PDF] buttons of the MF Toolbox at
the time of installation.


