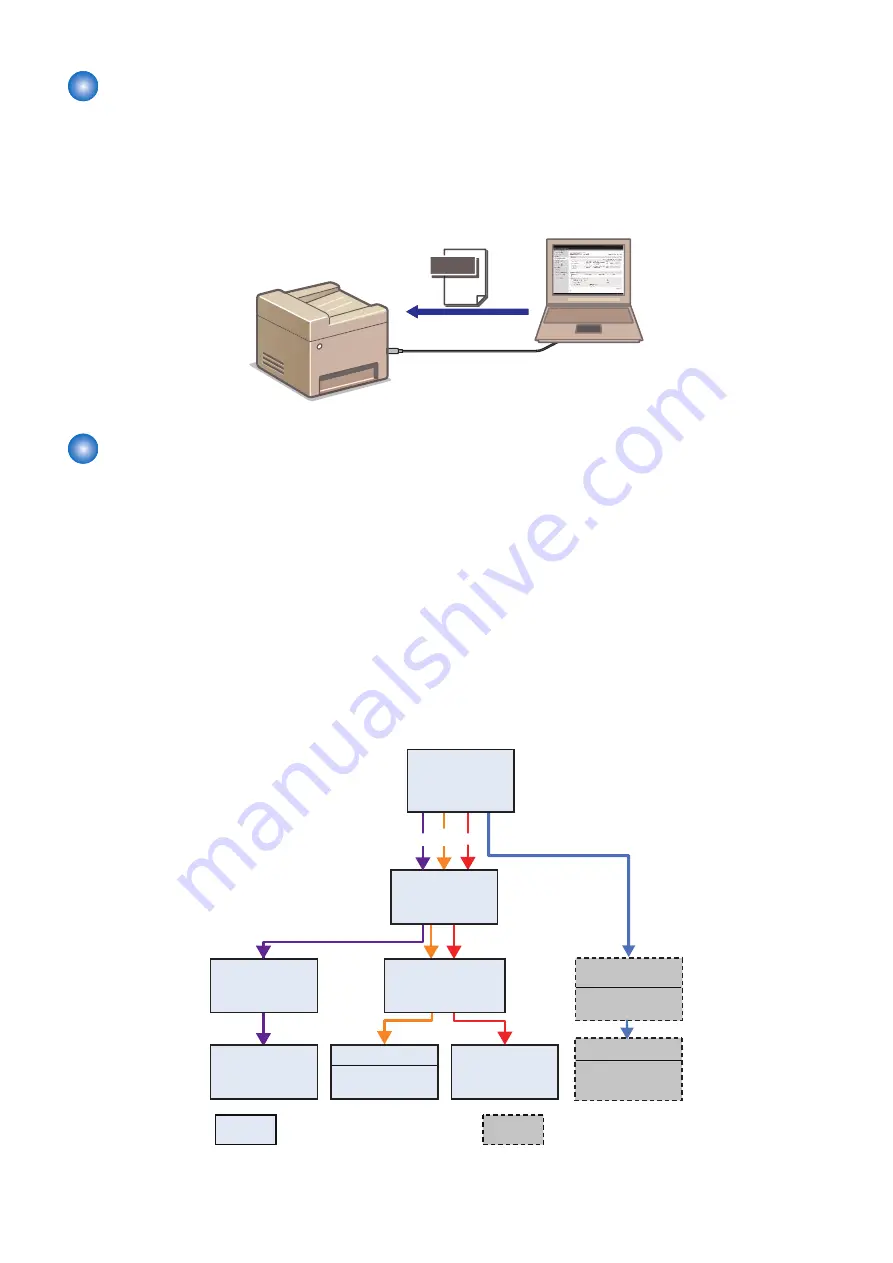
Version Upgrade Using UST
UST is included in the firmware for the machine that can be downloaded from the website of CINC. Firmware is downloaded as
a zip file and a folder containing UST is extracted by decompressing the file.
When executing UST on the PC connected to the machine with a USB Cable, the firmware can be upgraded by downloading it
from the PC to the machine. For the detailed procedure, refer to the User Support Tool Operation Guide stored in the
decompressed folder. The User Support Tool Operation Guide is also available from the website of CINC.
Firmware
PC
USB cable/
Network cable
Firmware
Update Using Updater
Updater provides functions that enable network communication with Content Delivery System (hereinafter CDS) to install
firmware, MEAP applications and system options.
Firmware Installation
Updater function enables users to distribute firmware through CDS via Internet. Particularly on e-Maintenance/UGW enabled
devices, firmware can be updated remotely, which effectively slashes costs incurred in field services.
MEAP Application
By linking devices to CDS and License Management System (providing the function to manage licenses; hereinafter LMS),
applications can be installed in devices via Updater.
■ Upgrading Method
Although there are three ways to upgrade the firmware of this machine using the Updater, the following two ways are performed
by the service technicians.
: Operator of each company
: User operation
b
a
c
Distribution setting
& Download
Via Set/Reg menu
(Remote UI)
Apply (Update)
Via Set/Reg menu
(Remote UI)
UGW setting
for distribution
(UGW-linked)*1
Automatic update
Apply (Update)
Via Service mode
(Local UI)
Automatic download
Scheduled
update
Scheduled
download
Firmware
Market Release
*1: When UGW is linked, schedule information is saved to CDS.
3. Technical Explanation (System)
50
Содержание imageCLASS LBP325dn
Страница 11: ...Safety Precautions Laser 2 Power Supply Lithium Battery 3 Toner Safety 3 Notes on works 4...
Страница 15: ...Product Overview 1 Product Lineup 6 Features 7 Specifications 8 Parts Name 11...
Страница 127: ...Periodical Service 4 Periodically Replaced Parts 118 Consumable Parts 119 Periodical Service 120...
Страница 130: ...Periodical Service Periodical Service No periodic services are required to this machine 4 Periodical Service 120...
Страница 138: ...1 Place paper on the work space 2 Open the Front Cover Unit 3 Remove the cartridge 5 Parts Replacement and Cleaning 128...
Страница 141: ...5 Remove the Right Cover Unit 5 Parts Replacement and Cleaning 131...
Страница 148: ...Procedure 1 Remove the guide 2 Free the Link Arm 3 Remove the shaft 2x 5 Parts Replacement and Cleaning 138...
Страница 166: ...3 Free the harness 2x 1x 4 Remove the Laser Scanner Unit 4x 1x 5 Parts Replacement and Cleaning 156...
Страница 187: ...Adjustment 6 Actions at Parts Replacement 178...
Страница 189: ...Troubleshooting 7 Test Print 180 Cartridge Log Print 186 Troubleshooting 188 Obtaining Debug Log 190...
Страница 204: ...Error Jam Alarm 8 Overview 195 Error Code 197 Jam code 205 Alarm Code 208...
Страница 219: ...Service Mode 9 Overview 210 Service Mode 214...
Страница 243: ...Installation 10 Installation of the host machine 234...


