


Entering Numbers, Letters, and Symbols
The buttons on the operation panel allow you to enter (or change) characters, numbers, or symbols when
setting up the network or making other settings.
Switching the Input Mode
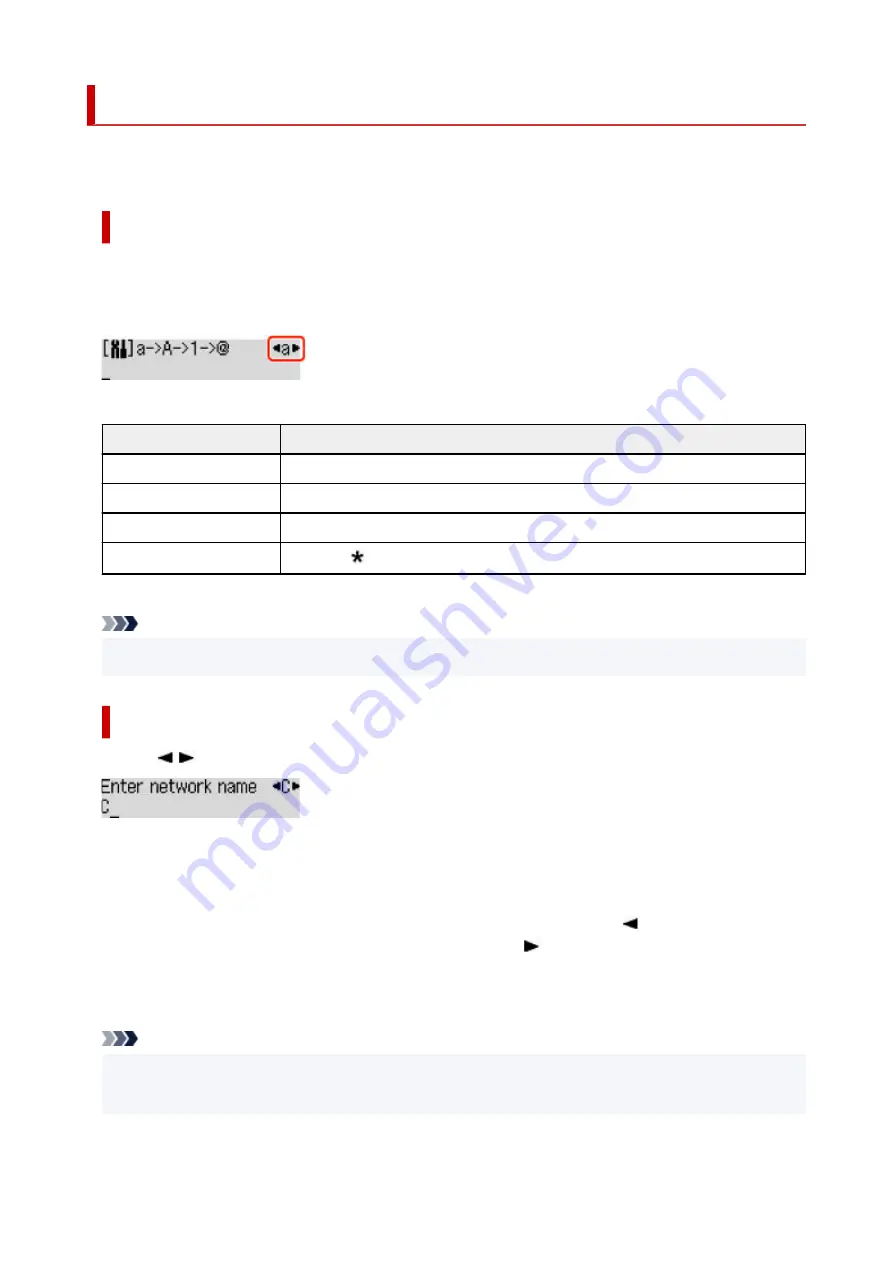
The current input mode appears at the upper right corner of the LCD.
Pressing the
Setup
button on the operation panel toggles through the input modes in the order lowercase
> uppercase > numeric > symbols, showing the first available character.
The following shows available characters in each mode.
Mode
Available characters
Lowercase
abcdefghijklmnopqrstuvwxyz SP
Uppercase
ABCDEFGHIJKLMNOPQRSTUVWXYZ SP
Numeric
1234567890 SP
Symbols
. @ - _ SP # ! " , ; : ^ ` = / | ' ? $ % & + ( ) [ ] { } < > \
~
SP: Indicates a space.
Note
• Only the input modes or characters available for input appear in their respective screens.
•
Entering Numbers, Letters, and Symbols
Use the
button to select a character and press the
OK
button to input it.
When input of all characters is complete, hold down the
OK
button. When a confirmation message
appears, select
Yes
and press the
OK
button.
• To insert a space
•
Switch to the lowercase, uppercase, or numeric mode, and then press the
button once.
Alternatively switch to the symbol mode and then press the
button four times.
• To delete the last entered character
•
Press the
Back
button. You can only delete the last entered character.
Note
• To terminate character entry, press the
Stop
button. When a confirmation message appears, select
•
Yes
and press the
OK
button.
139
Содержание G540
Страница 1: ...G500 series Online Manual English...
Страница 7: ...4103 293 5100 294 5200 295 6000 296...
Страница 34: ...2 The password is specified automatically when the printer is turned on for the first time 34...
Страница 47: ...4 If message saying setup is completed appears press OK button 4 For macOS See Changing the Connection Mode 47...
Страница 53: ...Handling Paper Ink Tanks etc Loading Paper Refilling Ink Tanks 53...
Страница 54: ...Loading Paper Loading Plain Paper Photo Paper Loading Envelopes 54...
Страница 64: ...Note Do not load envelopes higher than the load limit mark F 8 Close feed slot cover gently 8 64...
Страница 66: ...Refilling Ink Tanks Refilling Ink Tanks Checking Ink Level Ink Tips 66...
Страница 77: ...Adjusting Print Head Position 77...
Страница 100: ...Safety Safety Precautions Regulatory Information WEEE EU EEA 100...
Страница 126: ...Main Components Front View Rear View Inside View Operation Panel 126...
Страница 130: ...G Print Head Holder The print head is pre installed 130...
Страница 141: ...Changing Printer Settings from Your Computer macOS Managing the Printer Power Changing the Printer Operation Mode 141...
Страница 151: ...IPsec settings Selecting Enable allows you to specify the IPsec settings 151...
Страница 163: ...Information in this manual is subject to change without notice 163...
Страница 173: ...3 To complete the removal of paper dust brush the paper in the other direction from top to 3 bottom 173...
Страница 188: ...Printing Using Canon Application Software Easy PhotoPrint Editor Guide 188...
Страница 189: ...Printing from Smartphone Tablet Printing from iPhone iPad iPod touch iOS 189...
Страница 198: ...Cannot Find Printer on Network Windows macOS Cannot Find Printer on Network 198...
Страница 202: ...See below Manually Solved Network Troubles 202...
Страница 222: ...Problems While Printing Scanning from Smartphone Tablet Cannot Print Scan from Smartphone Tablet 222...
Страница 247: ...Opening Remote UI for Maintenance 247...
Страница 268: ...A000 to ZZZZ B20B Note For information on how to deal with paper jams see What to Do When Paper Is Jammed 268...


