161
Advanced Guide
Basic Guide
Camera Basics
Auto Mode /
Hybrid Auto Mode
Other Shooting Modes
Playback Mode
Wireless Features
Setting Menu
Accessories
Appendix
Index
P Mode
Tv, Av, M, C1, and C2 Mode
Before Use
Activating Sensor Cleaning
1
Access the setting screen.
●
Turn the camera on in Shooting mode,
choose [Sensor cleaning] on the [ 3] tab,
and press the [ ] button.
●
Press the [ ][ ] buttons or turn the [ ]
dial to choose [Clean now
], and then
press the [ ] button.
2
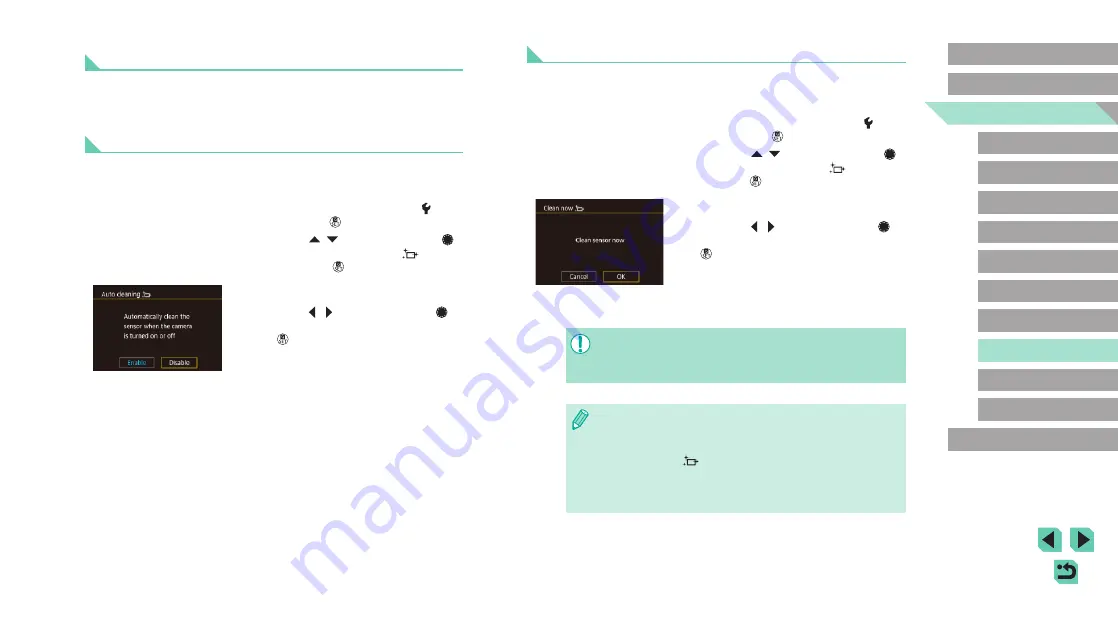
Start cleaning.
●
Press the [ ][ ] buttons or turn the [ ]
dial to choose [OK], and then press the
[ ] button.
●
A message is displayed indicating that
cleaning is in progress. Although there
will be a shutter sound, a picture is not
taken.
●
The sensor cleaning also works while no lens is attached. If no
lens is attached, do not insert your finger or a blower tip past the
lens mount, which may damage the shutter curtains.
●
For best results, clean with the camera placed upright on a desk
or other surface.
●
Repeated cleaning will not produce notably better results. Note
that [Clean now
] may not be available immediately after
cleaning.
●
Contact a Canon Customer Support Help Desk regarding dust or
other material that cannot be removed by sensor cleaning.
Cleaning the Image Sensor
The image sensor is automatically cleaned to remove dust whenever you
turn the camera on or off, or when the camera shuts off in Power Saving
mode. You can disable automatic cleaning or activate cleaning as needed.
Disabling Auto Cleaning
1
Access the setting screen.
●
Turn the camera on in Shooting mode,
choose [Sensor cleaning] on the [ 3] tab,
and press the [ ] button.
●
Press the [ ][ ] buttons or turn the [ ]
dial to choose [Auto cleaning
], and
then press the [ ] button.
2
Configure the setting.
●
Press the [ ][ ] buttons or turn the [ ]
dial to choose [Disable], and then press
the [ ] button.


