7. Processing the Image (QA Mode Screen)
– 68 –
7.3 Adjust TRIM and Adjust ROI
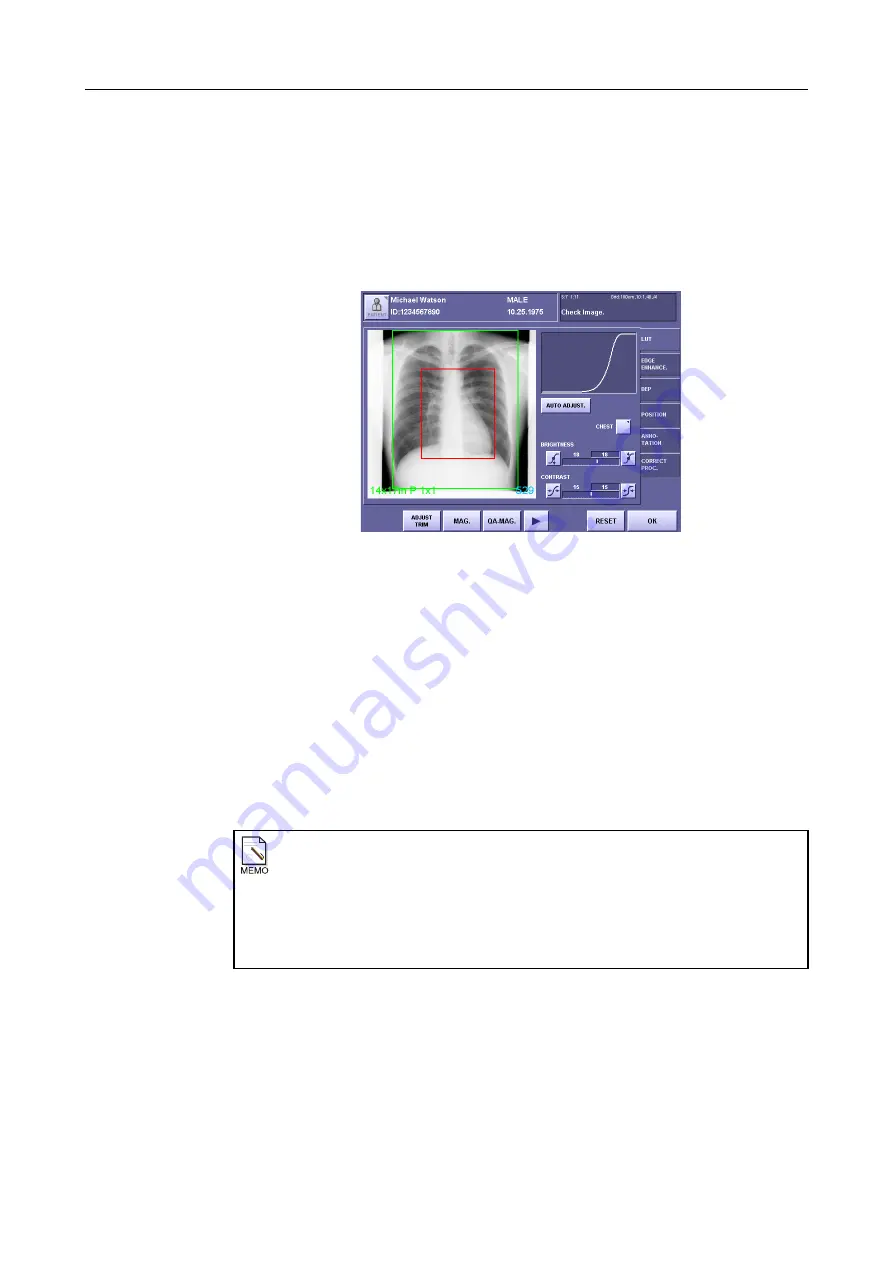
7.3.1 Trimming the Image
Images can be trimmed manually.
Selecting the POSITION tab enables fine adjustment of the position using the buttons.
(
→
To trim the image
1
Set the film size.
To output to a printer, touch
[PRINT SETTING]
from the preview image screen or
CALL IMAGES screen, and set the film size before adjusting the trimming.
If the film size is changed after adjusting the trimming, the trimming area becomes the
film size.
2
Select [ADJUST TRIM].
Touch
[ADJUST TRIM]/[ADJUST ROI]
and select
[ADJUST TRIM]
.
3
Set the trimming area.
Touch two points on the image.
The new trimming area is indicated by a red line.
Limitations on trimming areas
The following limitations apply to trimming areas.
• After a printer is set, no settings can be made that exceed the printable size.
• If an area of less than 8 pixels (approx. 1 cm) is set for the vertical and horizontal
direction of the displayed image, a window will open and the message
“The
cropped area is too small. Select a larger area!”
will appear. Touch
[OK]
to
close the window and change the trimming area.
Содержание CXDI-1
Страница 9: ...Starting Up Shutting Down 1 Starting Up Shutting Down the CXDI ...
Страница 15: ...Exposure and Output 2 Taking an Image 3 Output Control Process Viewer ...
Страница 38: ...2 Taking an Image 30 ...
Страница 60: ...5 Viewing Multiple Images Multi View Screen 52 ...
Страница 70: ...6 Browsing Completed Studies Study List 62 ...
Страница 71: ...Processing the Image 7 Processing the Image QA Mode Screen ...
Страница 103: ...CXDI Adjustment 8 Calibration 9 Self test ...
Страница 110: ...8 Calibration 102 ...
Страница 116: ...9 Self test 108 ...
Страница 117: ...Troubleshooting 10 Before Calling a Service Engineer 11 Questions and Answers ...
Страница 136: ...11 Questions and Answers 128 ...
Страница 156: ...B Using the Rejection Reason Input Function 148 ...
Страница 162: ...C Using the Sensor Unit Attach Detach Function 154 ...
Страница 169: ......


