7
7
7-15
7-15
Installation > Installation Procedure > Connecting with the Professional Puncher Integration Unit
Installation > Installation Procedure > Connecting with the Professional Puncher Integration Unit
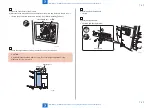
Connecting with the Professional Puncher Integration
Unit
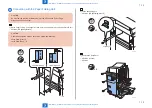
CAUTION:
Be sure the power of the Host Machine is turned OFF and the Power Plug is
disconnected from the outlet.
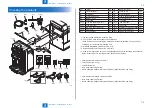
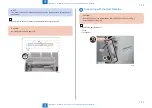
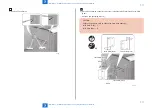
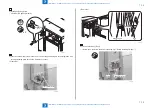
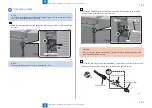
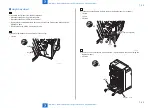
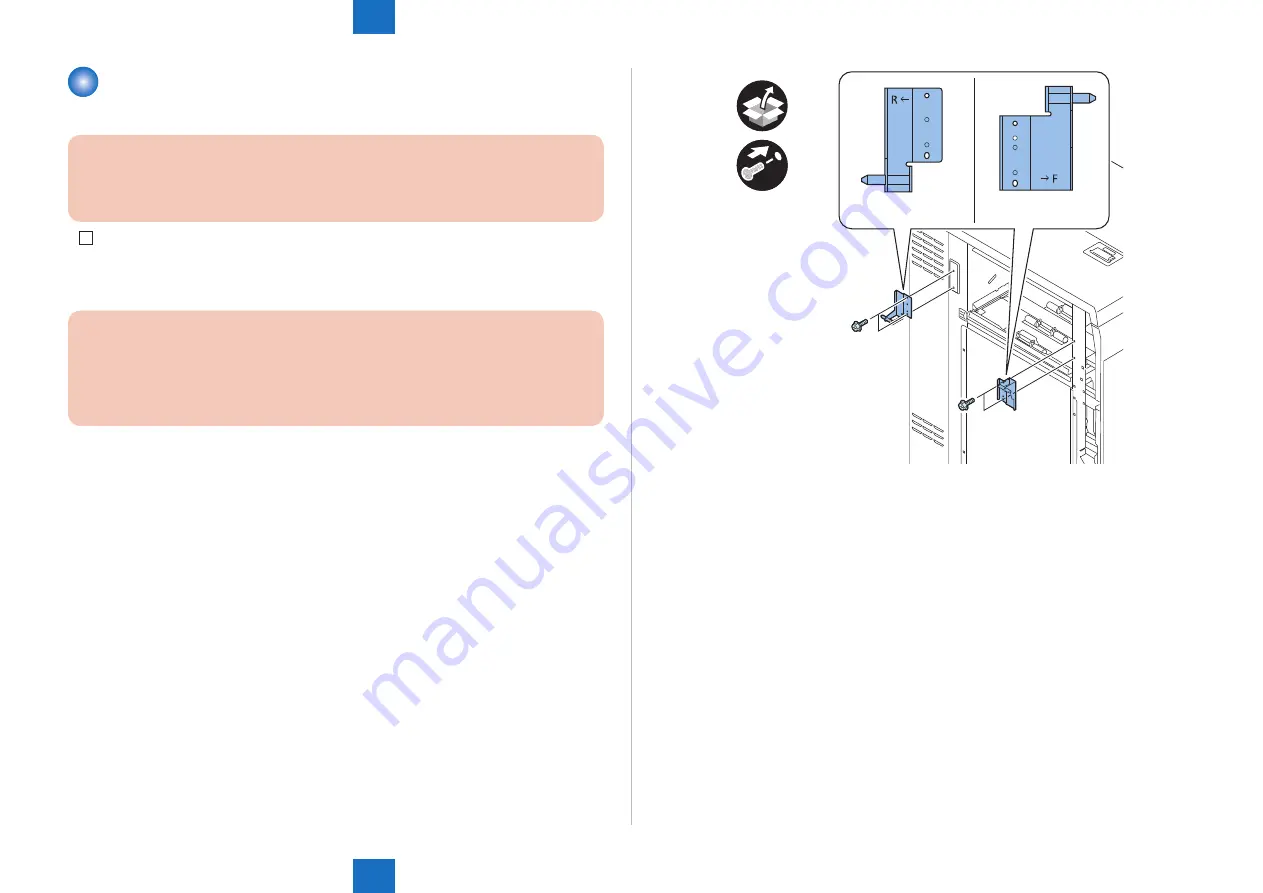
1) Attach the Latch Plate (Front) and Latch Plate (Rear) to the left side of the Integration unit
upper left stay.
• 4 Screws (RS tighting; M4x10)
CAUTION:
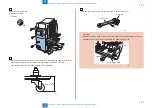
Confirm the engraved mark on each Latch Plate when attaching.
Latch Plate (Front) : F
Latch Plate (Rear) : R
Latch Plate (Front)
Latch Plate (Rear)
x4
F-7-34
Содержание Booklet Finisher-D1
Страница 12: ... Notes Before Servicing Points to Note at Cleaning Safety Precautions ...
Страница 14: ...1 1 Product Outline Product Outline Product Specifications Names of Parts ...
Страница 60: ...3 3 Periodic Servicing Periodic Servicing User Maintenance Maintenance and Inspection ...
Страница 177: ...5 5 Adjustment Adjustment Basic Adjustment Adjustment at Time of Parts Replacement Auxiliary Adjustment ...
Страница 315: ...6 6 Troubleshooting Troubleshooting Upgrading ...
Страница 357: ... Service Tools Solvents and Oils List of Signals General Circuit Diagram Appendix ...

