PS-H1701 Intel Atom D2550 17
” HMI System
20
Step 5:
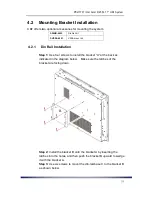
Make sure the din-rail kit are properly installed on the
system.
Step 6:
Before secure the panel with the rail, make sure the rail is
solid and firm to hold the panel.
4.2.2
VESA Mount Installation
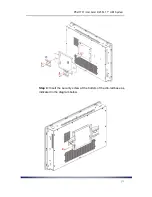
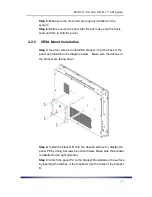
Step 1:
Use four screws to install the bracket
“A” at the back of the
panel as indicated in the diagram below. Make sure the latches of
the bracket are facing down.
Step 2:
Install the bracket B onto the desired surface for display the
panel PC by using 6 screws as shown below. Make sure the bracket
is installed in the right direction.
Step 3:
Attach the panel PC to the bracket B installed on the surface
by inserting the latches of the bracket A into the holes of the bracket
B.
Содержание PS-H1701 HMI
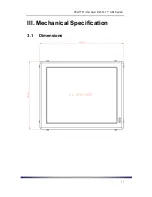
Страница 11: ...PS H1701 Intel Atom D2550 17 HMI System III Mechanical Specification 3 1 Dimensions...
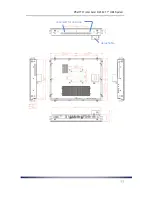
Страница 12: ...PS H1701 Intel Atom D2550 17 HMI System reserved for antenna detachable...
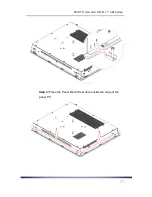
Страница 23: ...PS H1701 Intel Atom D2550 17 HMI System Step 3 Place the Panel Mount Seal down inside the edge of the panel PC...
Страница 49: ...PS H1701 Intel Atom D2550 17 HMI System 6 3 Chipset...
Страница 56: ...PS H1701 Intel Atom D2550 17 HMI System...
Страница 58: ...PS H1701 Intel Atom D2550 17 HMI System...
Страница 59: ...PS H1701 Intel Atom D2550 17 HMI System...


