User
Guide
Page 127
Event Action
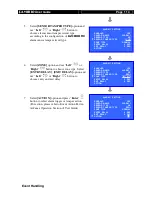
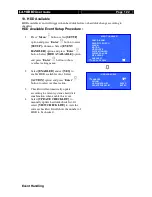
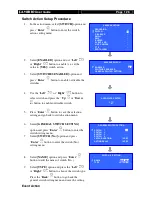
10.
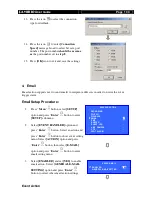
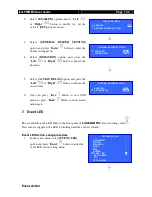
Select
[LATCH DURATION]
option and press
the “
Left
”
or
“
Right
”
button to choose
the latch duration.
11.
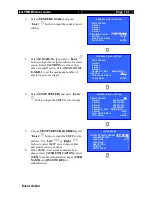
Select
[ACTION DELAY]
option and press the
“
Left
”
or
“
Right
”
button to choose the
switch action delay between each on/off.
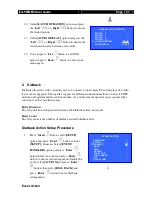
12.
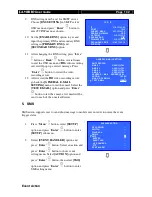
You can press “
Live
” button to exit OSD
menu or press “
Back
” button to enter action
menu again.
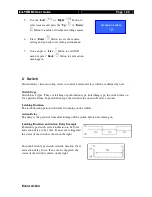
3. Dialback
Dialback allows the video recording server to connect to one remote PC and displays live video
if an event is triggered. Through the support for different connection methods, such as TCP/IP,
modem, null modem and leased line modem. As a result, remote operator can recognize what
situation is at the surveillance area.
Retry Duration
The retry duration is the period between each dialback retrial (in second).
Retry Count
The retry count is the number of dialback retrial if dialback fails.
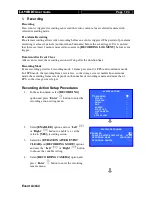
Dialback Action Setup Procedure
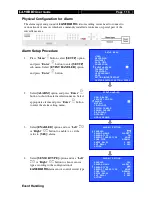
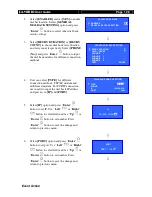
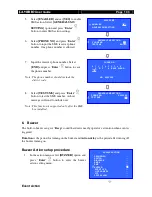
1.
Press “
Menu
”
button, select
[SETUP]
option and press “
Enter
”
button to enter
[SETUP]
sub menu. Select
[EVENT
HANDLER]
option and press “
Enter
”
button. Select an event and press “
Enter
”
button to show event setting menu. Enable the
event, select
[ACTION]
and press “
Enter
”
button, then select
[DIAL BACK]
and
press “
Enter
”
button to enter dial back
setting menu.
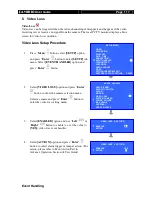
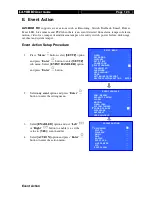
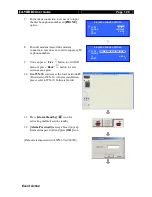
GENERAL SWITCH SETTING
SWITCH 1
. . .
SWITCH 2
. . .
SWITCH 3
. . .
SWITCH 4
. . .
LATCH DURATION
10 SEC
ACTION DELAY
10 SEC
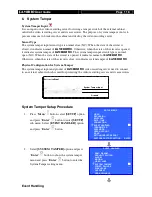
XXXXXXX ACTION
RECORDING
…
SWITCH
…
DIALBACK
…
…
SMS
…
BUZZER
…
EVENT LED
…
LIVE CAMERA
…
PTZ
…
SPOT ALARM
…
Содержание RX368_V2
Страница 1: ...RX Series Video Recording Server RX364 RX368_V2 RX3616_V2 User Guide...
Страница 2: ......

