13
Getting Connected and Installing Drivers
9.
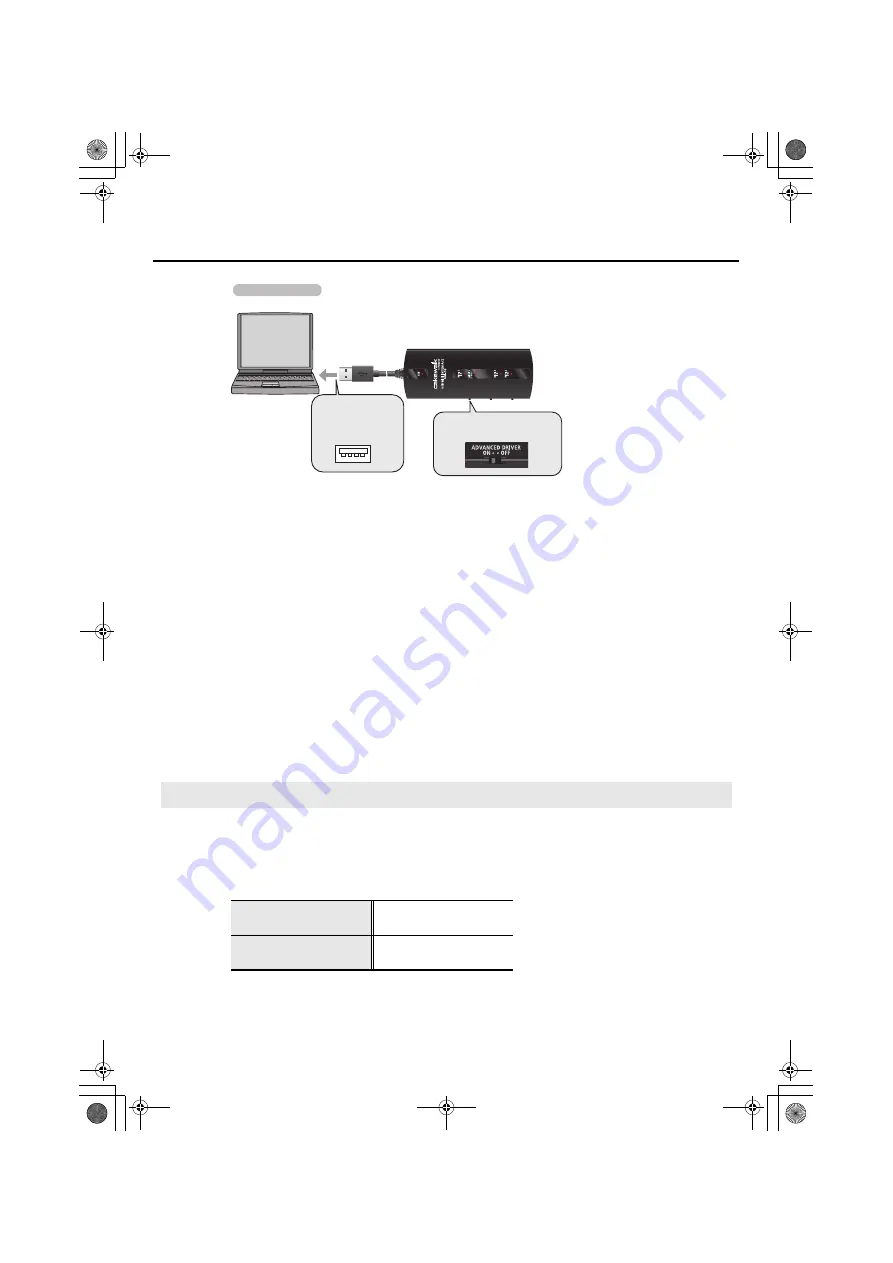
Connect the UM-2G to your computer.
10.
The message
“Installing device driver software”
will appear in the lower right
corner of the screen, and the driver will be installed automatically.
* It may take some time (ten seconds or more) until the message appears.
* If any other message appears, note the content of the message and close it.
11.
When installation has been completed, the screen will indicate
“Installation has
been completed.”
Click
[Close]
to close the
UM-2G Driver Setup
dialog box.
If the
System Settings Change
dialog box appears, click
[Yes]
. Windows will automatically
restart.
This completes the driver installation.
Next, you’ll need to make the input/output device settings for your application.
* You won’t be able to use the UM-2G unless you’ve made these settings.
Specify the MIDI device that you’ll be using with your application. (For details on how to make
these settings, refer to the instruction manual that came with your application.)
* If you’re unable to select the UM-2G device in the device settings of your application, it may be
that a problem has occurred. Refer to “Troubleshooting” (p. 25).
* You can’t use the UM-2G’s MIDI input/output device in the Media Player application included
with Windows.
Input/output Device Settings for Your Application
MIDI OUT device
1(UM-2G)
2(UM-2G)
MIDI IN device
1(UM-2G)
2(UM-2G)
Operation of the UM-2G
Connect to the
computer’s
USB connector.
[ADVANCED DRIVER]
switch ON
UM-2G_e.book 13 ページ 2008年11月12日 水曜日 午後10時6分
Содержание UM-2G
Страница 1: ...UM 2G_e book 1...
Страница 40: ...40 MEMO UM 2G_e book 40...
Страница 42: ...42 For EU Countries For China UM 2G_e book 42...
Страница 43: ...UM 2G_e book 43...
Страница 44: ...5 1 0 0 0 0 5 4 2 2 0 2 UM 2G_e book 44...


