cadetheat.com Tel: 360-693-2505 PO Box 1675 Vancouver, WA 98668-1675
Benefits You Can Depend On
SAVE THESE INSTRUCTIONS
BTF Built-In Thermostat Kit
Installation Instructions
IMPORTANT
Temperature Set Position
Co
ole
r Warm
er
• Easy to use with large twist dial
• Eliminates the need for extra wiring
• Conveniently mounts to either end of
Cadet Electric Baseboard
• Use with 120-, 208-, or 240-volt Electric
Baseboard models
• Choose from white or almond color to
match your Electric Baseboard heater
• Available in single (2 wires) or double (4
wires) pole
• Setpoint temperature range: 45º - 80ºF
• 25 Amp
• Your BTF built-in thermostat is guaranteed
with a
1 year limited warranty
1. Read all instructions before installing or using
this thermostat.
2. High temperatures may be generated under
certain abnormal conditions. Do not partially or
fully cover or obstruct the front of this heater.
3. Do not operate any heater after it malfunctions.
Disconnect power at service panel and have
heater inspected by a qualified electrician before
reusing.
4. To disconnect heater, turn controls to off, and
turn off power to heater circuit at main disconnect
panel.
5. Do not insert or allow foreign objects to enter
any ventilation or exhaust opening as this may
cause an electric shock or fire, or damage the
heater.
6. To prevent a possible fire, do not block air
intakes or exhaust in any manner.
7. A heater has hot and arcing or sparking parts
inside. Do not use it in areas where gasoline,
paint, or flammable vapors or liquids are used or
stored.
8. Do not use outdoors.
When using electrical appliances, basic precautions should always be followed to reduce the risk of fire,
electric shock, and injury to persons, including the following:
http://www.cadetheat.com/products/thermostats/BTF
CONTROLS
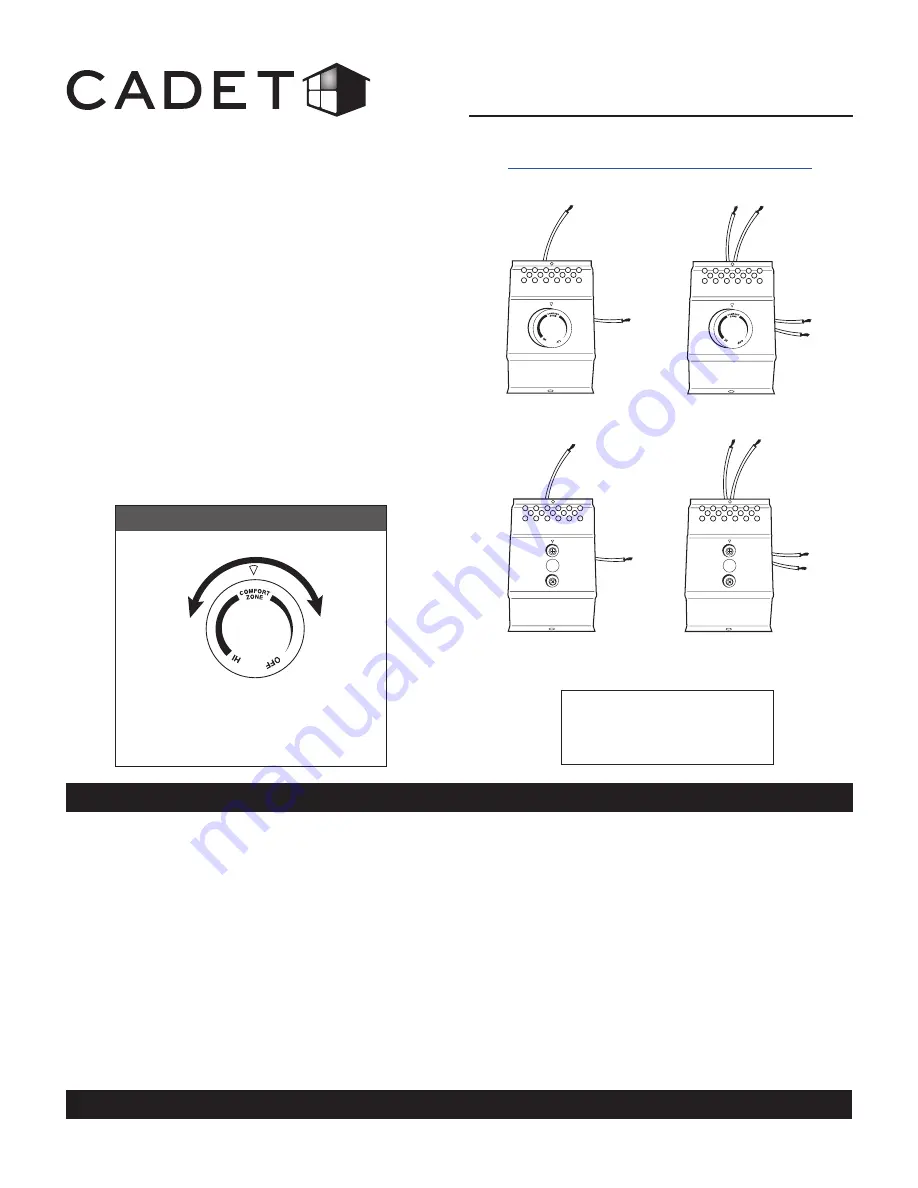
Turn knob counter-clockwise for cooler
room temperature. Turn knob clockwise
for warmer room temperature.
TOOLS REQUIRED
• Phillips Screwdriver
• Wire Connectors
• Straight Screwdriver
BTF1
BTF1TP
BTF2
BTF2TP
Page 1


