ADVENTURE TO GO
USER INSTRUCTIONS
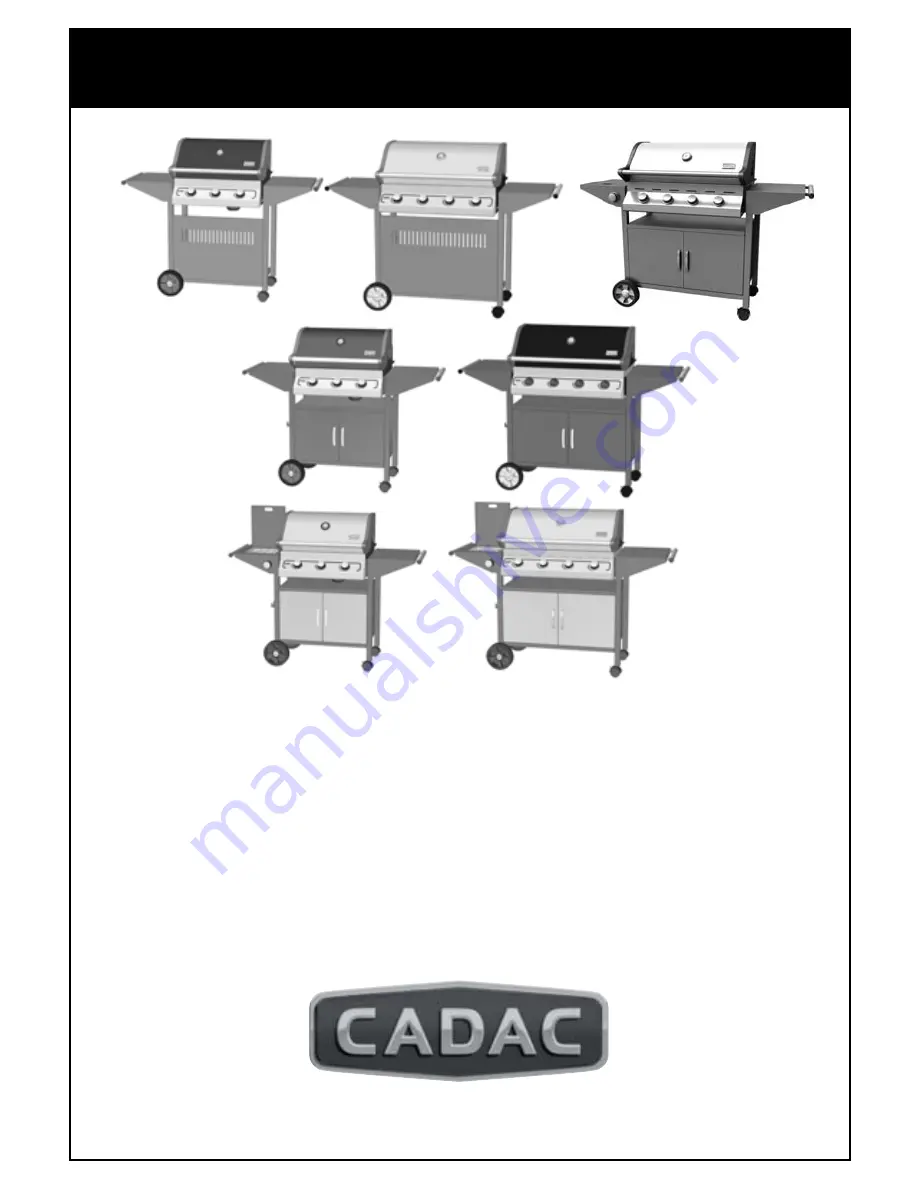
MAESTRO 3B
(98323S)
, MAESTRO 4B
(98324S)
,
MAESTRO DElUxE
(98320S)
, PATIO 3B SElECT
(98520S)
,
PATIO 4B SElECT
(98521S)
, PATIO ENTERTAINER 3
(98522S)
,
PATIO ESSENCE 3
(98335S)
, PATIO ENTERTAINER 4
(98523S)
,
PATIO ENTERTAINER 4B DElUxE
(98342S)


