8
9
3
Operation
3.1
Standard Operation
Check all external connections.
Load the material.
Switch on the printer.
Press the
feed
key of the printer.
A synchronization feed is initiated. The processed labels need to be removed manually. After a few seconds the
printer carries out a short backfeed to position the front edge of the next label at the printing line.
i
Note!
This synchronization also has to be carried out when the print job is interrupted with the cancel key.
Synchronizing is not necessary if the print head was not lifted between print jobs. This also applies if the
printer was powered off in between print jobs.
Start a print job.
Start the labeling process via PLC interface.
Error messages that occur during the labeling process are shown in the display of the printer.
3.2
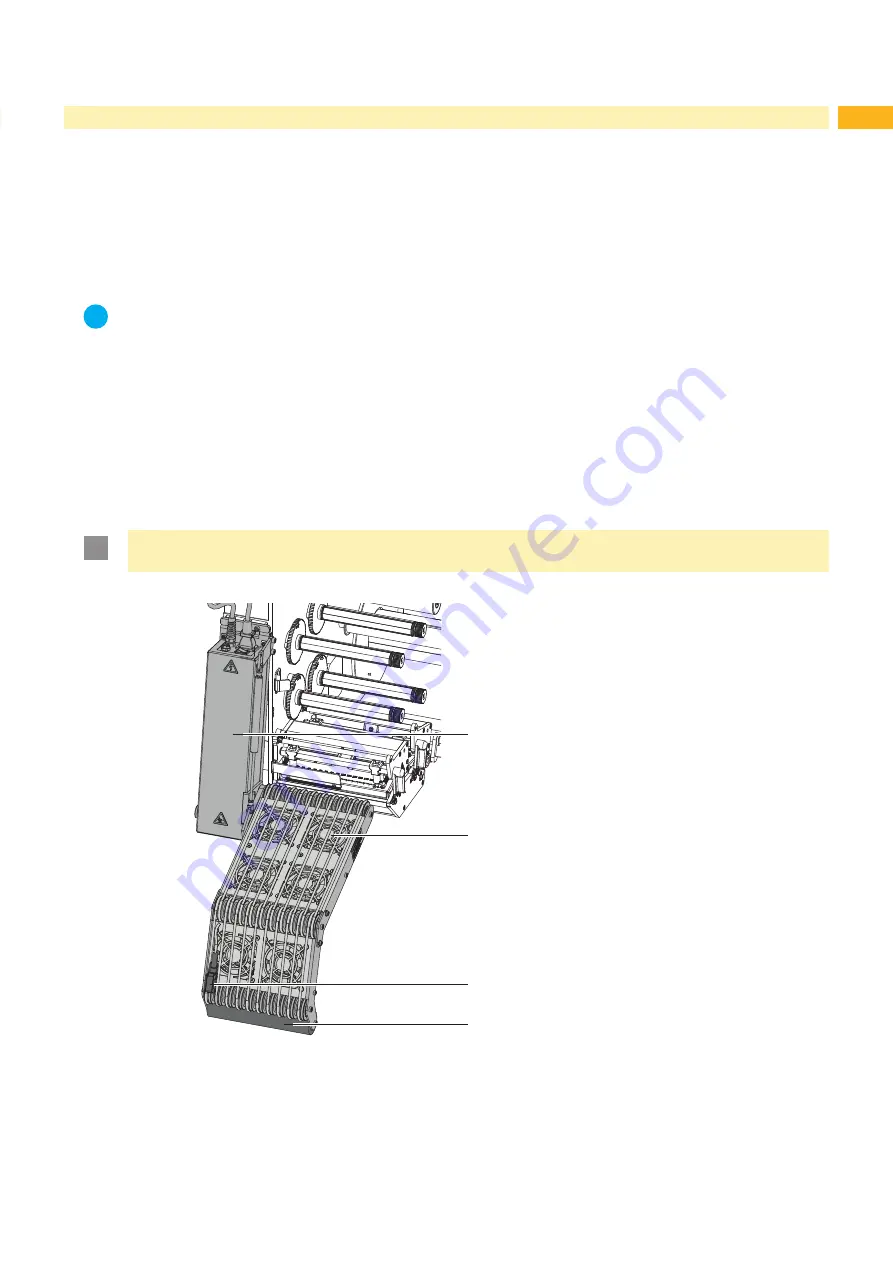
Cleaning
!
Attention!
Never use solvent and abrasive.
1
2
3
4
Dismount the applicator in order to reach all
areas.
For cleaning the outer surfaces (1) and
transport belts a multipurpose cleaner is
sufficient.
Clean the fan area (2) with a soft brush or a
vacuum cleaner.
Use glass cleaner to clean the reflex
sensor (3).
Clean the pinch roller (4) with a special
pinch roller cleaner or a multi purpose
cleaner.
Remount the applicator
Fig. 4
Cleaning


