Plus-X ICRU Installation and Operation Manual Rev B
5
If your initial connection was made without DHCP, your PC should now be restored to its prior
network settings, and both the PC and the Plus-X device should be connected to the normal LAN.
Complete the Network Settings
Your browser will be redirected to the login page after the static IP address has been set. If this
does not happen automatically
, enter the static IP address assigned above in the browser’s
address field. Log in to the Plus-X ICRU using the admin account.
On this second login, a different
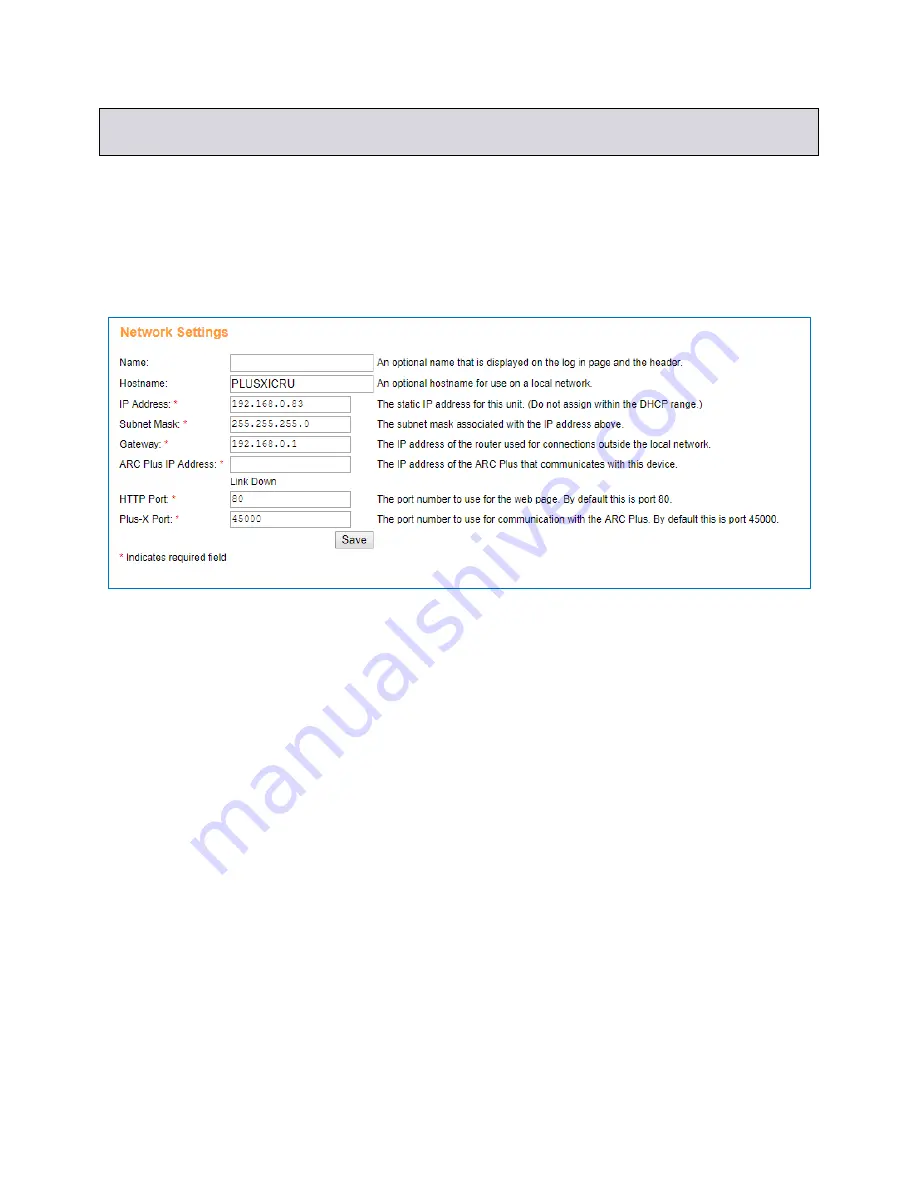
Network Settings
page is displayed as shown below.
You will see the IP address you previously assigned. Additional fields must now be completed. It
may be necessary to obtain the Subnet Mask and Gateway IP address from your network
administrator. It is also necessary to assign the IP address of the ARC Plus unit that will be
controlling the Plus-X ICRU.
It is also a good idea to change the hostname from the default value so conflicts will not occur if
multiple Plus-X devices of the same model are installed on the network. The default values for
HTTP Port and Plus-X Port can most often be accepted.
You may also add a name to the unit that will be displayed on the login page.
Click the
Save
button to activate these settings.
Connecting the Plus-X ICRU to the ARC Plus
If you have not already done so, install the Plus-X ICRU in the equipment rack. If you wish, you
may distribute Plus-X units in multiple racks, or at different locations. To add the channels from
the Plus-X ICRU to the ARC Plus:
1. Launch AutoLoad Plus and connect to the ARC Plus site to which the Plus-X unit will be
linked.
2. From the Edit menu, selected Plus-
X Devices… and click Add.


