1
In addition to this Quick Start Guide, you will
find the following in each package:
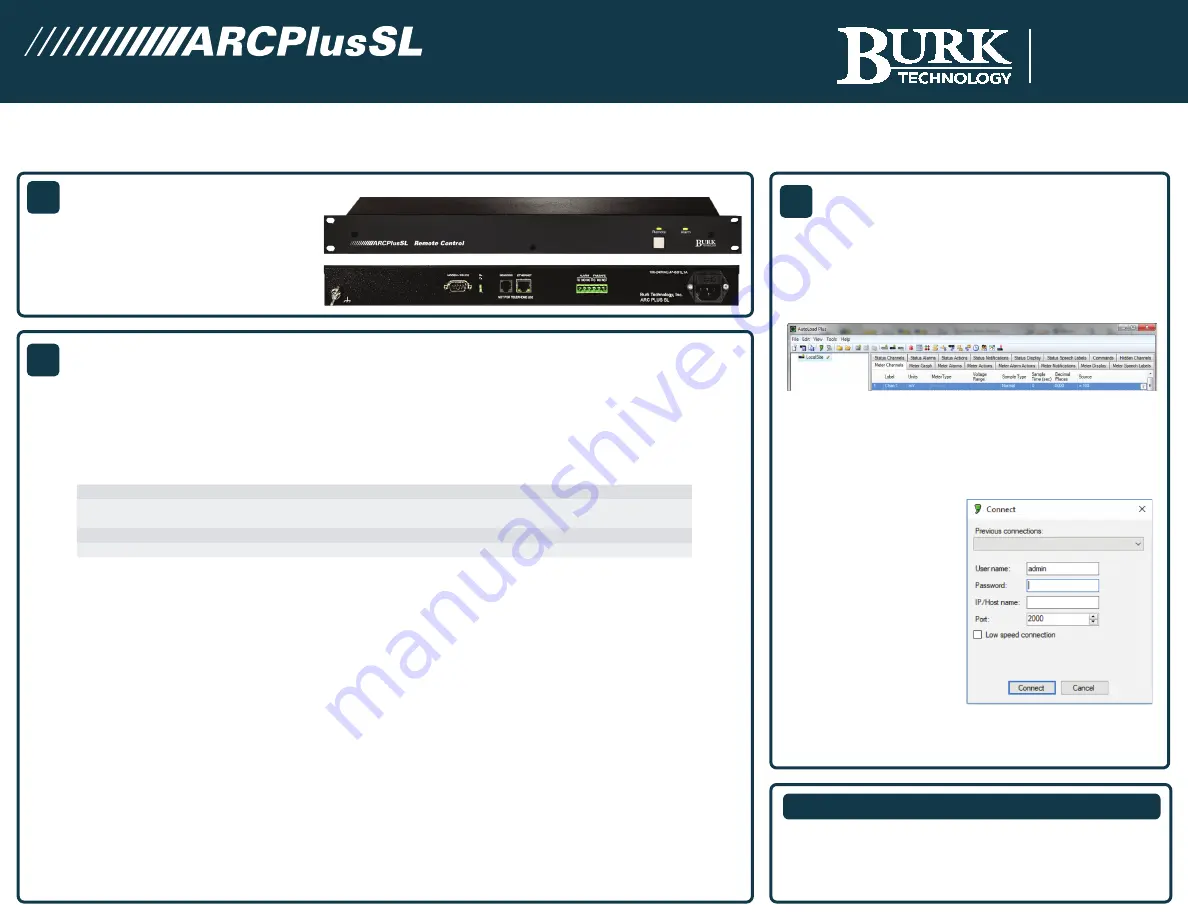
UNPACKING
QUICK START GUIDE
This Quick Start Guide will show you how to set up the ARC Plus SL in six simple steps. For detailed configuration and setup
information, visit www.burk.com/downloads, select the ARC Plus SL support page and download the ARC Plus SL Instruction Manual.
1. The ARC Plus SL ships with a default IP address of 192.168.0.100. You will need to connect a PC with a web browser
to the ARC Plus SL at this IP address before you can change the network settings on the unit. One way to do this is
to unplug your PC from any other LAN and connect your PC to the ARC Plus SL via a network switch or a cross over
Ethernet cable. Then configure your PC with a compatible IP address so that you may connect to the ARC Plus SL.
Running Windows, the following steps will allow you to configure your PC with a compatible IP address:
2. Open a browser and enter the ARC Plus SL default IP address of 192.168.0.100. Enter the username: admin
and password: password to connect to the ARC Plus SL. Go to the System Tab on the ARC Plus SL and select
Networking to change the network information.
Add the following network information and select enter to confirm the changes.
1. Private IP Address – Assign a static IP address. Check with your network administrator. This is the IP address
of the ARC Plus SL.
2. Public IP Address – The public and private IP addresses should be the same unless you have a multi-site ARC
Plus network. This is usually the IP address of the broadband Internet Connection.
3. Netmask – Check with your network administrator otherwise the factory default settings can be used.
4. Gateway – Check with your network administrator otherwise the factory default settings can be used.
5. DNS - Check with your network administrator otherwise the factory default settings can be used.
6. HTTP Port – Check with your network administrator. The factory default setting is port 80.
7. Data Port – Check with your network administrator. If Cisco devices are used in your network, it is
recommended to change the Data Port from 2000 to another port number, for example 4095.
3. To verify communication, open a command prompt on your computer and ping the address you just assigned to
the unit to ensure it is correctly configured.
(1) ARC Plus SL Unit
(1) Ethernet Cable
2
NETWORK SETUP
To download AutoLoad Plus go to www.burk.com/dowloads
and select the support page for AutoLoad Plus. You will see a
link to download the current version of the software.
Launch AutoLoad Plus. The
dialog box shown to the
right should be displayed.
Enter the username,
password and IP Address
of the ARC Plus SL unit that
you want to connect to. Hit
“Connect” and AutoLoad
Plus will complete the
connection to the ARC Plus
SL. The system is now ready
for configuration.
AutoLoad Plus is a Windows application that needs to be
installed on your PC. It provides configuration of the ARC Plus
SL system including network settings, site names, channel
configuration and more.
3
INSTALLING AUTOLOAD PLUS
7 Beaver Brook Rd.
Littleton, MA 01460
www.Burk.com
CUSTOMER SUPPORT
PHONE:
(978) 486 - 3711
M-F 9am - 5pm EST
EMAIL:
(2) 3-pin Terminal Block
(1) Power Cord
1 From the Control Panel, select Network Connections.
5 Select Properties.
2 Double-click the icon for network you will be using.
6 Choose “Use the following IP address” and enter an IP address of
192.168.0.x, where x is any valid address location except 100.
3 On the General tab, click Properties.
7 Enter Subnet Mask 255.255.255.0
4 Click Internet Protocol version 4 “TCP/IPv4”.
8 Click OK.


