background image

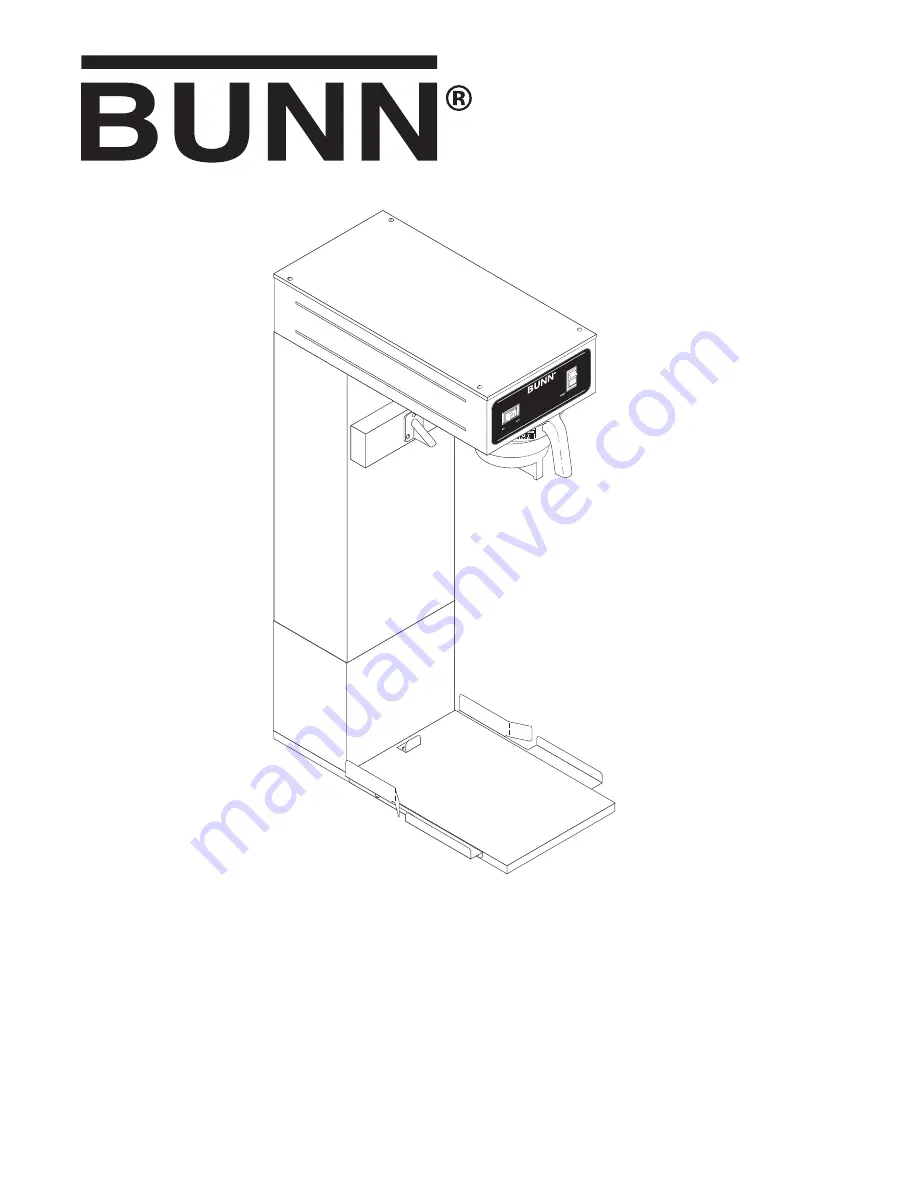
TU3Q

QU

ICK

  BR

EW


OPERATING & SERVICE MANUAL

BUNN-O-MATIC CORPORATION

POST OFFICE BOX 3227

SPRINGFIELD, ILLINOIS 62708-3227

PHONE: (217) 529-6601    FAX: (217) 529-6644

www.bunnomatic.com

10288.0000N     03/04  ©1988  Bunn-O-Matic Corporation

Содержание TU3Q

Страница 1: ... BRE W OPERATING SERVICE MANUAL BUNN O MATIC CORPORATION POST OFFICE BOX 3227 SPRINGFIELD ILLINOIS 62708 3227 PHONE 217 529 6601 FAX 217 529 6644 www bunnomatic com 10288 0000N 03 04 1988 Bunn O Matic Corporation ...

Страница 2: ...lephone at 217 529 6601 or by writing to Post Office Box 3227 Springfield Illinois 62708 3227 2 if requested by BUNN shipping the defective equipment prepaid to an authorized BUNN service location and 3 receiving prior authorization from BUNN that the defective equipment is under warranty THE FOREGOING WARRANTY IS EXCLUSIVE AND IS IN LIEU OF ANY OTHER WARRANTY WRITTEN OR ORAL EXPRESS OR IMPLIED IN...

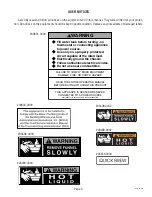
Страница 3: ...ance to power source Use only on a properly protected circuit capable of the rated load Electrically ground the chassis Follow natinal local electrical codes Do not use near combustibles WARNING 00831 0000 00656 0000 03408 0000 03409 0000 USER NOTICES Carefully read and follow all notices on the equipment and in this manual They were written for your protec tion All notices on the equipment should...

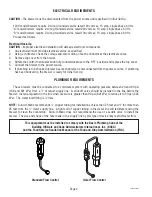
Страница 4: ... plumbing has been hooked up the brewer is ready for Initial Set Up PLUMBING REQUIREMENTS These brewers must be connected to a cold water system with operating pressure between 20 and 90 psi 138 and 621 kPa from a 1 2 or larger supply line A shut off valve should be installed in the line before the brewer Install a regulator in the line when pressure is greater than 90 psi 621kPa to reduce it to 5...

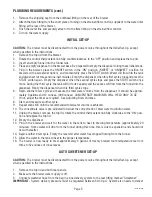
Страница 5: ...ther brew cycle and measure the total water volume from the dispenser It should be approxi mately 3 gallons and 12 ounces 396 ounces CONCENTRATE MACHINES WILL YIELD ONLY 76 OZ 7 If not adjust the timer as required See Adjusting Brew Volumes 8 Start and measure another cycle 9 Repeat steps 6 8 until the recommended total water volume is achieved 10 The concentrate valve is pre adjusted to deliver t...

Страница 6: ...o release the switch within two seconds after the third click causes the volume setting to be aborted and previous volume setting will remain in memory and press it again one or more times Each time the switch is pressed two seconds are added to the brew time period Allow the brew cycle to finish in order to verify that the desired volume has been achieved To decrease a batch size Press and releas...

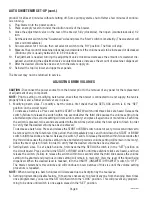
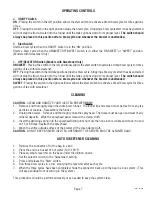
Страница 7: ...tended SWEET Placing the switch in the right positional allows the start switch to activate a timed brew cycle for three gallons of tea with sweetener CLEANING CAUTION CLEAN AND SANITIZE YOUR ICED TEA BREWER DAILY 1 Remove and thoroughly clean the entire brew funnel The funnel tip and screen must be free from any tea particles or residue Reassemble the funnel 2 Unplug the brewer Remove and thoroug...

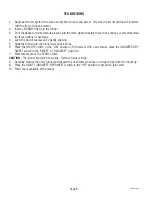
Страница 8: ...es by gently shaking 5 Slide the funnel into the funnel rails until it stops 6 Place the ON OFF switch in the ON position For brewers with a sweetener place the UNSWEET OFF SWEET switch in the SWEET or UNSWEET position 7 Momentarily press the START switch CAUTION The funnel contains hot liquids Remove funnel slowly 8 Carefully remove the brew funnel and discard the used filter when tea no longer d...

Страница 9: ...of water The use of two wrenches is recommended whenever plumbing fittings are tightened or loosened This will help to avoid twists and kinks in the tubing Make certain that all plumbing connections are sealed and electrical connections tight and isolated This brewer is heated at all times Keep away from combustibles WARNING Exercise extreme caution when servicing electrical equipment Unplug the b...

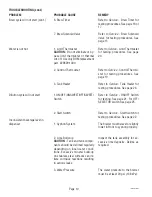
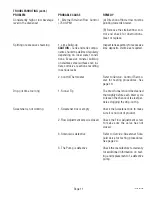
Страница 10: ...rfaces can ini tiate corrosive reactions resulting in serious leaks 3 Water Pressure Refer to Service Brew Timer for testing procedures See page 16 or 17 Refer to Service Brew Solenoid Valve for testing procedures See page 15 Refer to Service Limit Thermostat for testing procedures See page 20 Refer to Service Control Thermo stat for testing procedures See page 19 Refer to Service Tank Heater for ...

Страница 11: ...ective 3 The Pump is defective A Direction of flow arrow must be pointing towards brewer B Remove the strainer flow con trol and check for obstructions Clear or replace Inspect tank assembly for excessive lime deposits Delime as required Refer to Service Control Thermo stat for testing procedures See page 19 The brew funnel should be cleaned thoroughly before each brew cycle to lessen the chance o...

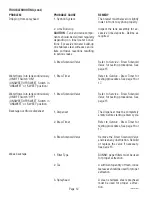
Страница 12: ...id Valve 1 Filter Type 2 Tea 3 Sprayhead REMEDY The brewer must be level or slightly lower in front to syphon properly Inspect the tank assembly for ex cessive lime deposits Delime as required Refer to Service Brew Solenoid Valve for testing procedures See page 15 Refer to Service Brew Timer for testing procedures See page 16 or 17 Refer to Service Brew Solenoid Valve for testing procedures See pa...

Страница 13: ...hould not be less than 200 F 93 C Adjust the con trol thermostat to increase the wa ter temperature Replace if neces sary Adjust needle valve to achieve 76 oz water from the sprayhead To increase volume turn counter clockwise To decrease volume turn clockwise The BUNN paper filter must be centered in the funnel and the bed of tea leaves leveled by gently shak ing The nut on the solenoid s must be ...

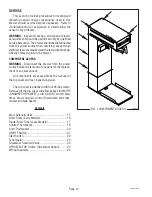
Страница 14: ...ESS WARNING Disconnect the brewer from the power source before the removal of any panel or the replace ment of any component All components are accessible by the removal of the top cover and rear inspection panel The top cover is attached with four 6 32 screws Removal of the top cover will allow access to ON OFF UNSWEET OFF SWEET switch START switch brew timer brew solenoid control thermostat limi...

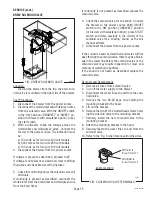
Страница 15: ...lenoid valve 6 Check the solenoid valve for coil action Connect the brewer to the power source With ON OFF switch in the ON position UNSWEET position for brewers with sweetener option press START switch and listen carefully in the vicinity of the solenoid valve for a clicking sound as the coil magnet attracts 7 Disconnect the brewer from the power source If the sound is heard as described and wate...

Страница 16: ... a voltmeter check the voltage across termi nals TL1 and TL4 when the ON OFF switch is in the ON position and the START switch is mo mentarily placed in the lower position Connect the brewer to the power source The indication must be a 120 volts ac for two wire 120 volt models for approximately twenty seconds and then return to its previous indication b 230 volts ac for two wire 230 volt models fo...

Страница 17: ... brewer from the power source and replace the timer 7 With a voltmeter check the voltage across termi nals TL1 and TL4 when the ON OFF switch is in the ON position Connectthebrewertothepower source and press the START switch The indica tion must be as follows a 120 volts ac for two wire 120 volt models b 230 volts ac on two wire 230 volt models c 100 volts ac for two wire 100 volt models If voltag...

Страница 18: ...witch Failure to release the switch within two seconds after the third click causes the volume setting to be aborted and pre vious volume setting will remain in memory Allow the brew cycle to finish in order to verify that the de sired volume has been achieved 2 Setting brew volumes To set a brew volume first check that the SET LOCK switch is in the SET posi tion on the circuit board Place the ON ...

Страница 19: ...onnect the brewer to the power source The indication must be a 120 volts ac for two wire 120 volt models b 230 volts ac for two wire 230 volt models c 100 volts ac for two wire 100 volt models 8 Disconnect the brewer from the power source If voltage is present as described reinstall the capil lary tube into the tank to the line 5 5 above the bulb the control thermostat is operating properly If vol...

Страница 20: ...lue black wire from the limit ther mostat 5 With a voltmeter check the voltage across the ex posed terminal of the limit thermostat and the white wire from the power cord or the red wire from the power connector Connect the brewer to the power source The indication must be a 120 volts ac for two wire 120 volt models b 230 volts ac for two wire 230 volt models c 100 volts ac for two wire 100 volt m...

Страница 21: ... brewer from the power source If voltage is present as described proceed to 6 If voltage is not present as described refer to the Wir ing Diagrams and check the wiring harness 6 Check for continuity across the center and end terminals of the top row when the switch is in the ON position If continuity is present as described replace the wires the switch is operating properly If continuity is not pr...

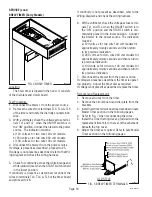
Страница 22: ...he hood 4 Refer to Fig 15 when reconnecting the wires FIG 15 START SWITCH TERMINALS P2091 SERVICE cont START SWITCH FIG 14 START SWITCH P2092 40 Location The start switch is located in the front of the hood above and to the right of the brew funnel Test Procedure 1 Disconnect the brewer from the power source 2 Remove the wires from all terminals 3 Check for continuity across the two terminals on t...

Страница 23: ... HEATER TERMINALS P1284 80 BLK to Control Thermostat WHI to Power Cord 100 120V or RED to Thermal Fuse 230V 10288 110503 NOTE If the tank heater remains unable to heat re move and inspect heater for cracks in the sheath Removal and Replacement 1 Disconnect the black wire and the white or red wire from the tank heater terminals 2 Remove sprayhead and the hex nut securing the sprayhead tube to the h...

Страница 24: ...ER SOLENOID VALVE P2844 5 Check the solenoid valve for coil action Connect the brewer to the power source place the OFF SELECTOR switch in the SWEET position and momentarily place the start switch in the lower position and release At the start of a brew cycle listen carefully in the vicinity of the solenoid valve for a clicking sound as the coil magnet attracts and at the end of the brew cycle whe...

Страница 25: ...ide terminals 7 Check for continuity across the center and right terminals in rows one through four when the switch is in the SWEET position If continuity is present as described replace the wires on the right side and proceed to 8 If continuity is not present as described replace the switch 8 Disconnect the white violet wires on the left side terminal 9 Check for continuity across the center and ...

Страница 26: ... SW THERMOSTAT LIMIT THERMOSTAT L1 BLK BLU BLK BLK GREEN TANK HEATER N WHI WHI WHI WHI SW2 KEEP WARM HEATER SW1 BLK WHI VIO WHI VIO WHI WHI WHI ORA WHI GRN WHI YEL SOL 1 2 3 4 5 BREW TIMER 10287 0000C 10 03 1993 BUNN O MATIC CORPORATION 120 VOLTS AC 2 WIRE 100 VOLTS AC 2 WIRE SINGLE PHASE ...

Страница 27: ...WHI WHI GREEN WHI YEL WHI ORA BLK WHI GRN WHI VIO WHI BRN WHI WHI VIO WHI WHI SCHEMATIC WIRING DIAGRAM TU3Q W SWEETENER 120 VOLTS AC 2 WIRE SINGLE PHASE THERMOSTAT SOL 1 2 3 4 5 SOL WHI GRN WHI VIO BREW SWTNR UNSWEET OFF SWEET OPTIONAL READY INDICATOR BLU BLK BLK 10287 0001C 03 04 2003 BUNN O MATIC CORPORATION ...

Отзывы: