


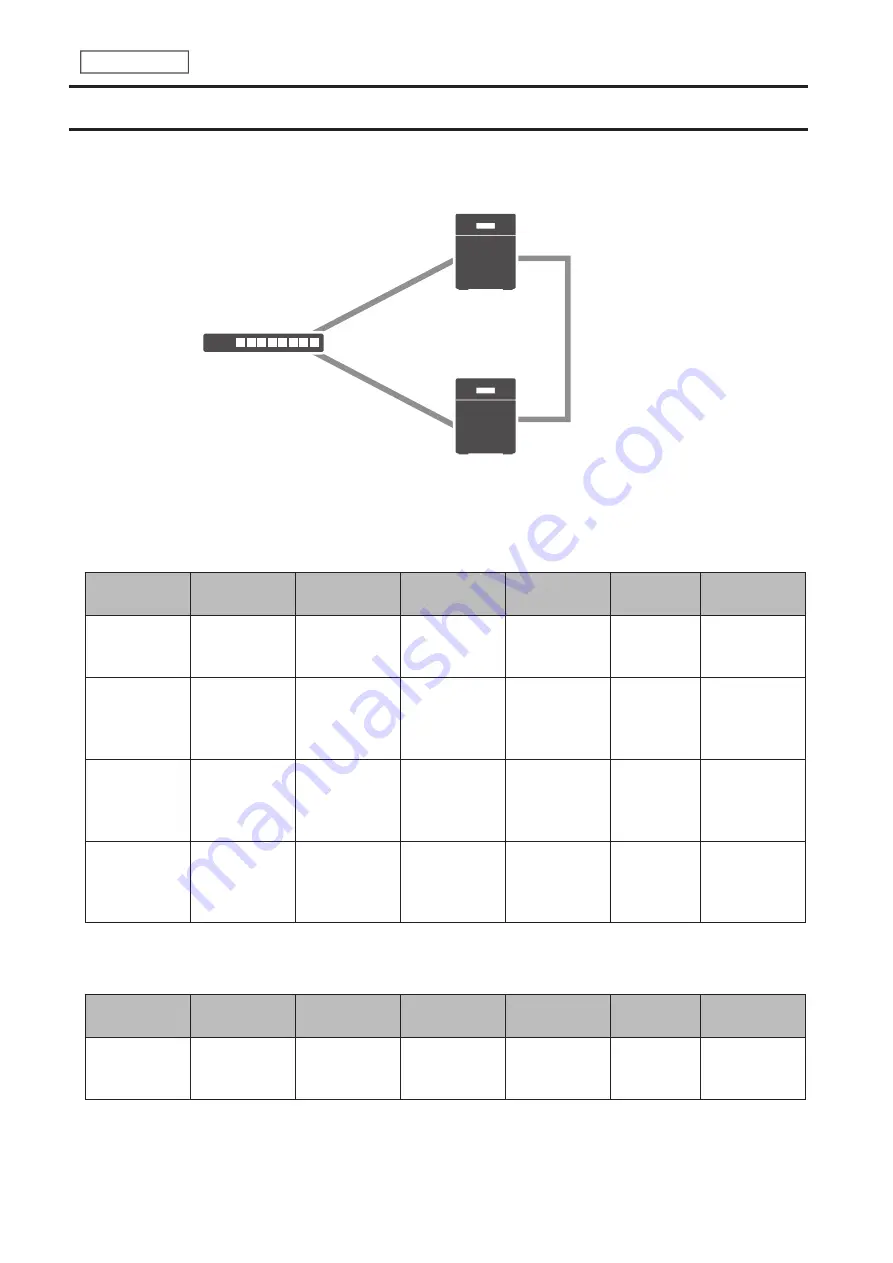
Backing Up Data on the TeraStation
You can back up the TeraStation folders to another shared folder on the same TeraStation, a connected USB drive, or
a shared folder on another Buffalo NAS device, either on the same network or on another network. For best results,
using a 10GbE port to connect a backup device is recommended.
LAN port 3
(Static IP)
LAN port 3
(Static IP)
Backup Source
Backup Destination
Network
LAN port 1
(Static IP)
LAN port 1
(Static IP)
The following describes what can be configured as backup sources and backup destinations.
Folders Available as Backup Sources
Folder Type
Full backup
Overwrite
(incremental)
Overwrite
(differential)
Management
backup
Snapshot
backup
iSCSI backup
Shared
folder on this
TeraStation
Yes
Yes
Yes
Yes
Yes
Yes
*3
USB drive
connected
to this
TeraStation
*1
Yes
Yes
Yes
Yes
No
No
Shared folder
on another
Buffalo NAS
device
*2
Yes
Yes
Yes
Yes
Yes
Yes
Shared folder
on rsync-
compatible
device
Yes
Yes
Yes
Yes
No
No
Folders Available as Backup Destinations
Folder Type
Full backup
Overwrite
(incremental)
Overwrite
(differential)
Management
backup
Snapshot
backup
iSCSI backup
Shared
folder on this
TeraStation
*2
Yes
Yes
Yes
Yes
Yes
Yes
*3
92
Chapter 5 Backup
Содержание TeraStation 6000 Series
Страница 32: ...3 Click Add Group 31 Chapter 3 File Sharing...
Страница 120: ...2 Click Time Machine 119 Chapter 5 Backup...
Страница 121: ...3 Click Select Backup Disk 4 Select the TeraStation then click Use Disk 120 Chapter 5 Backup...
Страница 123: ...7 Time Machine will count down from 120 seconds then backup will begin 122 Chapter 5 Backup...
Страница 131: ...3 From the job list click the job whose settings you want to change 4 Click the Options tab 130 Chapter 6 Remote Access...
Страница 132: ...5 Click Edit 131 Chapter 6 Remote Access...
Страница 136: ...7 Enter the desired job name and click Next 8 Select Backup and click Next 135 Chapter 6 Remote Access...
Страница 144: ...4 Click the Options tab 5 Click Edit 143 Chapter 6 Remote Access...
Страница 153: ...4 Click the Options tab 152 Chapter 6 Remote Access...
Страница 154: ...5 Click Edit 153 Chapter 6 Remote Access...
Страница 169: ...11Click the NFS Rules tab 12Click Add 168 Chapter 7 Advanced Features...
Страница 193: ...3 Click Edit 4 Select or enter the desired MTU size and click OK 192 Chapter 7 Advanced Features...


