


3
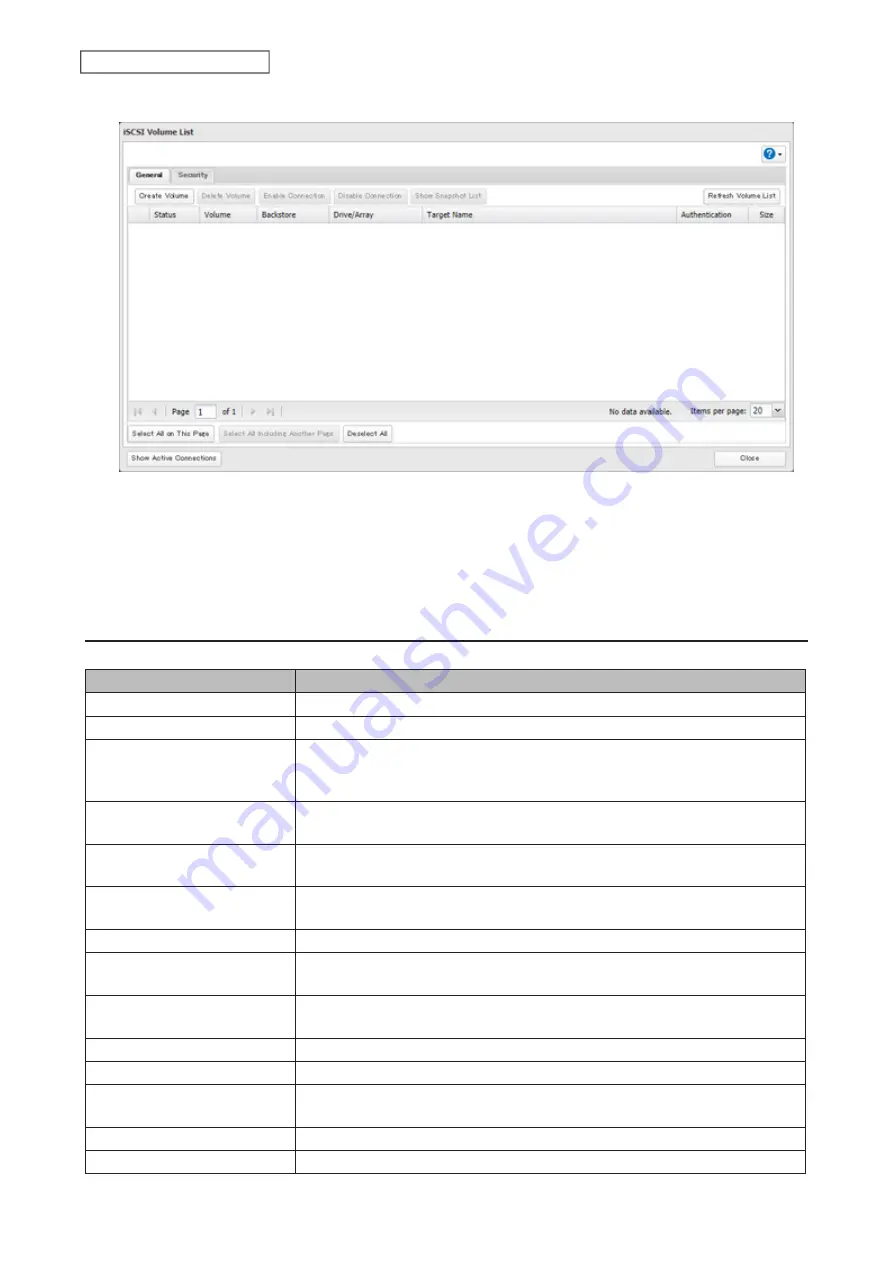
Select the volume to delete and click
Delete Volume
.
4
Confirm that the volume is correctly selected on the screen and click
OK
.
5
The “Confirm Operation” screen will open. Enter the confirmation number, then click
OK
.
6
Click
OK
.
Advanced Settings
You can configure the following advanced parameters for each iSCSI volume.
Advanced Parameter
Description
HeaderDigest
Controls the HeaderDigest usage by the iSCSI target portal group endpoint.
DataDigest
Controls the DataDigest usage by the iSCSI target portal group (TPG) endpoint.
MaxConnections
Controls the usage of Multiple Connections per Session (MC/S). Initiator and
target negotiate the maximum number of connections requested and/or
acceptable.
InitialR2T
Turns on or off the default use of R2T (Ready to Transfer) for unidirectional and
the output part of bidirectional commands.
ImmediateData
Indicates whether the initiator and target have agreed to support immediate
data on this session.
MaxRecvDataSegmentLength
Maximum data segment length in bytes the initiator and target can receive in
an iSCSI Protocol Data Unit (PDU).
MaxXmitDataSegmentLength
Maximum data segment length in bytes that can be sent.
MaxBurstLength
Maximum iSCSI data payload in a Data-In or a solicited Data-Out iSCSI
sequence, in bytes.
FirstBurstLength
Maximum amount in bytes of unsolicited data an iSCSI initiator can send to the
target during the execution of a single SCSI command.
MaxOutstandingR2T
The R2T PDUs that can be in transition before an acknowledge PDU is received.
QueuedCommands
Maximum number of commands queued to any session of this target.
File I/O Write Sync
Synchronous file I/O provides reliability but slower performance. Asynchronous
writes are faster, but buffered data will be lost if a power outage occurs.
Write Cache (WCE)
Increases performance. This cannot be used when block I/O is selected.
LUN
Number used to identify a local unit.
71
Chapter 4 Storage Management
Содержание TeraStation 6000 Series
Страница 32: ...3 Click Add Group 31 Chapter 3 File Sharing...
Страница 120: ...2 Click Time Machine 119 Chapter 5 Backup...
Страница 121: ...3 Click Select Backup Disk 4 Select the TeraStation then click Use Disk 120 Chapter 5 Backup...
Страница 123: ...7 Time Machine will count down from 120 seconds then backup will begin 122 Chapter 5 Backup...
Страница 131: ...3 From the job list click the job whose settings you want to change 4 Click the Options tab 130 Chapter 6 Remote Access...
Страница 132: ...5 Click Edit 131 Chapter 6 Remote Access...
Страница 136: ...7 Enter the desired job name and click Next 8 Select Backup and click Next 135 Chapter 6 Remote Access...
Страница 144: ...4 Click the Options tab 5 Click Edit 143 Chapter 6 Remote Access...
Страница 153: ...4 Click the Options tab 152 Chapter 6 Remote Access...
Страница 154: ...5 Click Edit 153 Chapter 6 Remote Access...
Страница 169: ...11Click the NFS Rules tab 12Click Add 168 Chapter 7 Advanced Features...
Страница 193: ...3 Click Edit 4 Select or enter the desired MTU size and click OK 192 Chapter 7 Advanced Features...


