


3
Select the drive to dismount and click
Dismount Drive
.
4
The “Confirm Operation” screen will open. Enter the confirmation number, then click
OK
.
5
When the dismounting process is completed, it is safe to unplug the drive. Disconnect the drive from the
TeraStation.
Note:
To remount the drive, unplug it and then plug it back in.
Checking Drives
A drive check tests the data on a drive in the TeraStation or one that is connected via USB for integrity. Errors are
fixed automatically. With large drives, a drive check may run for many hours. Shared folders cannot be accessed
during a drive check. Do not turn off the TeraStation until the drive check is finished. Use the procedure below to run
a drive check.
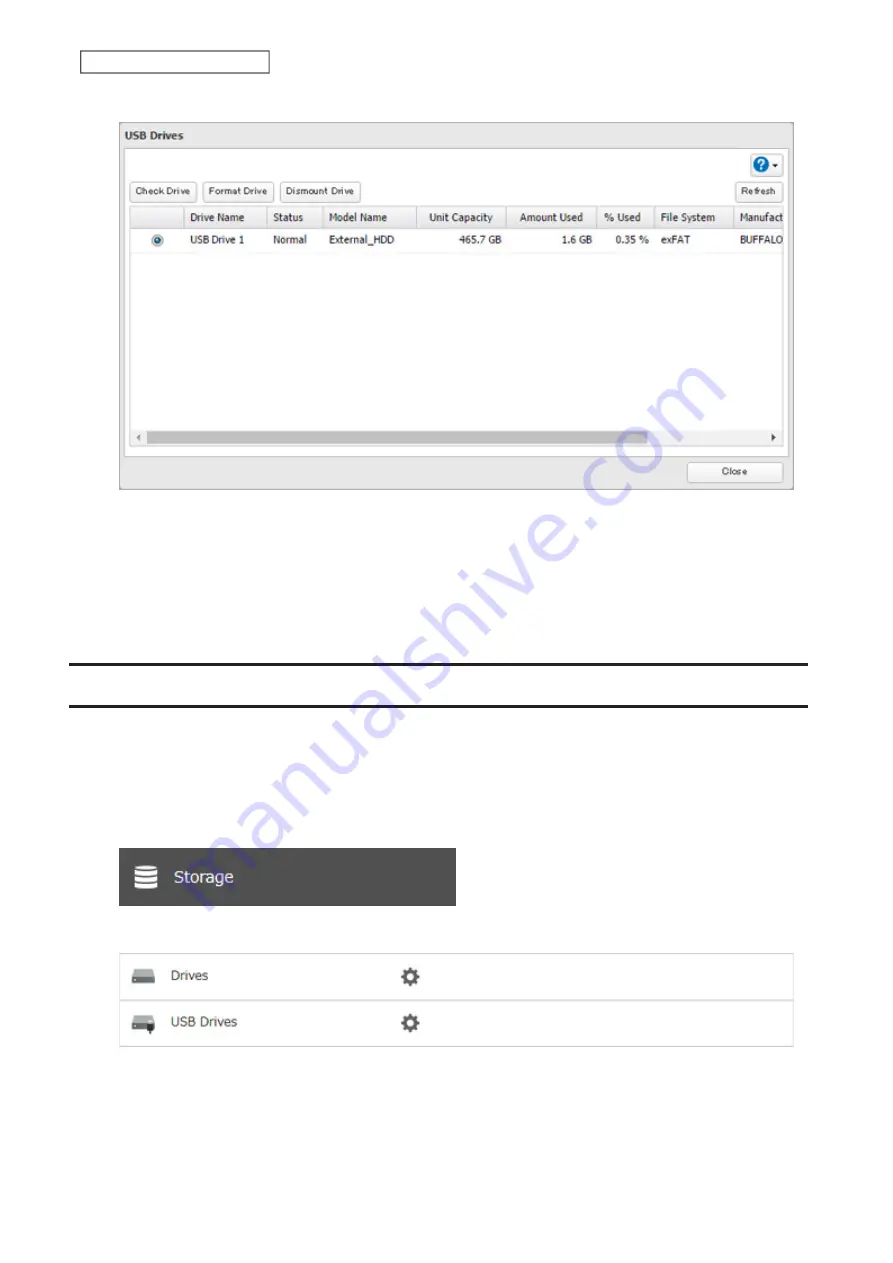
1
From Settings, click
Storage
.
2
Select
Drives
to check an internal drive or
USB Drives
to check an external drive.
57
Chapter 4 Storage Management
Содержание TeraStation 6000 Series
Страница 32: ...3 Click Add Group 31 Chapter 3 File Sharing...
Страница 120: ...2 Click Time Machine 119 Chapter 5 Backup...
Страница 121: ...3 Click Select Backup Disk 4 Select the TeraStation then click Use Disk 120 Chapter 5 Backup...
Страница 123: ...7 Time Machine will count down from 120 seconds then backup will begin 122 Chapter 5 Backup...
Страница 131: ...3 From the job list click the job whose settings you want to change 4 Click the Options tab 130 Chapter 6 Remote Access...
Страница 132: ...5 Click Edit 131 Chapter 6 Remote Access...
Страница 136: ...7 Enter the desired job name and click Next 8 Select Backup and click Next 135 Chapter 6 Remote Access...
Страница 144: ...4 Click the Options tab 5 Click Edit 143 Chapter 6 Remote Access...
Страница 153: ...4 Click the Options tab 152 Chapter 6 Remote Access...
Страница 154: ...5 Click Edit 153 Chapter 6 Remote Access...
Страница 169: ...11Click the NFS Rules tab 12Click Add 168 Chapter 7 Advanced Features...
Страница 193: ...3 Click Edit 4 Select or enter the desired MTU size and click OK 192 Chapter 7 Advanced Features...


