


Conditions
Corrective Actions
RAID 10 has been configured.
1
Refer to the
“Selecting the Action on the Confirmation Screen”
section above on how to access the confirmation screen.
2
Select “Shut down the TeraStation and reconnect the drives” and
click
Execute
.
3
After the TeraStation shuts down, confirm that all drives have
been inserted properly.
4
Press the power button to power on the TeraStation.
5
Log in to Settings and make sure the confirmation screen doesn’t
appear.
Multiple arrays have been configured.
Configuring a Hot Spare
If you have a hot spare configured and an array fails, the TeraStation immediately switches over to the hot spare. To
use a hot spare, you need an extra drive that’s not part of any array and a RAID 1 or RAID 5 array.
Notes:
• All data on the hot spare drive is deleted when it is configured as a hot spare and again when it changes from a
spare to a drive in the array.
• A hot spare cannot be configured for TeraStation models with only two-drives included.
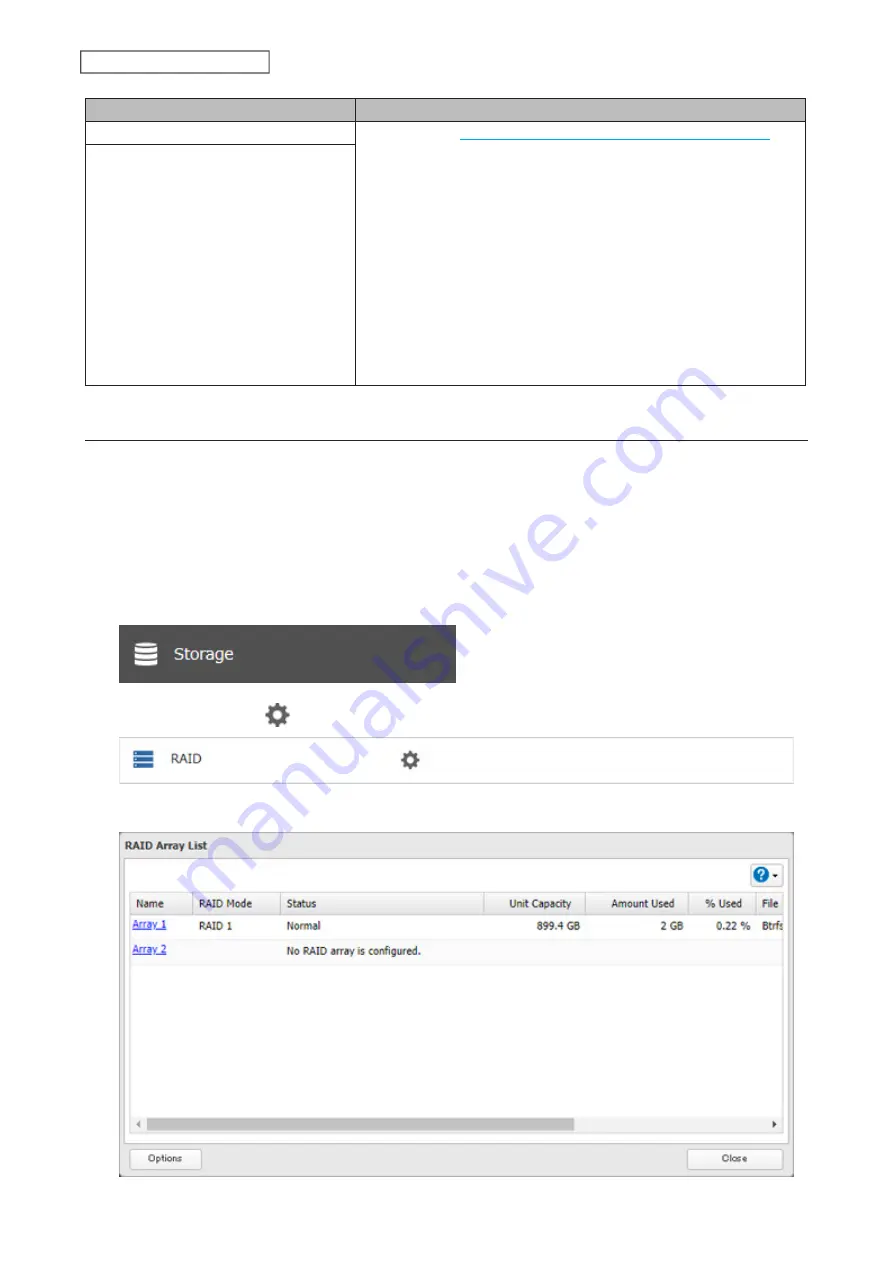
1
From Settings, click
Storage
.
2
Click the settings icon (
) to the right of “RAID”.
3
Choose a RAID array.
50
Chapter 4 Storage Management
Содержание TeraStation 6000 Series
Страница 32: ...3 Click Add Group 31 Chapter 3 File Sharing...
Страница 120: ...2 Click Time Machine 119 Chapter 5 Backup...
Страница 121: ...3 Click Select Backup Disk 4 Select the TeraStation then click Use Disk 120 Chapter 5 Backup...
Страница 123: ...7 Time Machine will count down from 120 seconds then backup will begin 122 Chapter 5 Backup...
Страница 131: ...3 From the job list click the job whose settings you want to change 4 Click the Options tab 130 Chapter 6 Remote Access...
Страница 132: ...5 Click Edit 131 Chapter 6 Remote Access...
Страница 136: ...7 Enter the desired job name and click Next 8 Select Backup and click Next 135 Chapter 6 Remote Access...
Страница 144: ...4 Click the Options tab 5 Click Edit 143 Chapter 6 Remote Access...
Страница 153: ...4 Click the Options tab 152 Chapter 6 Remote Access...
Страница 154: ...5 Click Edit 153 Chapter 6 Remote Access...
Страница 169: ...11Click the NFS Rules tab 12Click Add 168 Chapter 7 Advanced Features...
Страница 193: ...3 Click Edit 4 Select or enter the desired MTU size and click OK 192 Chapter 7 Advanced Features...


