51
1
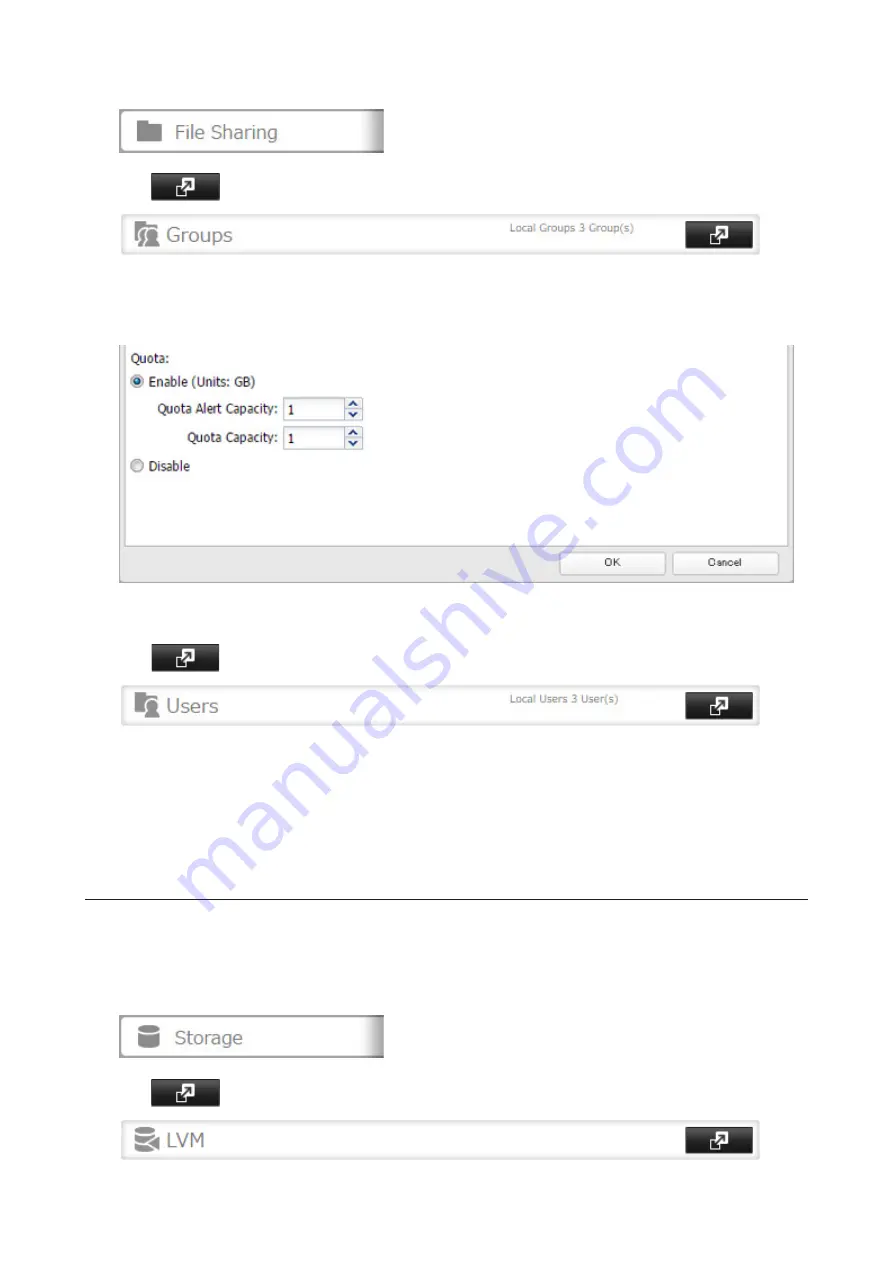
In Settings, click
File Sharing
.
2
Click
to the right of "Groups".
3
Select the group whose space will be limited.
4
Enable quotas, choose the maximum space the group is allowed, and click
OK
.
5
Click
Close
.
6
Click
to the right of "Users".
7
Select the user who will inherit the group quota settings.
8
Change the user's primary group to the group with the quota, then click
OK
.
9
Click
OK
.
Size Limits
If LVM is enabled, volumes can be created with maximum size limits.
Note:
When creating a LVM volume, all data in the area where you specified for the LVM volume will be erased.
Before changing any settings, back up any important data.
1
In Settings, click
Storage
.
2
Click
to the right of "LVM".
Содержание TeraStation 5010
Страница 8: ...7 For Customers in Taiwan 175 ...
Страница 67: ...66 1 In Settings click Backup 2 Click to the right of Backup 3 Click List of LinkStations and TeraStations ...
Страница 75: ...74 3 Click Edit 4 Click Add 5 Click Browse under Replication Source ...
Страница 87: ...86 18Click Time Machine ...
Страница 88: ...87 19Click Select Backup Disk 20Select the TeraStation then click Use Disk ...
Страница 97: ...96 3 Click Create New Job 4 Select backup settings such as date and time to run 5 Click Add ...
Страница 103: ...102 4 Click the Options tab 5 Click Edit ...
Страница 114: ...113 7 Move the NFS switch to the position to enable NFS 8 Click to the right of NFS 9 Click the Client Settings tab ...
Страница 128: ...127 Updating Automatically 1 In Settings click Management 2 Click to the right of Update 3 Click Edit ...
Страница 137: ...136 3 Click Edit ...
Страница 138: ...137 4 Select or enter the desired MTU size and click OK ...
Страница 140: ...139 3 Click Edit 4 Clear the DHCP checkbox and enter the desired IP address and its subnet mask ...


