118
Save
Restore
Settings&
Firmware
Settings&
Firmware
Restore
Settings&
Firmware
Restore
Settings&
Firmware
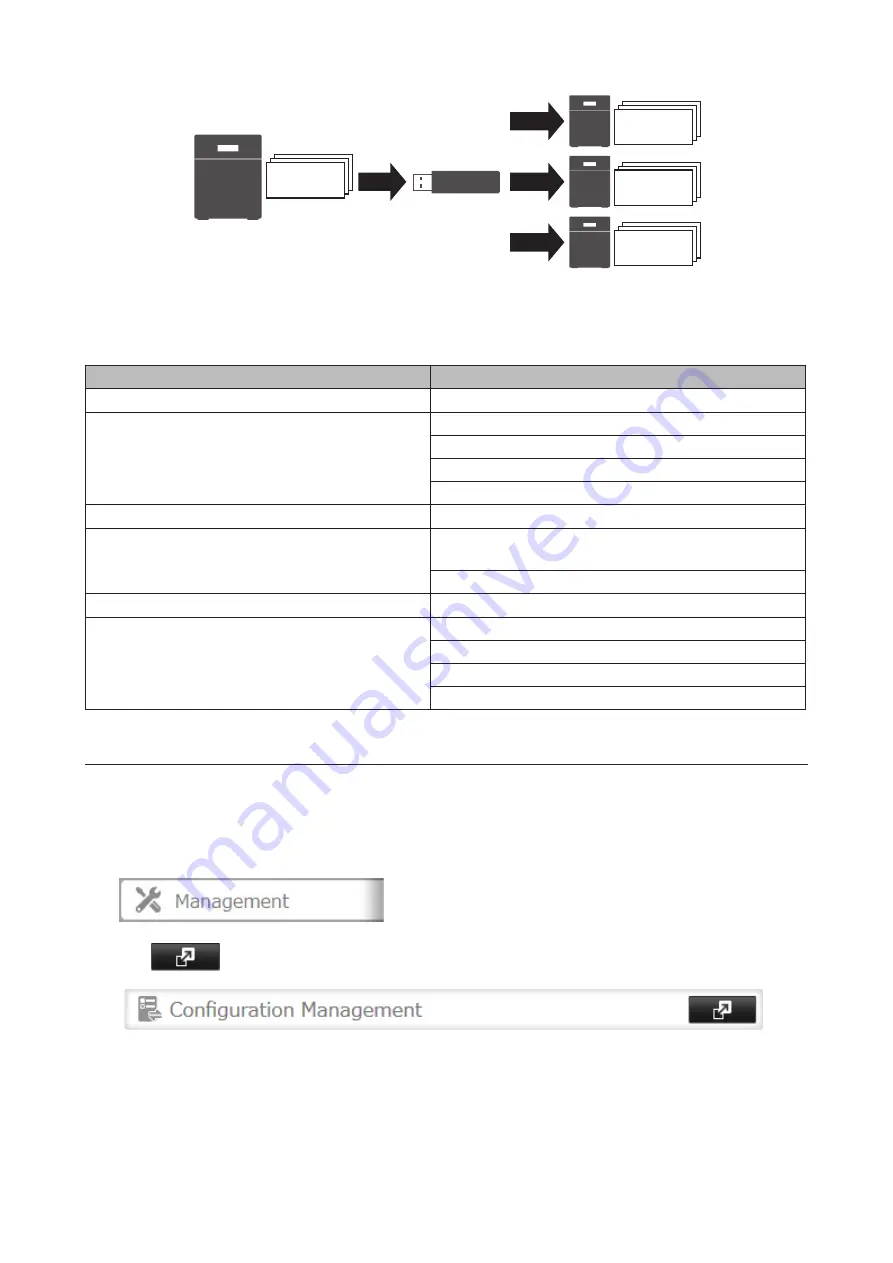
Make a note of the drive configuration (number of drives, RAID, LVM, etc.) of the TeraStation whose the settings
were saved. Make sure that any TeraStation that you apply these settings to has exactly the same drive configuration
before you apply the settings. If the drive configuration is different, you may get unexpected results.
The following settings are not saved or restored:
Category
Settings
File Sharing
Shared folder information of the USB drive
Storage
All settings in "Drives"
All settings in "LVM"
All settings in "iSCSI"
USB drive information
Web Services
Task settings of Dropbox Sync
Network
All settings except for service port restrictions, Wake-on-
LAN, and MTU size settings in "IP Address"
All settings in "Port Trunking"
Backup
All settings in "Failover"
Management
The TeraStation's hostname
All settings in "Power Management"
All settings in "SSL"
Display language in Settings
Saving Settings
1
Insert a 1 GB or larger USB drive (not included) into a USB port on the TeraStation.
Note:
All data on the USB drive will be erased!
2
In Settings, click
Management
.
3
Click
to the right of "Configuration Management".
Содержание TeraStation 5010
Страница 8: ...7 For Customers in Taiwan 175 ...
Страница 67: ...66 1 In Settings click Backup 2 Click to the right of Backup 3 Click List of LinkStations and TeraStations ...
Страница 75: ...74 3 Click Edit 4 Click Add 5 Click Browse under Replication Source ...
Страница 87: ...86 18Click Time Machine ...
Страница 88: ...87 19Click Select Backup Disk 20Select the TeraStation then click Use Disk ...
Страница 97: ...96 3 Click Create New Job 4 Select backup settings such as date and time to run 5 Click Add ...
Страница 103: ...102 4 Click the Options tab 5 Click Edit ...
Страница 114: ...113 7 Move the NFS switch to the position to enable NFS 8 Click to the right of NFS 9 Click the Client Settings tab ...
Страница 128: ...127 Updating Automatically 1 In Settings click Management 2 Click to the right of Update 3 Click Edit ...
Страница 137: ...136 3 Click Edit ...
Страница 138: ...137 4 Select or enter the desired MTU size and click OK ...
Страница 140: ...139 3 Click Edit 4 Clear the DHCP checkbox and enter the desired IP address and its subnet mask ...


