


108
2
Click
to the right of "IP Address".
3
Click
Edit
.
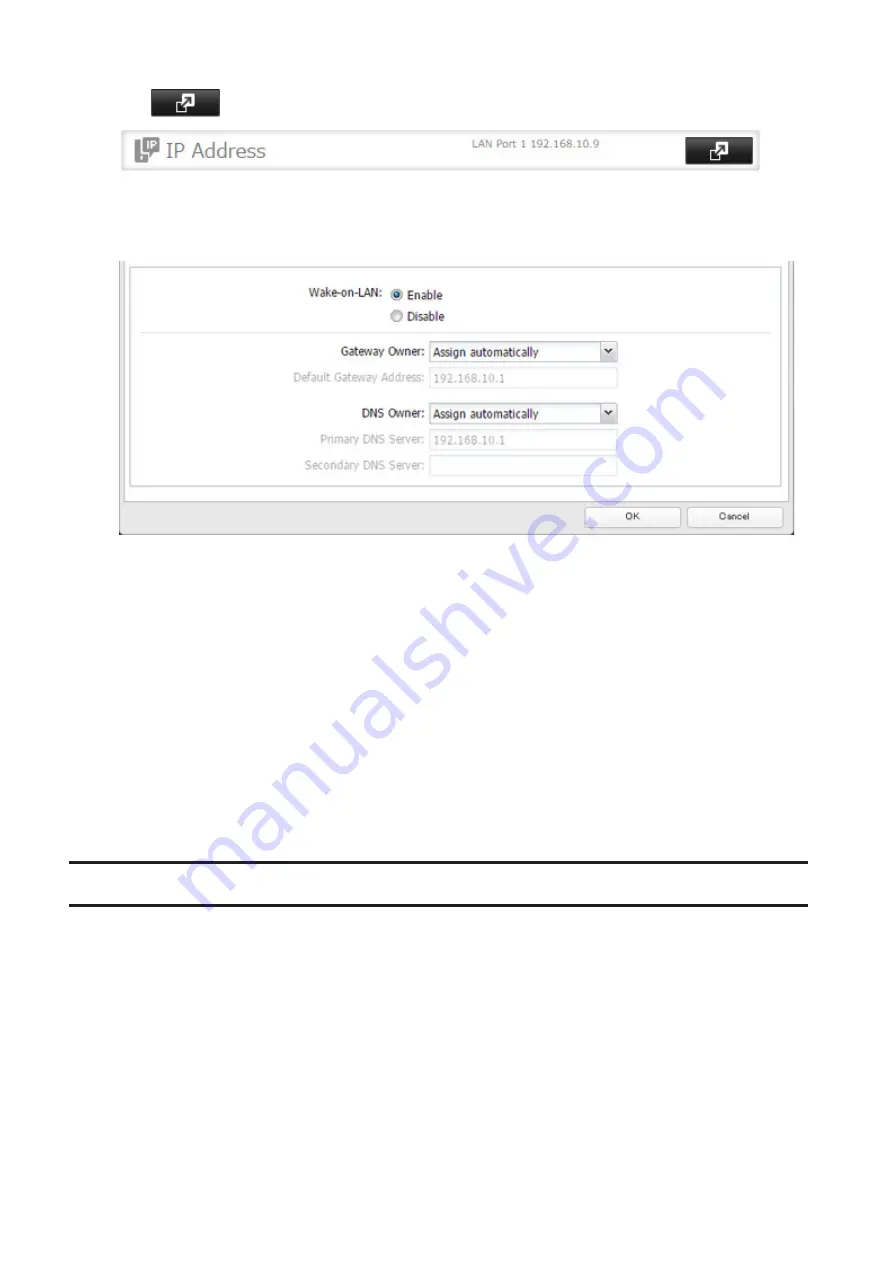
4
Enable "Wake-on-LAN", then click
OK
.
Wake-on-LAN is now enabled. As long as the TeraStation is connected to a power source and the network, you
can turn it on remotely.
Notes:
• After receiving the Wake-on-LAN packet, the TeraStation may take approximately five minutes to be ready to
use.
• If a power outage occurs while Wake-on-LAN is enabled, the TeraStation will automatically start up after
power is restored.
• To use Wake-on-LAN, you'll need Wake-on-LAN software that sends magic packets. The TeraStation does not
include Wake-on-LAN software.
• The TeraStation does not support using Wake-on-LAN and port trunking at the same time. You may use either
feature, but not both at the same time.
• If the TeraStation is connected to a Buffalo wireless router configured for remote access, then it may be
turned on from outside the local network (from the WAN side). To use this feature, connect the router to LAN
port 1 or 2 on the TeraStation.
UPS (Uninterruptible Power Supply)
If a UPS (sold separately) is attached, the TeraStation can be automatically shut down to protect data in the event of
a power outage.
1
Plug the power cable of the UPS to a wall socket.
2
Connect the AC cable of the TeraStation to the UPS.
3
Connect the UPS and TeraStation.
4
Turn on the UPS, then the TeraStation.
Содержание TeraStation 5010
Страница 8: ...7 For Customers in Taiwan 175 ...
Страница 67: ...66 1 In Settings click Backup 2 Click to the right of Backup 3 Click List of LinkStations and TeraStations ...
Страница 75: ...74 3 Click Edit 4 Click Add 5 Click Browse under Replication Source ...
Страница 87: ...86 18Click Time Machine ...
Страница 88: ...87 19Click Select Backup Disk 20Select the TeraStation then click Use Disk ...
Страница 97: ...96 3 Click Create New Job 4 Select backup settings such as date and time to run 5 Click Add ...
Страница 103: ...102 4 Click the Options tab 5 Click Edit ...
Страница 114: ...113 7 Move the NFS switch to the position to enable NFS 8 Click to the right of NFS 9 Click the Client Settings tab ...
Страница 128: ...127 Updating Automatically 1 In Settings click Management 2 Click to the right of Update 3 Click Edit ...
Страница 137: ...136 3 Click Edit ...
Страница 138: ...137 4 Select or enter the desired MTU size and click OK ...
Страница 140: ...139 3 Click Edit 4 Clear the DHCP checkbox and enter the desired IP address and its subnet mask ...