30
Chapter 3 File Sharing
Importing User Information
You can import users in
File Sharing
>
Users
by clicking
Import CSV File
.
An example format for user data: Username (required), password (required), and user description (optional).
Example 1: Importing usernames, passwords, and comments
username1,password1,comment1
username2,password2,comment2
username3,password3,comment3
Example 2: Importing usernames and passwords
username1,password1,
username2,password2,
username3,password3,
Guidelines:
• Use commas (,) as separators. Do not put spaces before or after commas. If you don’t want user descriptions, use
a comma after the password at the end.
• If a line is in an incorrect format, the username entered on that line will not be registered.
• If an unavailable name is used by a user or if the username already exists, an error will occur and cancel the
import process. User whose usernames were entered during or after the error occurs will not be imported.
• Do not use commas (,) in the username, password, or user description.
Note:
Imported users are added to the “hdusers” group automatically.
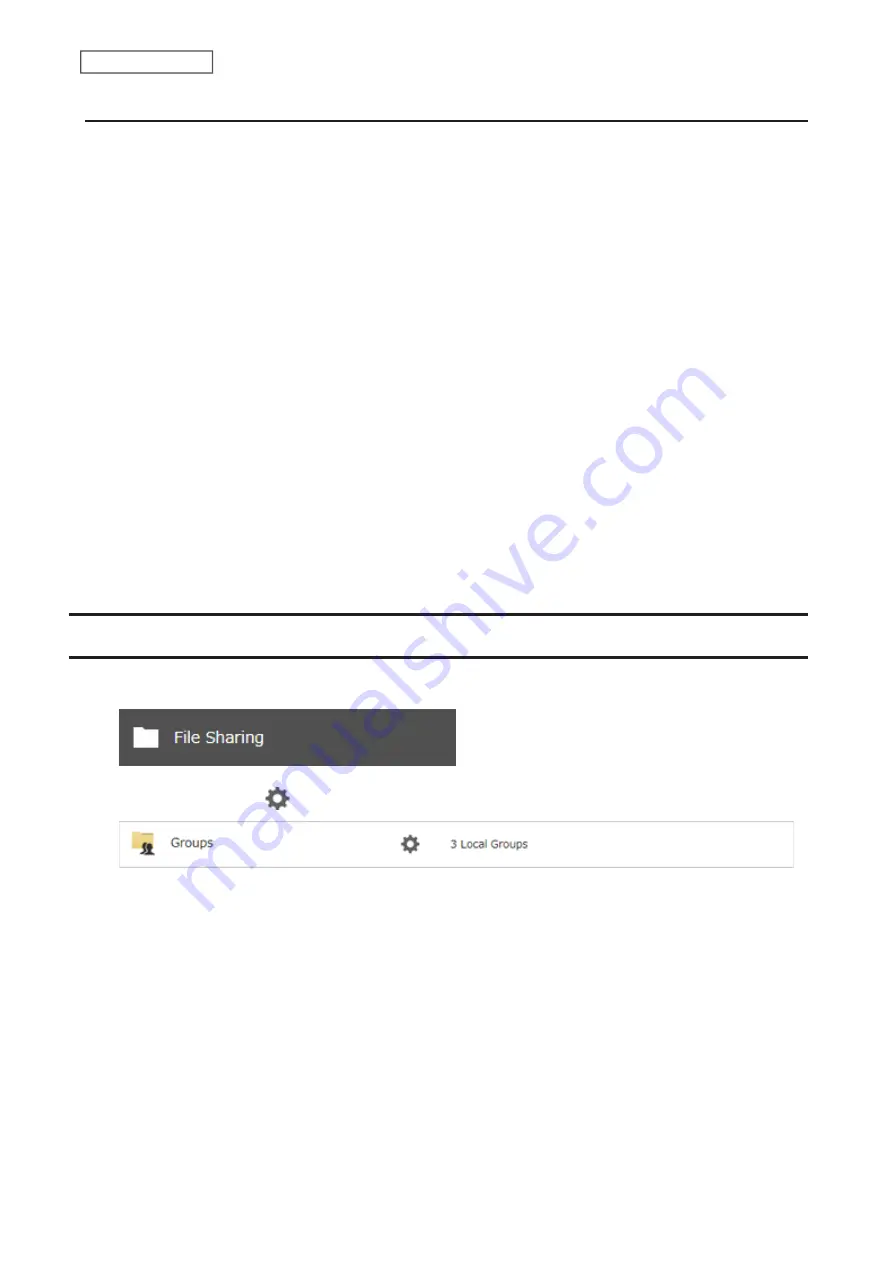
Adding a Group
1
From Settings, click
File Sharing
.
2
Click the settings icon (
) to the right of “Groups”.
Содержание TeraStation 3010
Страница 29: ...28 Chapter 3 File Sharing 3 Click Create User...
Страница 32: ...31 Chapter 3 File Sharing 3 Click Add Group...
Страница 71: ...70 Chapter 4 Storage Management 6 Click Edit under NAS Volume 7 Click Create Volume...
Страница 88: ...87 Chapter 5 Backup 4 Enter the backup device access key and click OK 5 Click Add...
Страница 107: ...106 Chapter 5 Backup 2 Click the settings icon to the right of Failover 3 Click the Periodic Sync tab 4 Click Edit...
Страница 111: ...110 Chapter 5 Backup 3 Click Select Backup Disk 4 Select the shared folder then click Use Disk...
Страница 113: ...112 Chapter 5 Backup 7 Time Machine will count down from 120 seconds then backup will begin...
Страница 125: ...124 Chapter 6 Cloud Services and Remote Access 5 Click Edit...
Страница 137: ...136 Chapter 6 Cloud Services and Remote Access 4 Click the Options tab 5 Click Edit...
Страница 146: ...145 Chapter 6 Cloud Services and Remote Access 3 From the job list click the job whose settings you want to change...
Страница 147: ...146 Chapter 6 Cloud Services and Remote Access 4 Click the Options tab...
Страница 148: ...147 Chapter 6 Cloud Services and Remote Access 5 Click Edit...
Страница 176: ...175 Chapter 7 Advanced Features 11Click the NFS Rules tab 12Click Add...
Страница 201: ...200 Chapter 7 Advanced Features 3 Click Edit 4 Select or enter the desired MTU size and click OK...
Страница 205: ...204 Chapter 7 Advanced Features 3 Click FQDN Mapping 4 Click Add...


