23
Chapter 2 Configuration
Username
Password
Settings Available
admin (default)
password (default)
All
guest
blank
System information (read-only)
Your username
Your password
If a user is assigned as an administrator, all settings are
available. If assigned to another group, only system
information (read-only) is available.
• Click
at the top-right of Settings and choose
I'm here
to have the TeraStation beep so it can be located easily.
Checking the Device Information from Dashboard
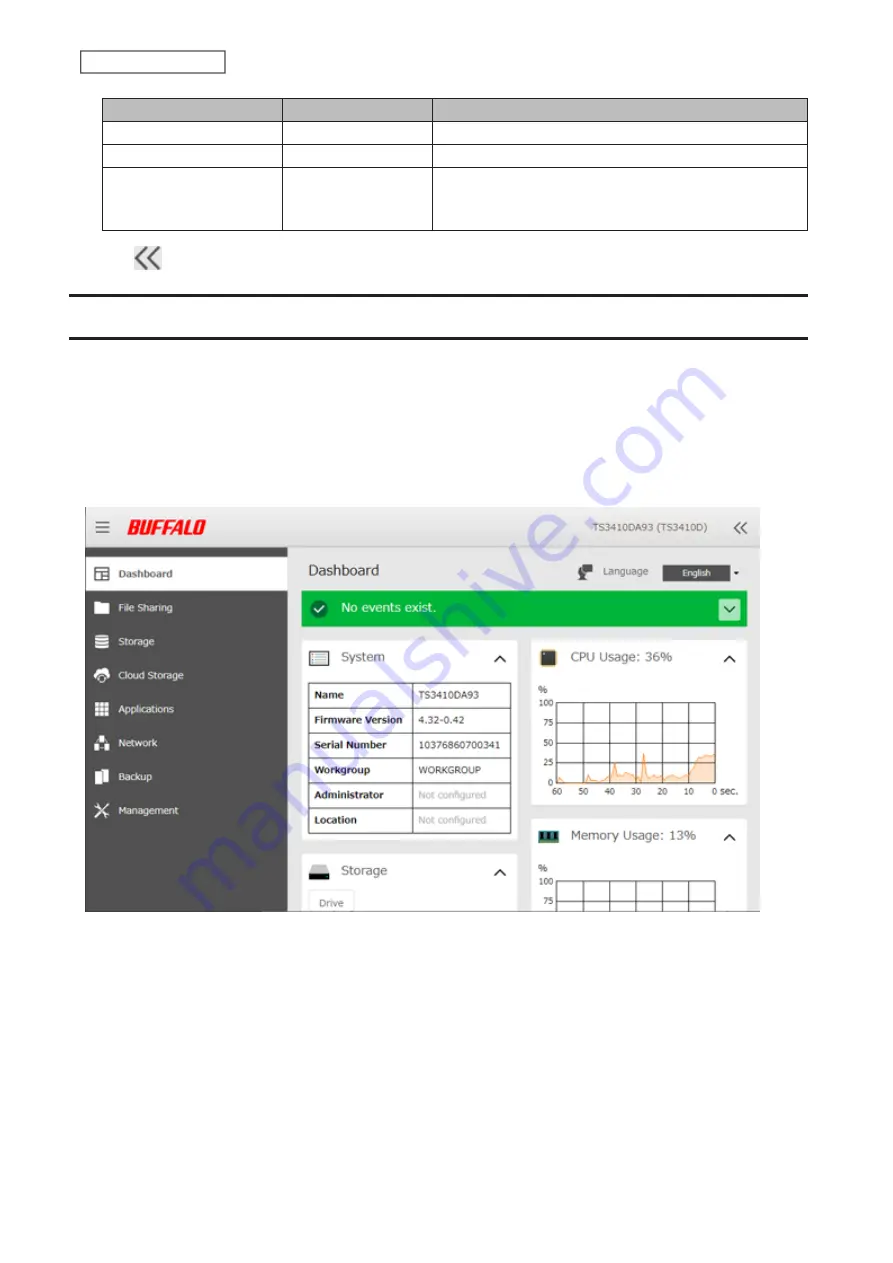
When opening the Settings interface, the Dashboard page will appear first. Dashboard will show the following
device information:
• Notices, such as information events and errors
• System information, such as hostname, firmware version, IP address, etc.
• Drive information, such as used space of internal drives, LVM volumes, iSCSI volumes, etc.
• CPU and system memory usage
• Network information, such as IP address, link speed, sent and received rates, etc.
Notes:
• If the number of files on the TeraStation increases, it will also increase the memory usage of the TeraStation. This
memory usage will decrease after a certain period of time passes. To reduce the memory usage immediately, try
the following operations:
◦
Restarting the TeraStation.
◦
Dismounting the USB drive.
• If there is not enough free space on the TeraStation, it may cause abnormal system behavior. Make sure that there
is always at least 1 GB or more of free space on the TeraStation.
Содержание TeraStation 3010
Страница 29: ...28 Chapter 3 File Sharing 3 Click Create User...
Страница 32: ...31 Chapter 3 File Sharing 3 Click Add Group...
Страница 71: ...70 Chapter 4 Storage Management 6 Click Edit under NAS Volume 7 Click Create Volume...
Страница 88: ...87 Chapter 5 Backup 4 Enter the backup device access key and click OK 5 Click Add...
Страница 107: ...106 Chapter 5 Backup 2 Click the settings icon to the right of Failover 3 Click the Periodic Sync tab 4 Click Edit...
Страница 111: ...110 Chapter 5 Backup 3 Click Select Backup Disk 4 Select the shared folder then click Use Disk...
Страница 113: ...112 Chapter 5 Backup 7 Time Machine will count down from 120 seconds then backup will begin...
Страница 125: ...124 Chapter 6 Cloud Services and Remote Access 5 Click Edit...
Страница 137: ...136 Chapter 6 Cloud Services and Remote Access 4 Click the Options tab 5 Click Edit...
Страница 146: ...145 Chapter 6 Cloud Services and Remote Access 3 From the job list click the job whose settings you want to change...
Страница 147: ...146 Chapter 6 Cloud Services and Remote Access 4 Click the Options tab...
Страница 148: ...147 Chapter 6 Cloud Services and Remote Access 5 Click Edit...
Страница 176: ...175 Chapter 7 Advanced Features 11Click the NFS Rules tab 12Click Add...
Страница 201: ...200 Chapter 7 Advanced Features 3 Click Edit 4 Select or enter the desired MTU size and click OK...
Страница 205: ...204 Chapter 7 Advanced Features 3 Click FQDN Mapping 4 Click Add...


