• To avoid damaging the TeraStation with static electricity, ground yourself by touching something made of metal
before handling any sensitive electronic parts.
• After a drive is replaced, it will take about 30 minutes before normal file reading and writing are restored. Settings
may not be accessible during this period.
• Do not change the order of the hard drives in the TeraStation. For example, pulling out drive 1 and replacing it
with drive 2 may cause data to be corrupted or lost.
• If a new drive is not recognized after installing it, click
Rediscover Disk
in Settings.
• For TS1400D models, do not replace 2 or more drives at the same time with new drives while the TeraStation is
on. If you do, it may cause unexpected behavior.
Step 1 - Replacing a Hard Drive
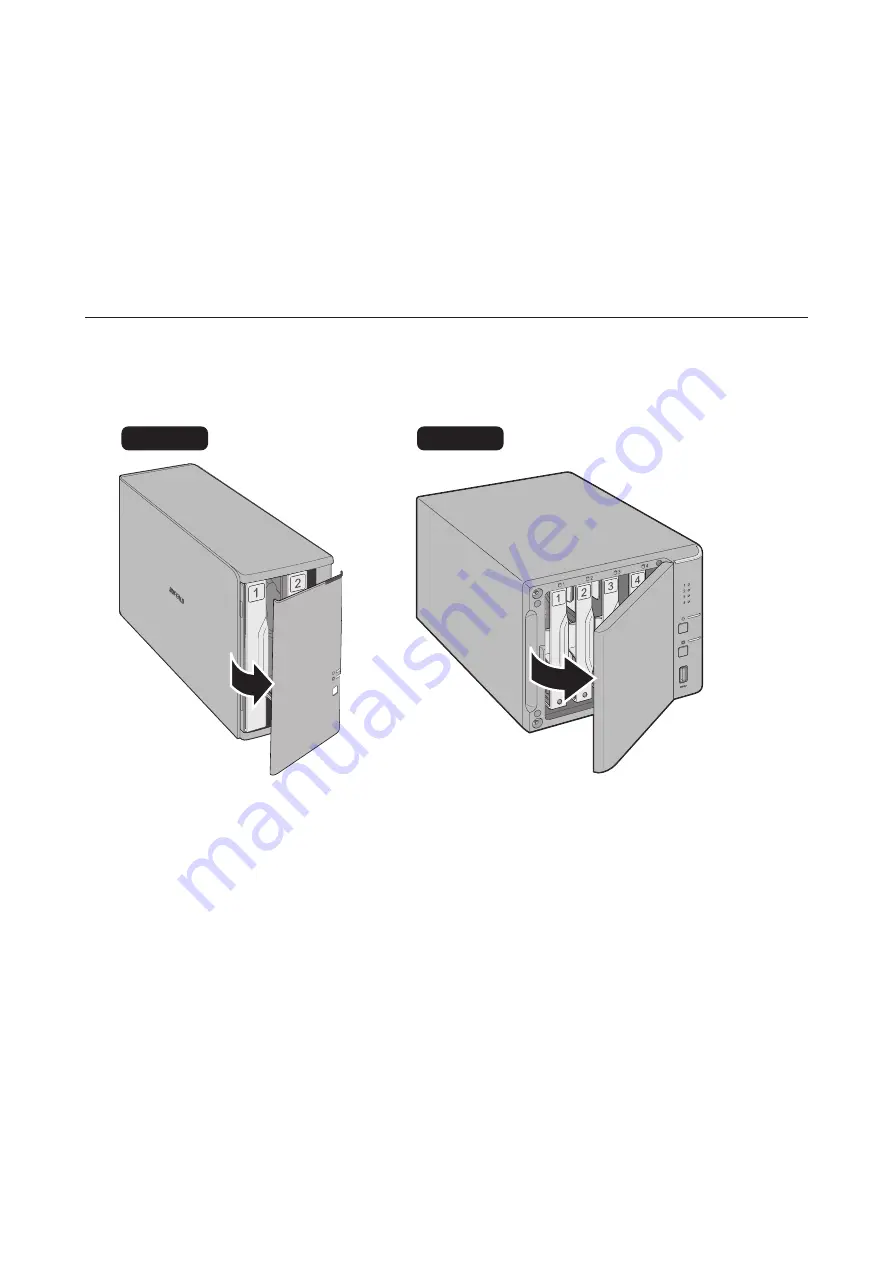
Instructions for TS1200D and TS1400D Models
1
Squeeze the left side of the front panel and pull the panel off.
DISK 1
DISK 2
DISK 2
DISK 1
ERROR
DISK 2
DISK 1
TS1200D
TS1400D
48
Содержание TeraStation 1000
Страница 23: ...2 Click to the right of Users 3 Click Create User 4 Click Create Sequential Users 22...
Страница 56: ...Once RAID 0 array is configured create a shared folder before use 55...
Страница 63: ...2 Click to the right of Backup 3 Click List of LinkStations and TeraStations 62...
Страница 65: ...3 Click Create New Job Note Up to 8 backup jobs can be configured 64...
Страница 75: ...19Click Select Backup Disk 20Select the TeraStation then click Use Disk 74...
Страница 108: ...4 Select the desired Ethernet frame size and click OK 107...


