6
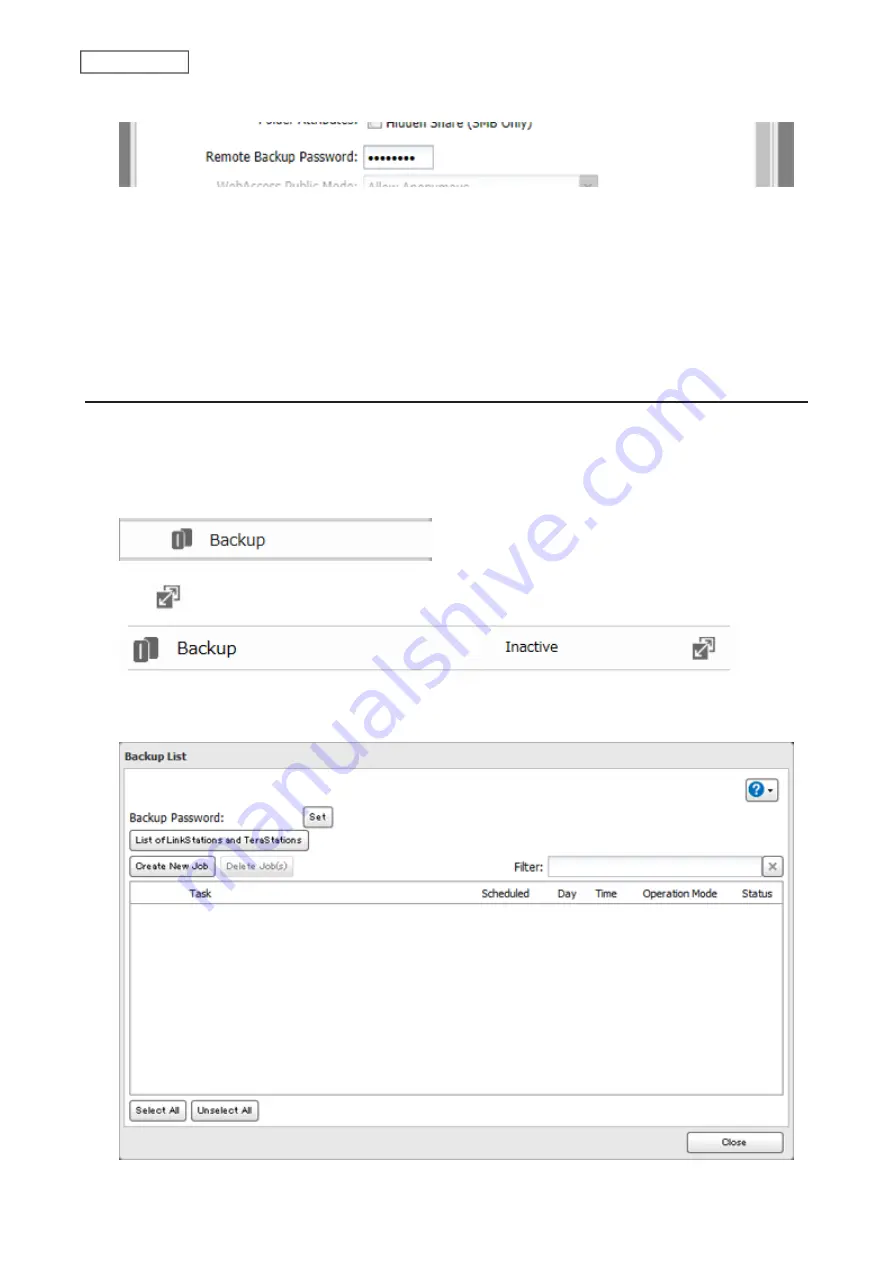
Enter the desired characters into the remote backup password field and click
OK
.
Notes:
• You may leave this field blank if you do not want a backup password, but for security reasons we highly
recommend entering one for the shared folder. If a backup password is configured for the shared folder, that
folder will not show up as a target for the backup source or backup destination when configuring a backup
job on another Buffalo NAS device unless it’s entered. You may create multiple folders using different
backup passwords for backup, but only one password can be used on the LinkStation. Folders that are
configured with a different password cannot be used.
• A backup password is not available when a new shared folder is created by a power user.
Configuring a Backup Job
You can configure backup jobs by using a shared folder or a USB drive connected to the LinkStation as a destination.
You can also back up to a Buffalo NAS device on another network as long as the two networks are connected by a
VPN or the route is configured properly.
1
From Advanced Settings, click
Backup
.
2
Click
to the right of “Backup”.
3
If you had configured a backup password for the backup source folder on another Buffalo NAS device or the
backup destination folder, click
Set
. If you hadn’t, skip to step 5.
58
Chapter 6 Backup
Содержание LinkStation 200B
Страница 16: ...1 Open SmartPhone Navigator on your mobile device 2 Tap Open Settings 15 Chapter 2 Configuration...
Страница 24: ...3 Click Add Group 23 Chapter 3 File Sharing...
Страница 60: ...4 Enter the backup password and click OK 5 Click Create New Job 59 Chapter 6 Backup...
Страница 67: ...6 Click Time Machine 66 Chapter 6 Backup...
Страница 68: ...7 Click Select Backup Disk 8 Select the shared folder then click Use Disk 67 Chapter 6 Backup...
Страница 85: ...4 Select the desired Ethernet frame size and click OK 84 Chapter 8 Advanced Features...
Страница 89: ...2 Tap Create User 88 Chapter 9 Configuring from Mobile Devices...
Страница 96: ...2 Tap Create Folder 3 Enter the desired folder name and tap Apply 95 Chapter 9 Configuring from Mobile Devices...
Страница 100: ...3 Tap NAS Setup 99 Chapter 9 Configuring from Mobile Devices...
Страница 101: ...4 Enter a username and password This will create a new user Tap Next 100 Chapter 9 Configuring from Mobile Devices...
Страница 102: ...5 Enter the password from the previous step again and tap Next 101 Chapter 9 Configuring from Mobile Devices...
Страница 104: ...6 Enter the BuffaloNAS com name and tap Set 103 Chapter 9 Configuring from Mobile Devices...


