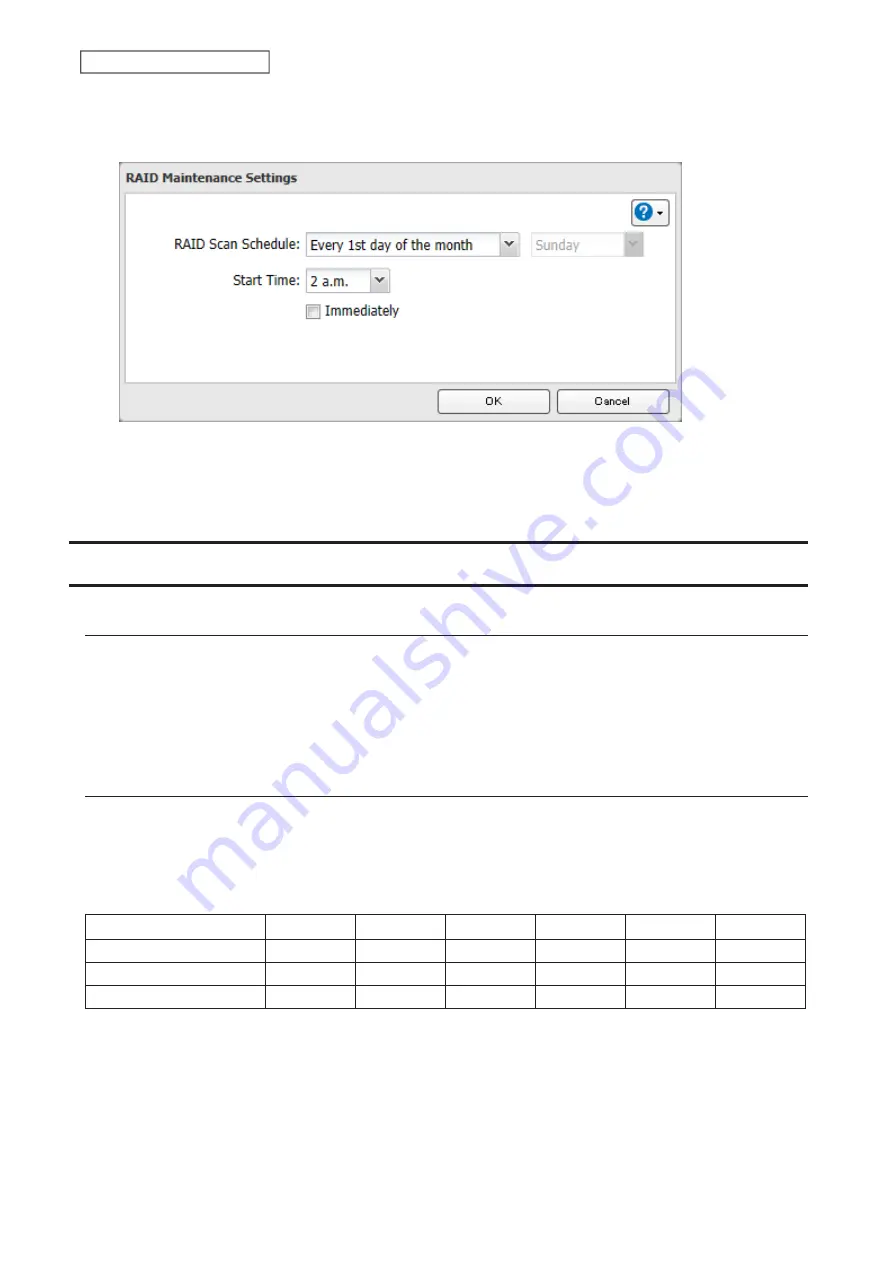
4
Click
Edit
.
5
Select when to run the scan and click
OK
.
Notes:
• Select the “Immediately” checkbox to run a RAID scan immediately.
• To stop a RAID scan, click
Cancel RAID Scan
.
Adding an External Drive
Connecting an External Drive
Your LinkStation includes a USB port and you can connect an external drive to this port. Once connected, it appears
as a shared folder on the LinkStation. Formatted drives are detected automatically. Unformatted drives should be
formatted in Settings.
After a USB drive is recognized, Windows adds “usbdisk
x
” in File Explorer, where “x” is the USB port to which the
drive is connected.
Compatibility
The following devices are supported by the LinkStation. Buffalo external USB drives are recommended but DUB and
DIU series drives are not supported.
• USB storage devices
• Card readers (except for card readers that can recognize two or more memory cards)
Supported file systems for external drives and the types of allowed access are listed below:
Ext3
*
XFS
NTFS
*
exFAT
*
FAT32
HFS Plus
*
Accessing via SMB
R
R/W
R/W
R/W
R/W
R
Using as a backup drive
R/W
R/W
R/W
R/W
R/W
R
Using for Direct Copy
R/W
R/W
R/W
R/W
R/W
R
R/W: Read and write, R: Read-only
*This cannot be formatted from Settings.
Connect only one device to a USB port of the LinkStation. Some external drives with automatic power-on don’t turn
on automatically when connected to the LinkStation. Use their manual switch to turn them on. Be sure to connect
40
Chapter 4 Storage Management
Содержание LinkStation 200B
Страница 16: ...1 Open SmartPhone Navigator on your mobile device 2 Tap Open Settings 15 Chapter 2 Configuration...
Страница 24: ...3 Click Add Group 23 Chapter 3 File Sharing...
Страница 60: ...4 Enter the backup password and click OK 5 Click Create New Job 59 Chapter 6 Backup...
Страница 67: ...6 Click Time Machine 66 Chapter 6 Backup...
Страница 68: ...7 Click Select Backup Disk 8 Select the shared folder then click Use Disk 67 Chapter 6 Backup...
Страница 85: ...4 Select the desired Ethernet frame size and click OK 84 Chapter 8 Advanced Features...
Страница 89: ...2 Tap Create User 88 Chapter 9 Configuring from Mobile Devices...
Страница 96: ...2 Tap Create Folder 3 Enter the desired folder name and tap Apply 95 Chapter 9 Configuring from Mobile Devices...
Страница 100: ...3 Tap NAS Setup 99 Chapter 9 Configuring from Mobile Devices...
Страница 101: ...4 Enter a username and password This will create a new user Tap Next 100 Chapter 9 Configuring from Mobile Devices...
Страница 102: ...5 Enter the password from the previous step again and tap Next 101 Chapter 9 Configuring from Mobile Devices...
Страница 104: ...6 Enter the BuffaloNAS com name and tap Set 103 Chapter 9 Configuring from Mobile Devices...


